Budget Pilates Studio Build: How to Mix Core Equipment and Accessories Within Limited Capital
Opening a new Pilates studio comes with exciting creative opportunities, but it also brings hard budget decisions. Many first-time studio owners face a common challenge: limited startup capital, yet they still need a functional, versatile space that can serve group reformer classes, private rehab sessions, and beginner workshops. The biggest mistake new operators make is pouring nearly all their money into premium large apparatus and leaving nothing for small accessories, or buying piles of low-cost gadgets that end up gathering dust because there are no core machines to build sessions around. A balanced, budget-friendly studio build relies on strategic prioritization, smart sourcing, flexible layout planning, and phased purchasing. This guide breaks down how to mix core Pilates equipment and accessories wisely without overspending.
Step 1: Separate “Non-Negotiable Core Gear” from Nice-to-Have Add-ons
Before browsing supplier catalogs, draw a clear line between core equipment and accessories. Core apparatus are the foundation of your class schedule; these are the larger, higher-ticket items that define what types of classes you can run. For a budget studio, you do not need a full lineup of Cadillacs, Wunda Chairs and Arc Barrels from day one. Start lean based on your main service focus.
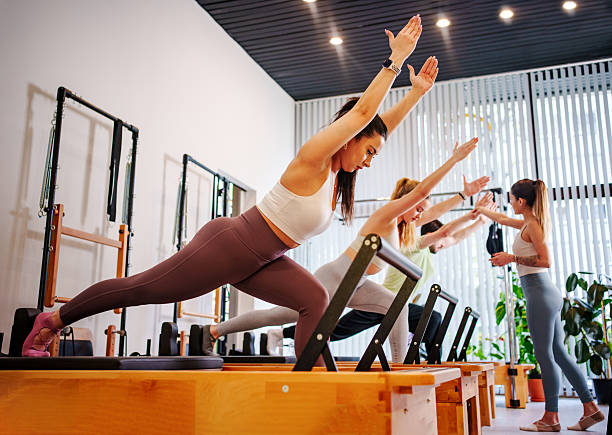
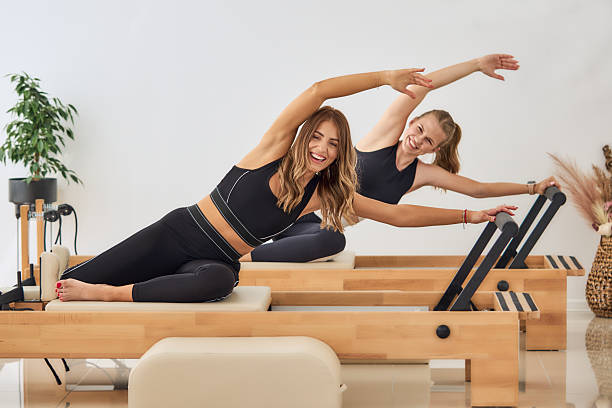
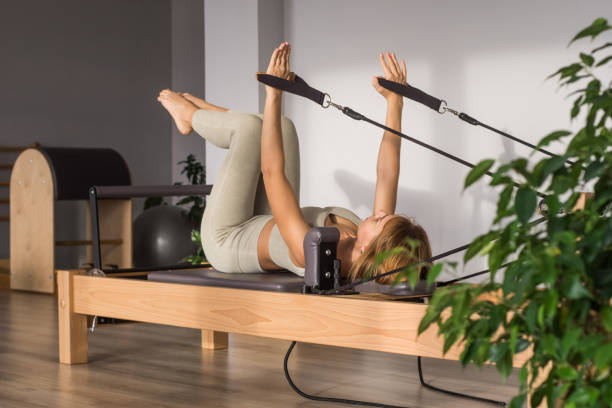
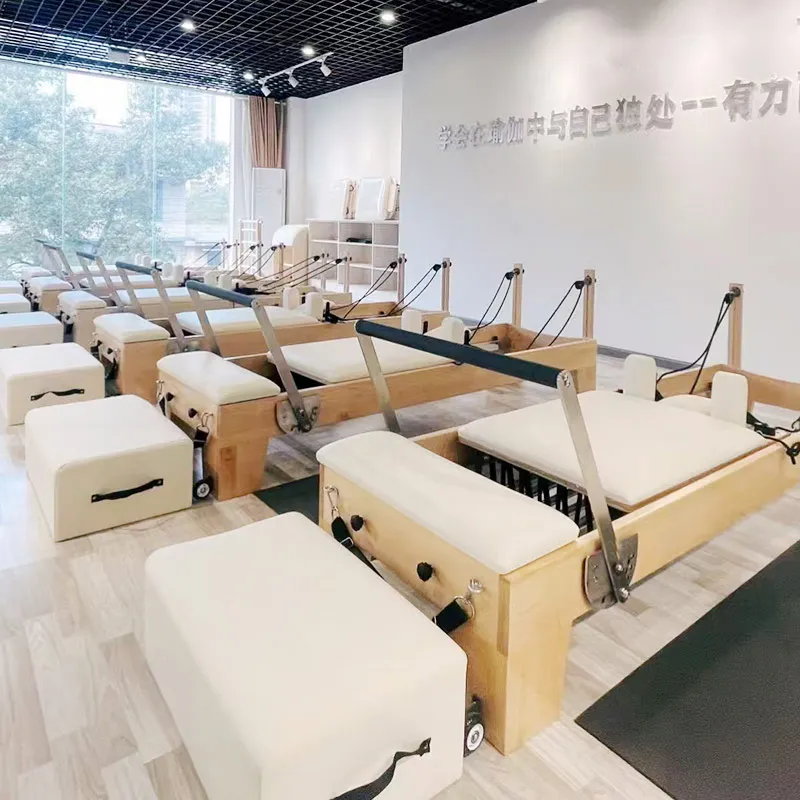
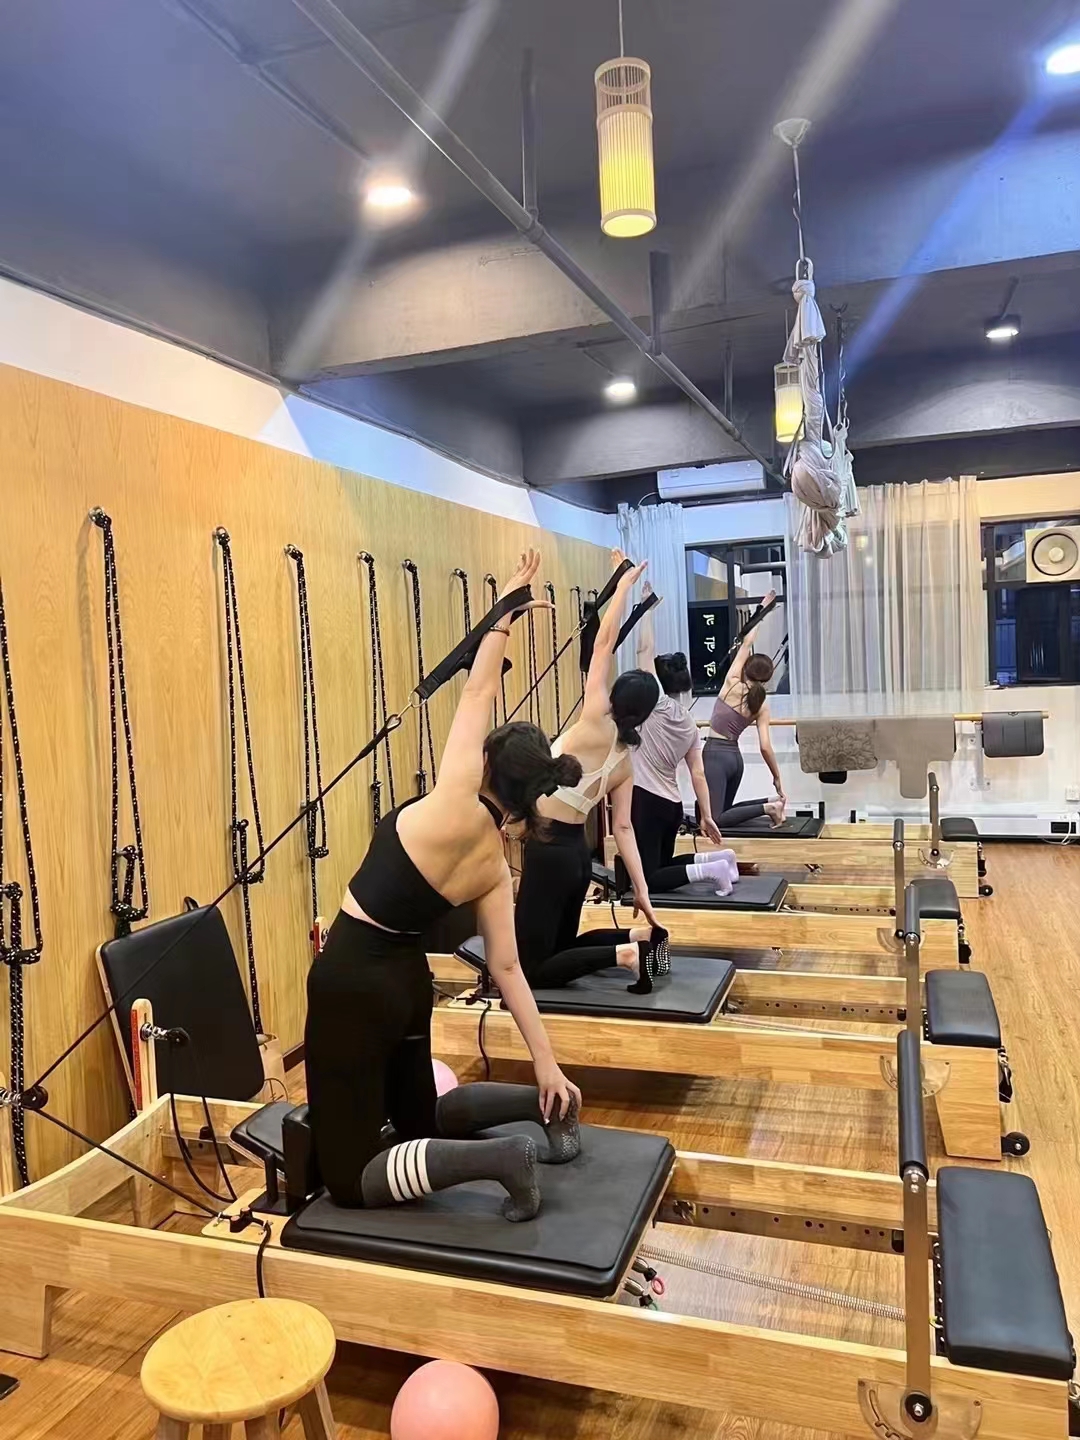
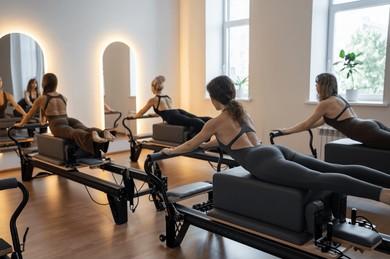
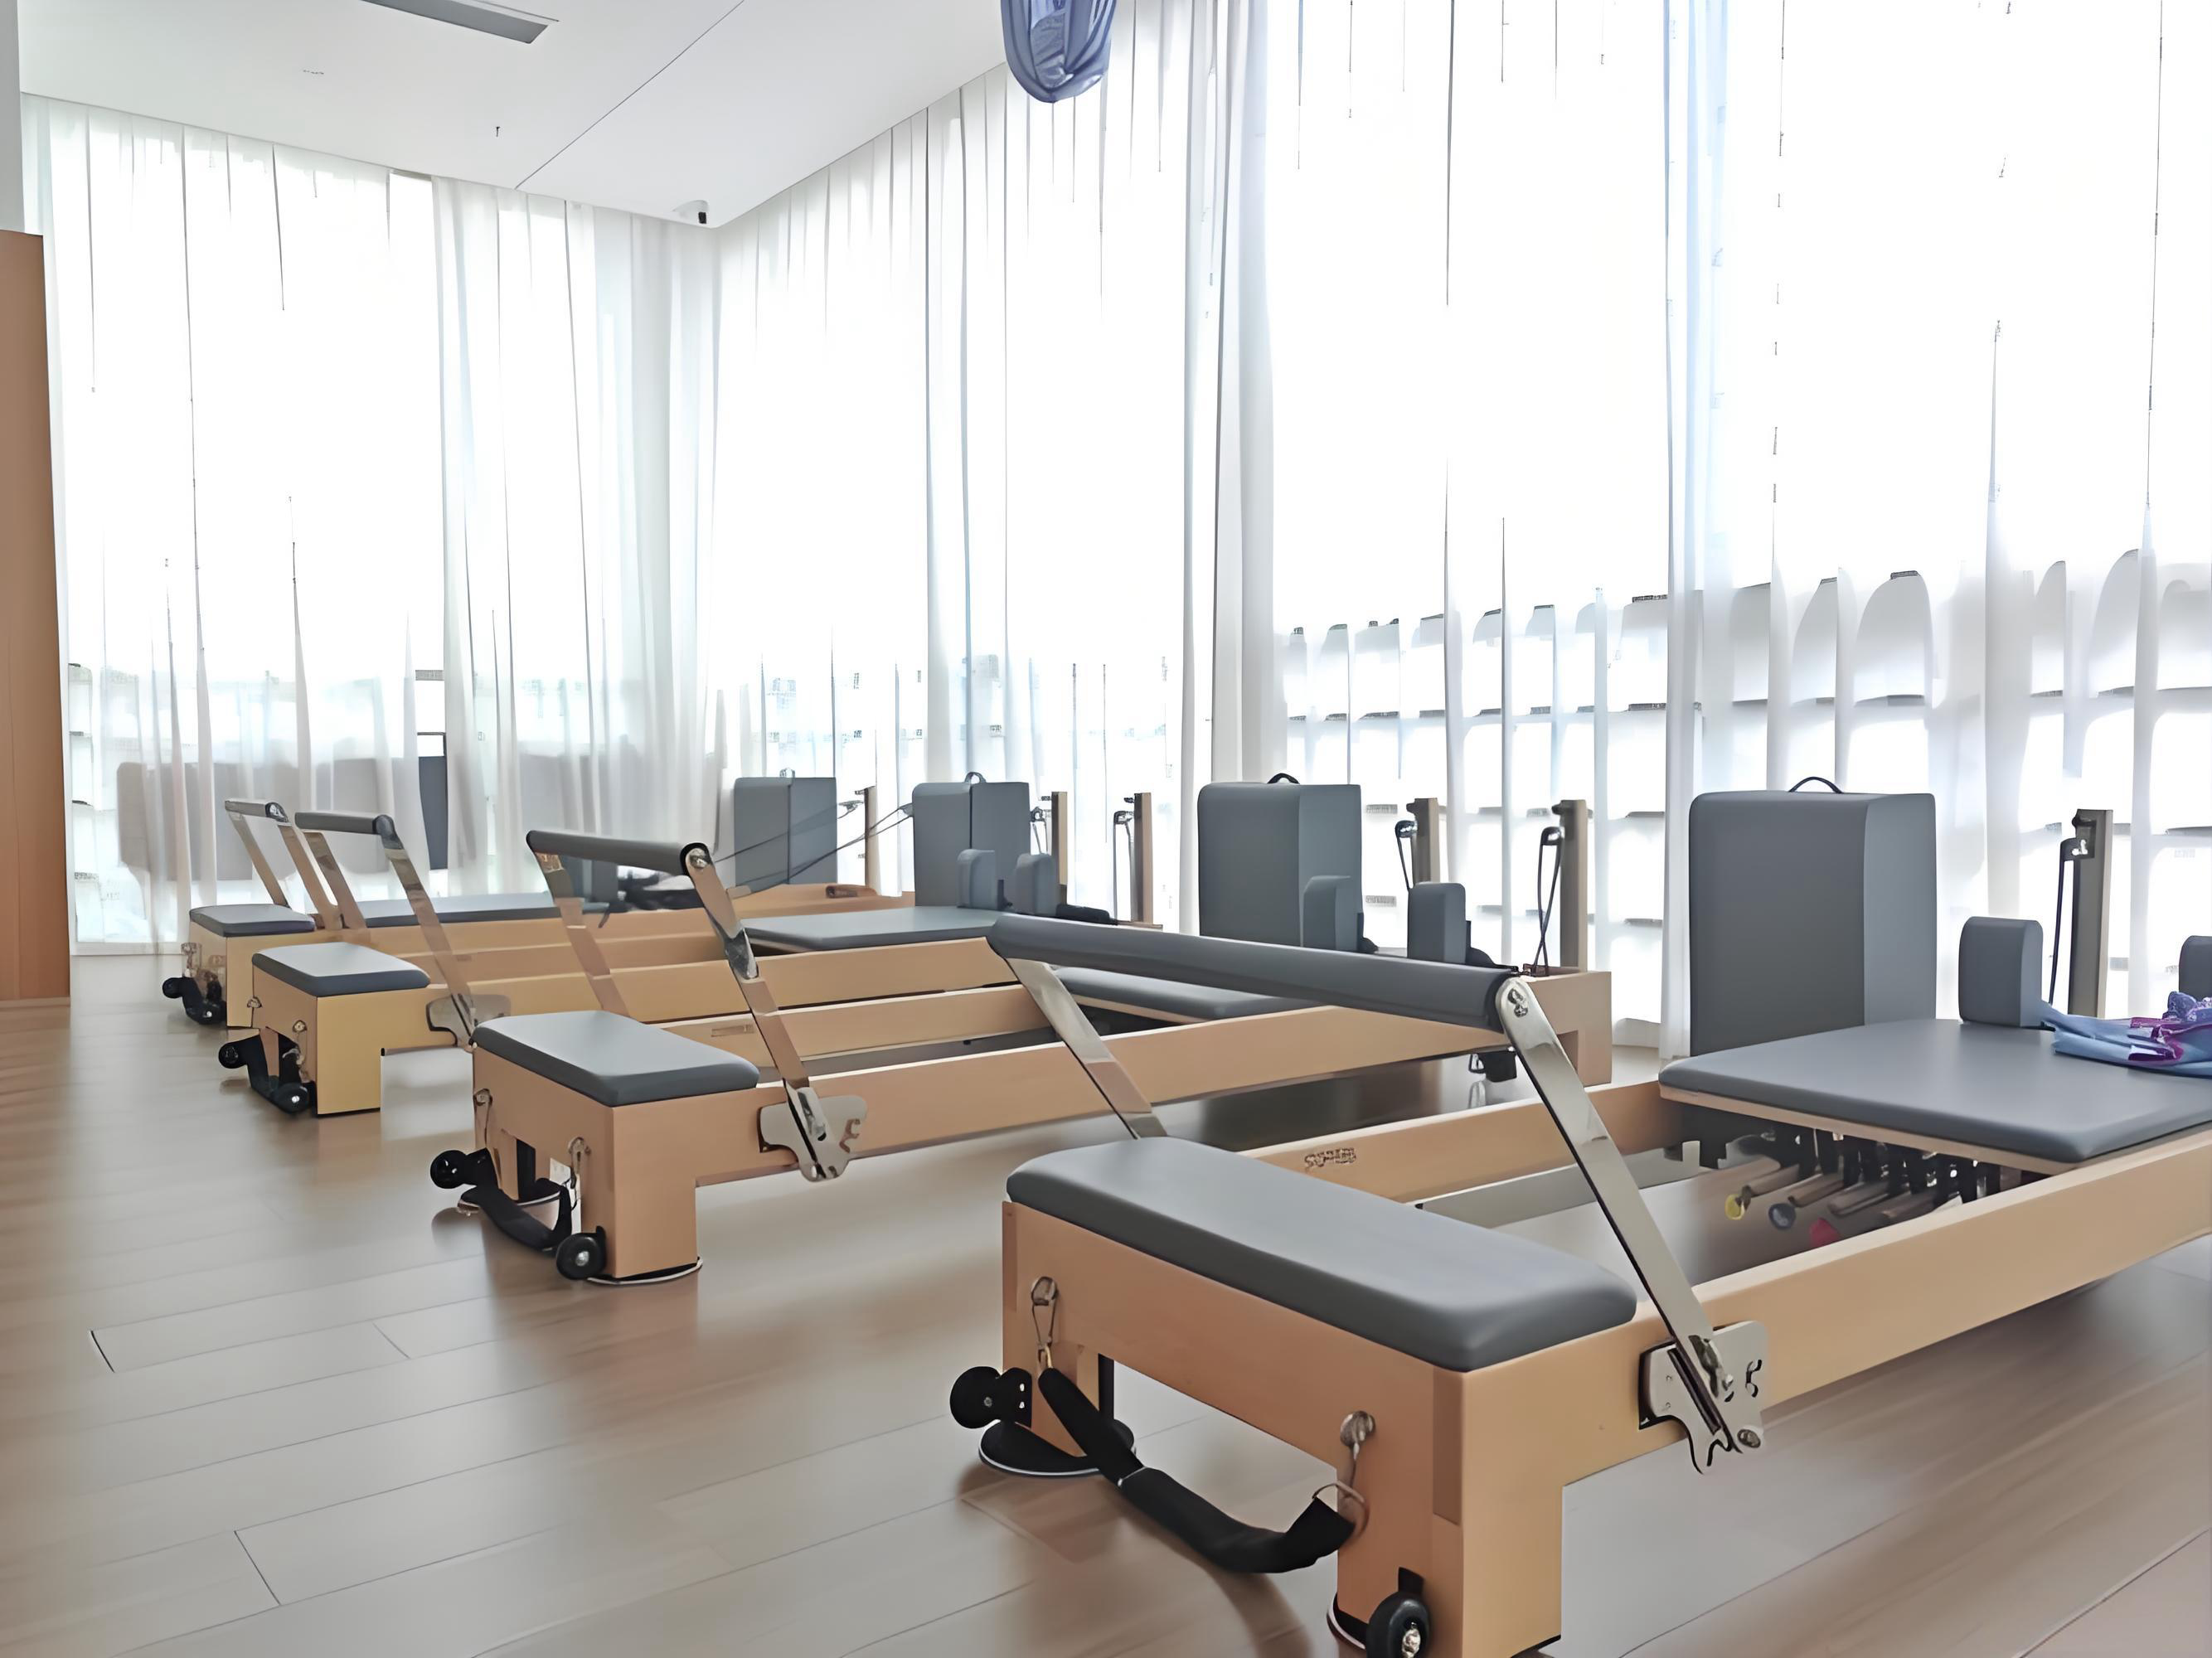
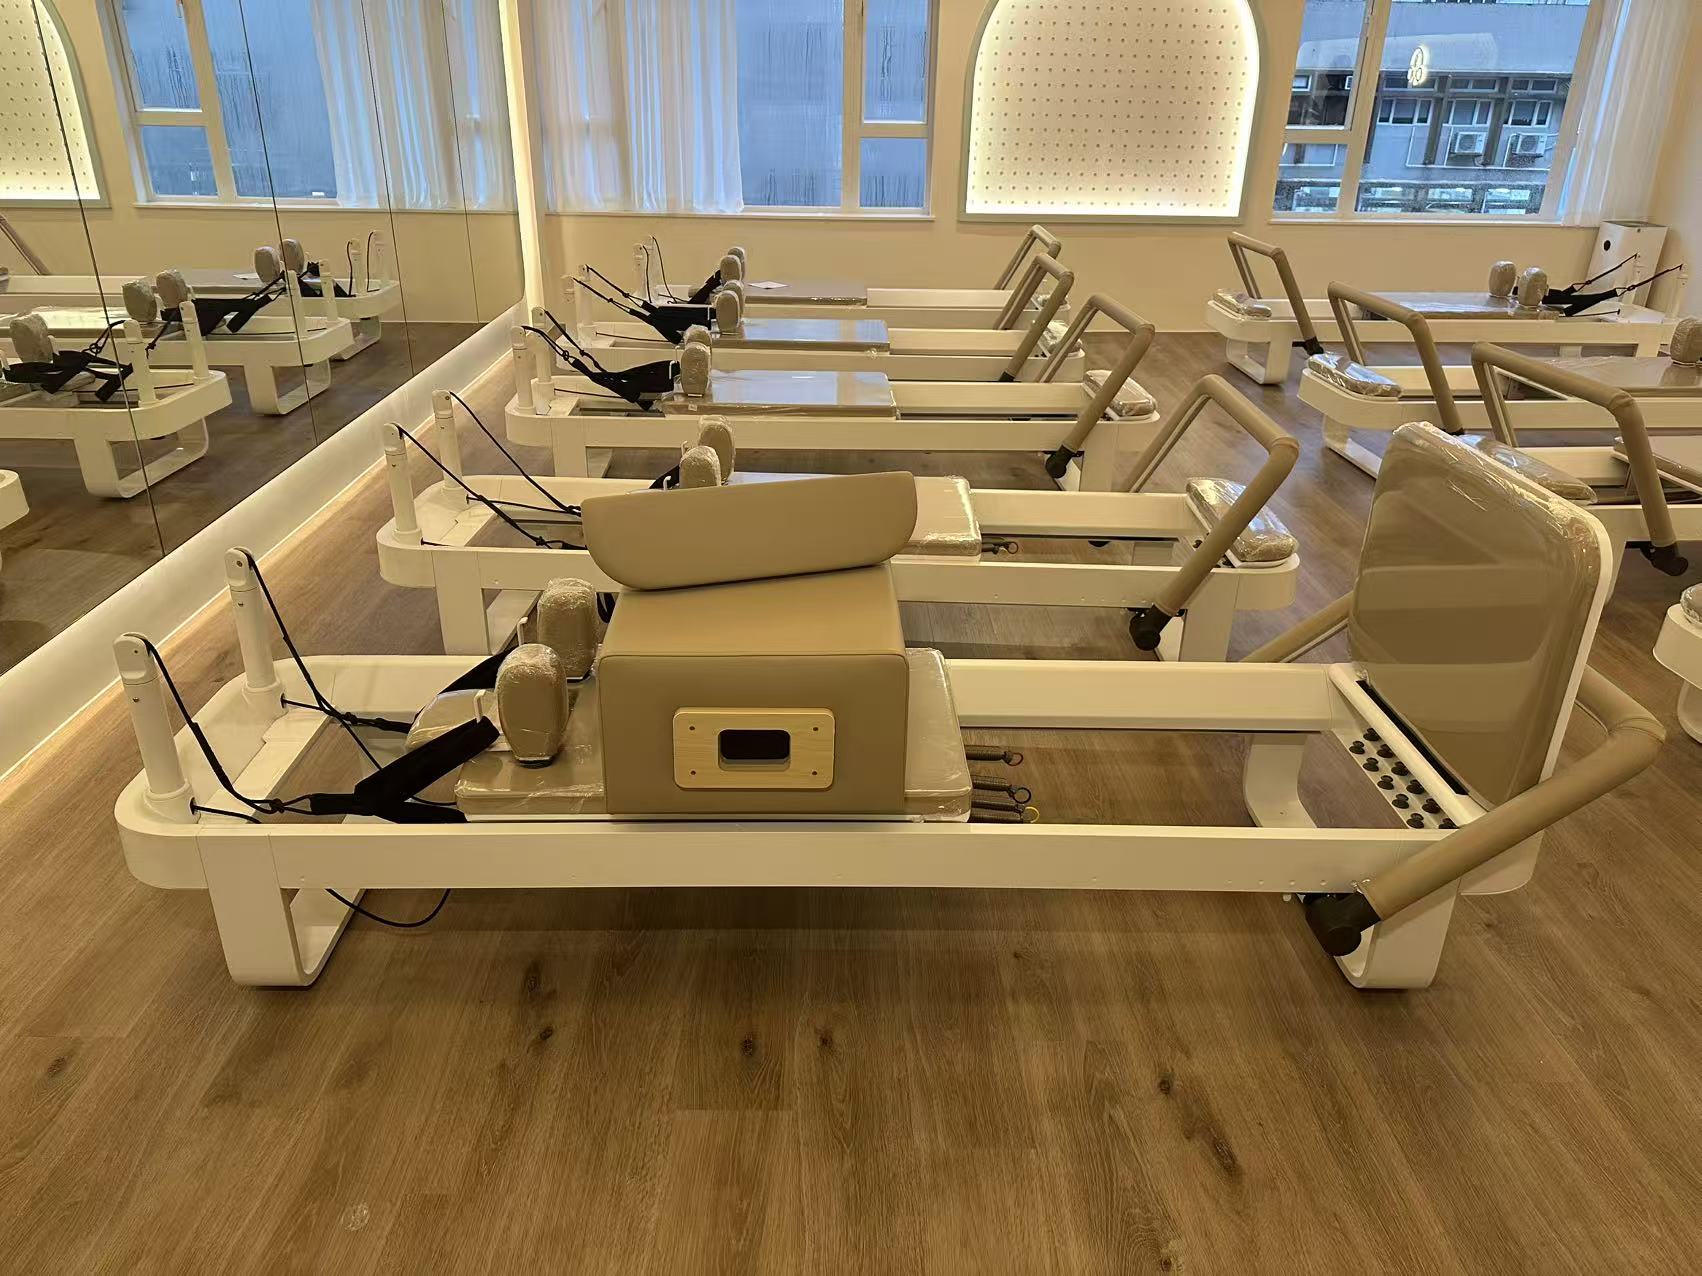
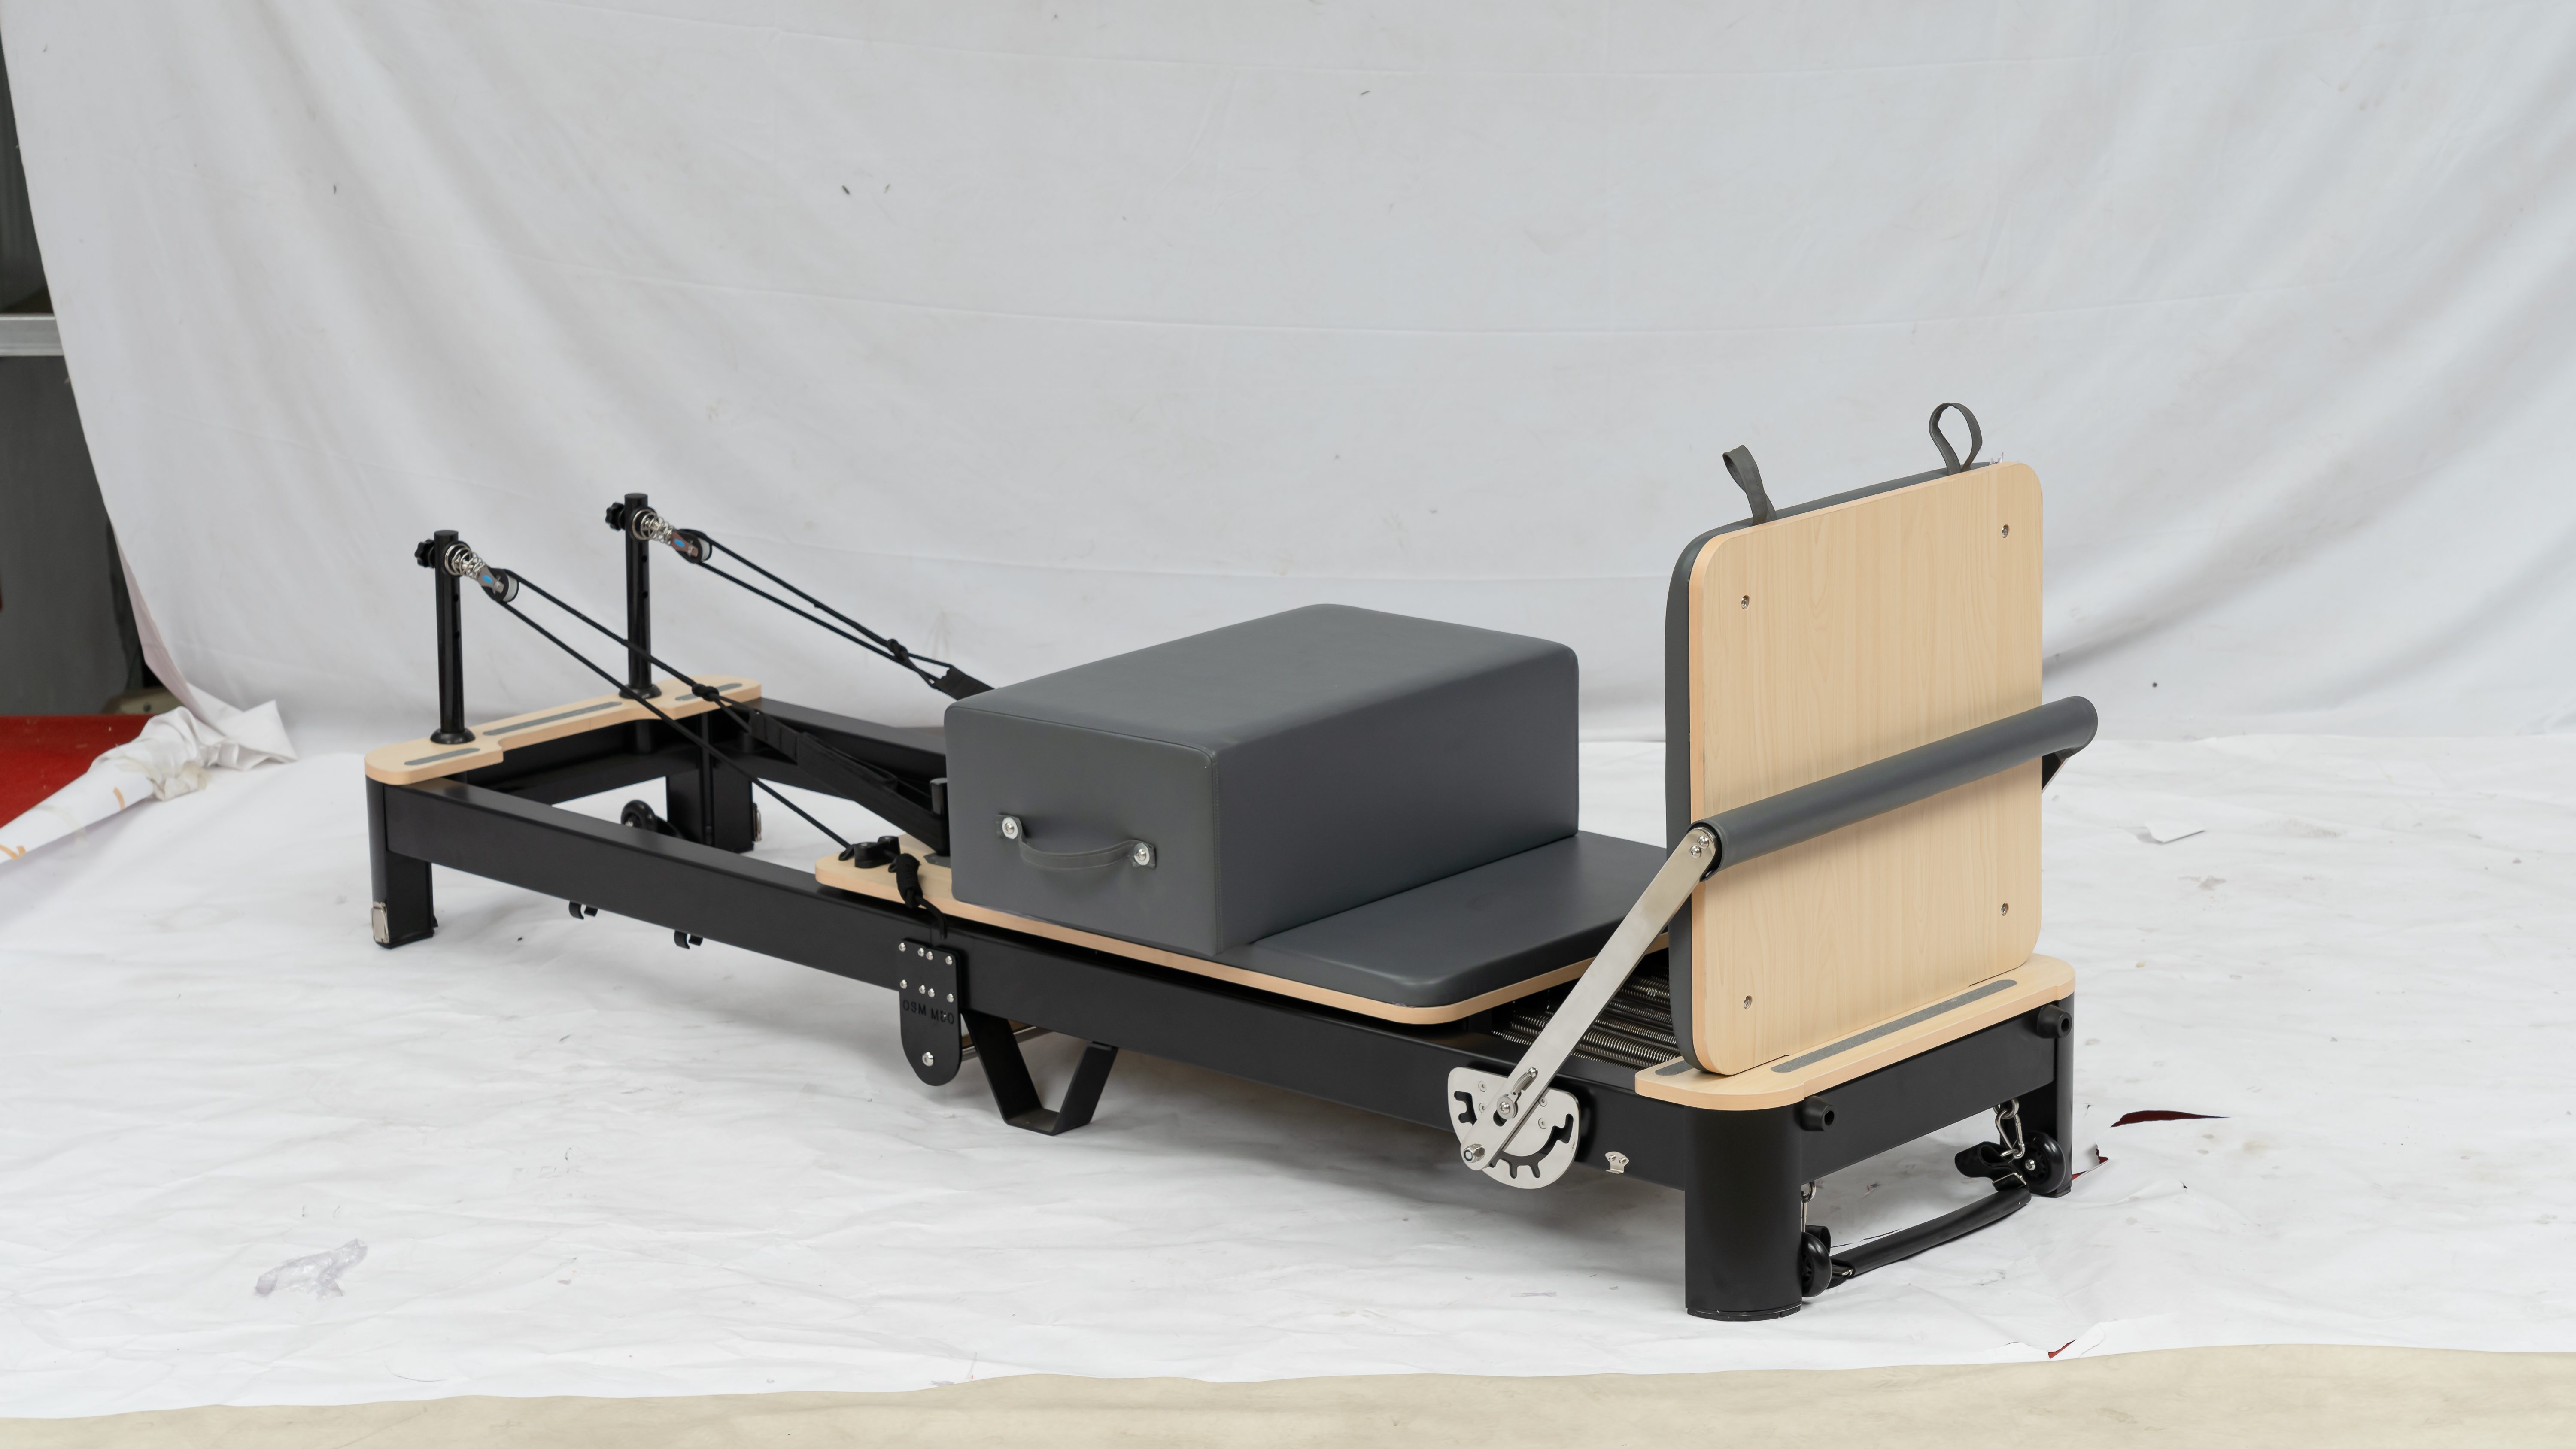
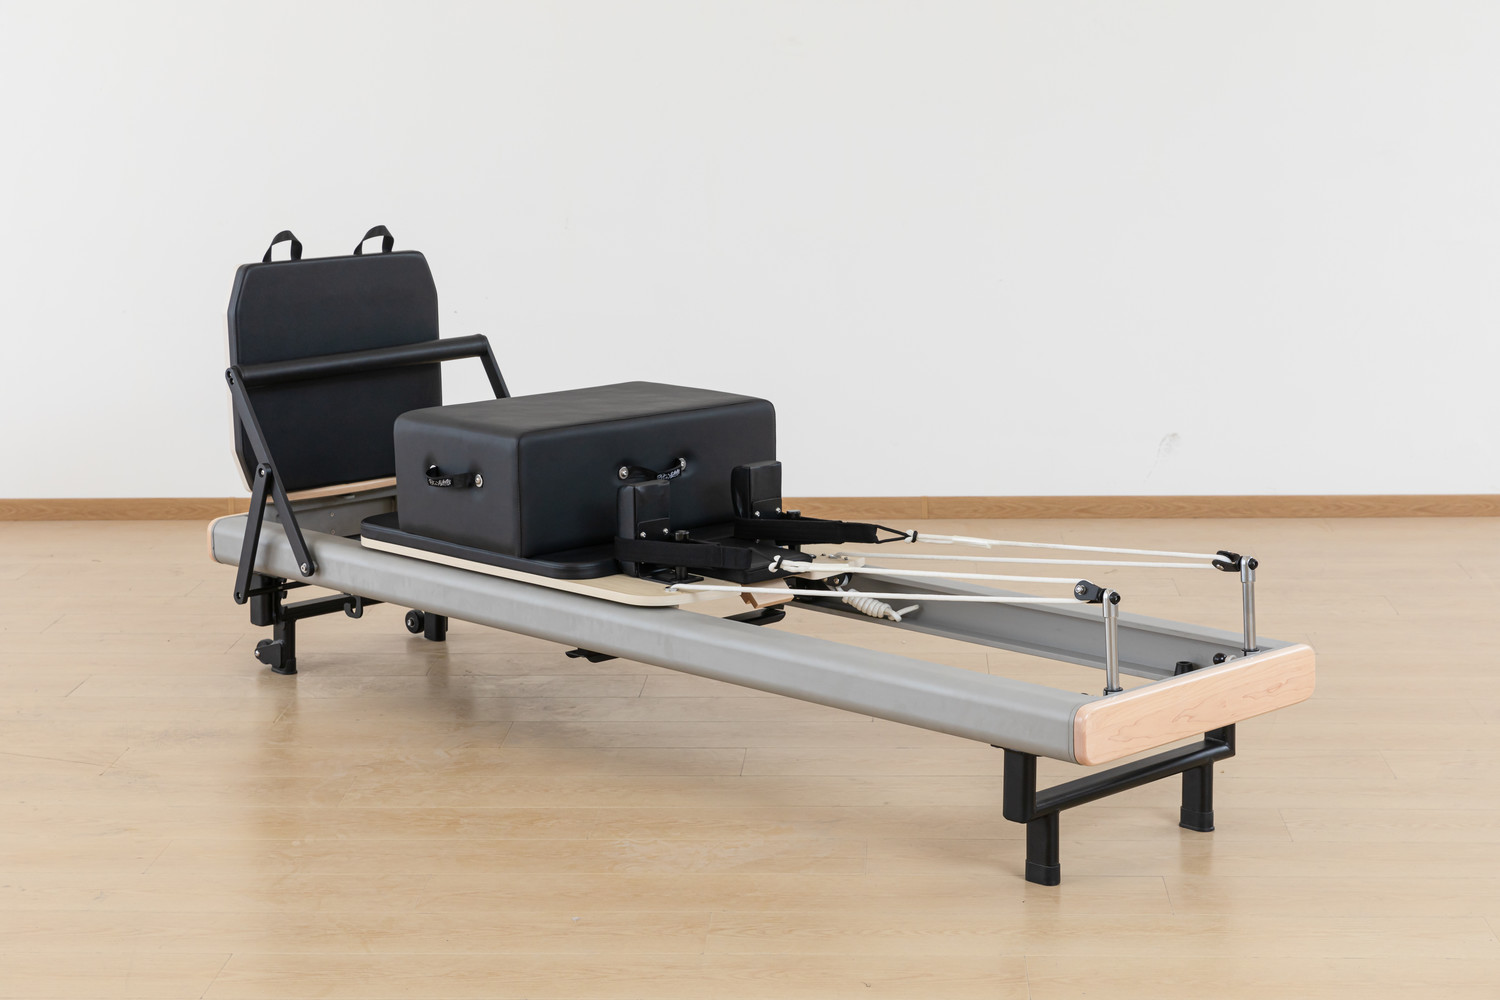
If group reformer classes will be your primary revenue stream, adjustable reformers become your top priority. Folding reformers are a strong budget-friendly option for smaller spaces: they cost less than full commercial tower reformers and can be stored partially or fully folded to free up floor space for mat work. Aim for a small, usable set first rather than buying more units than you can afford. A setup of 4–6 reformers works well for most new boutique studios.
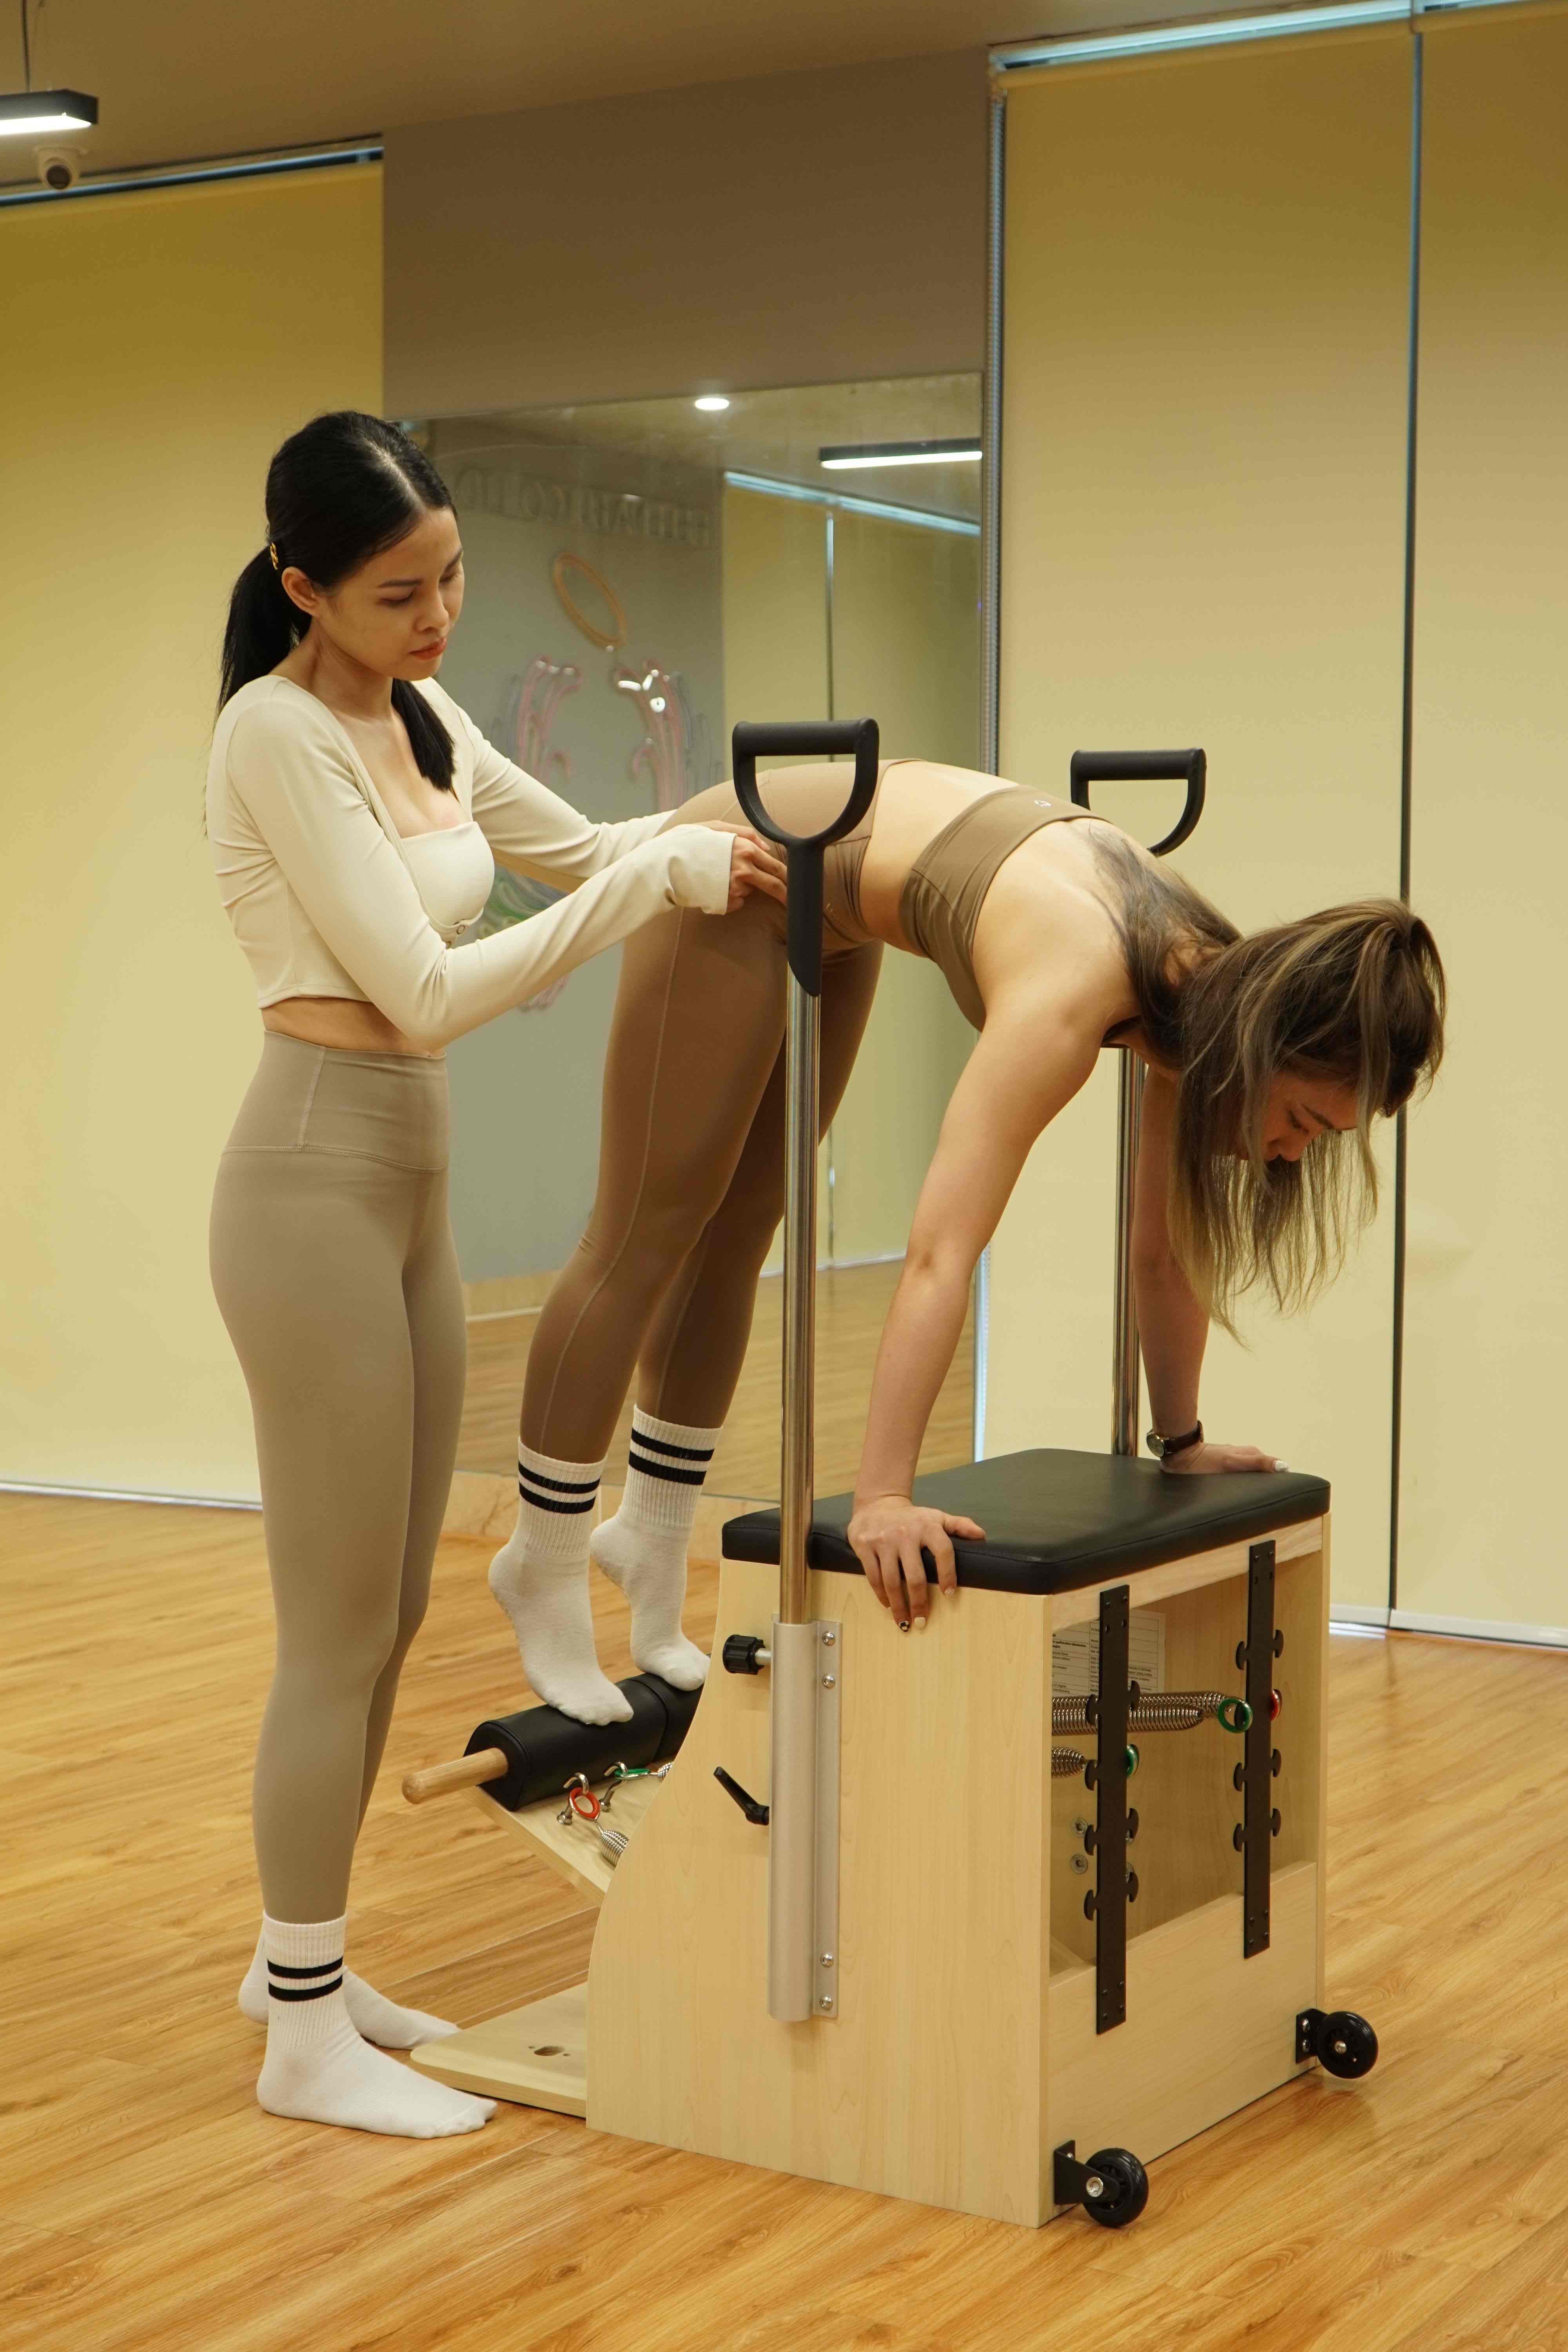
If your studio leans toward rehab and one-on-one training, one sturdy reformer plus a Wunda Chair or a small barrel is more practical than purchasing six basic reformers. These compact pieces support a huge range of corrective movement patterns and require far less floor space.
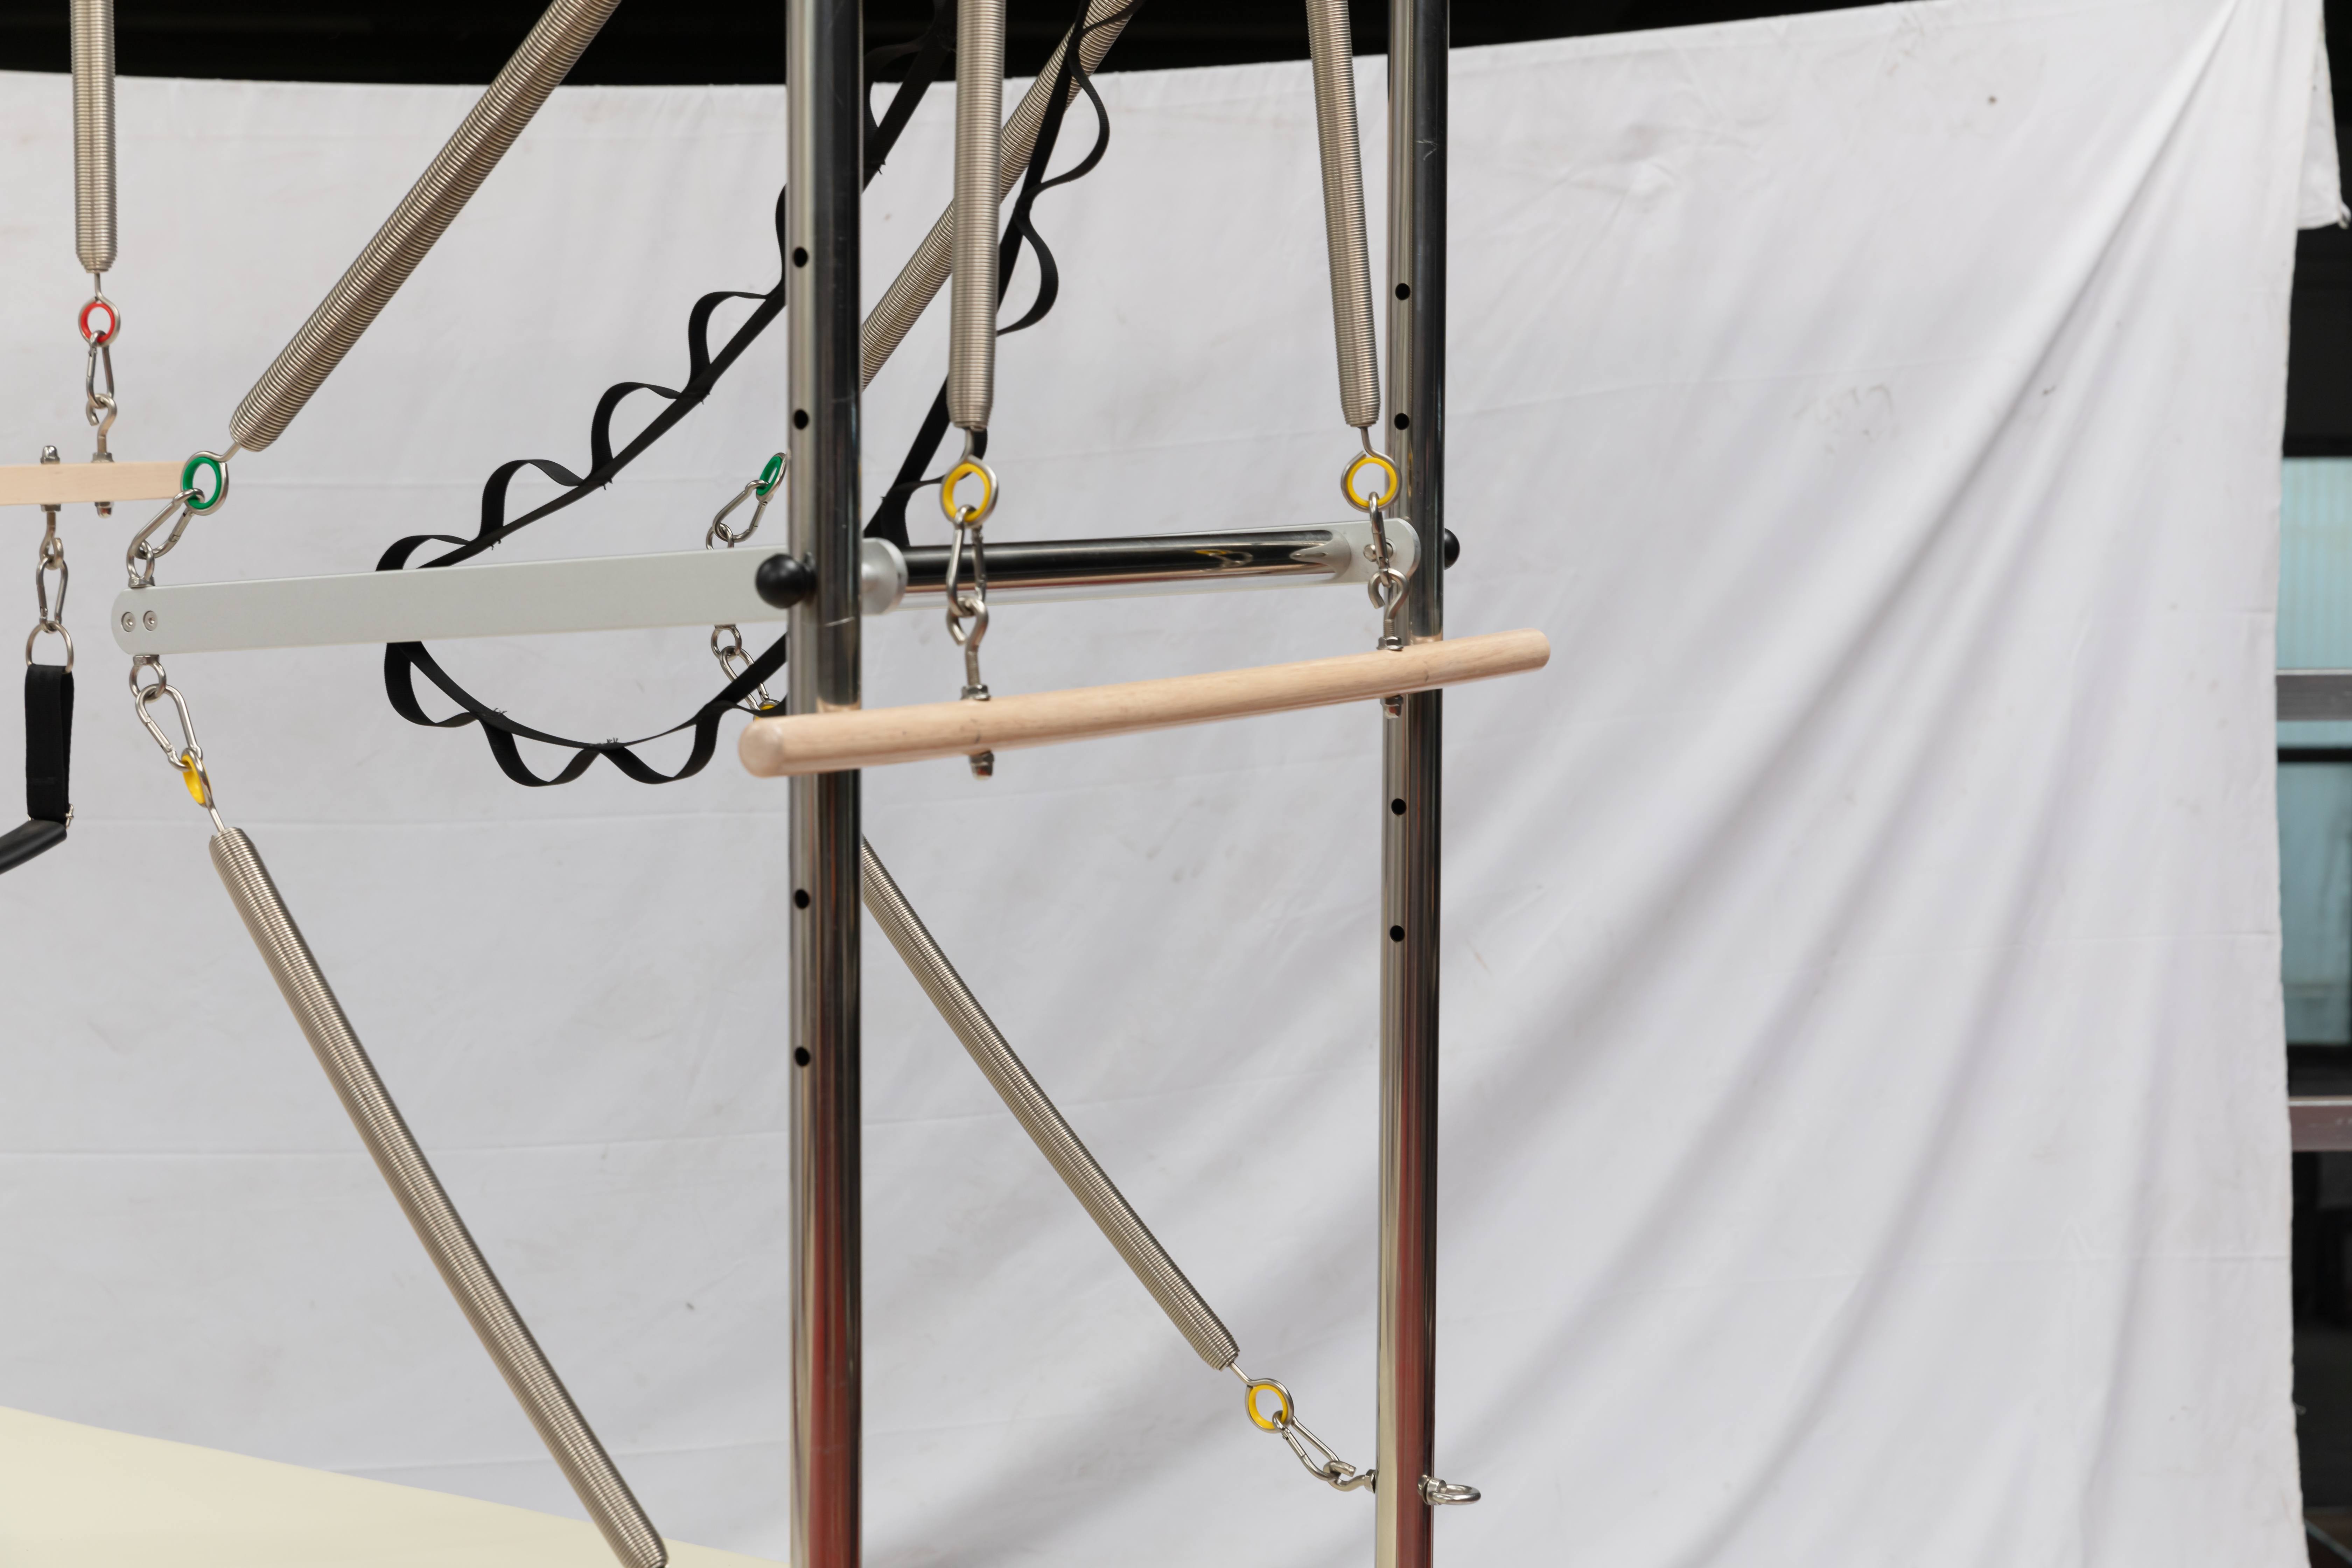
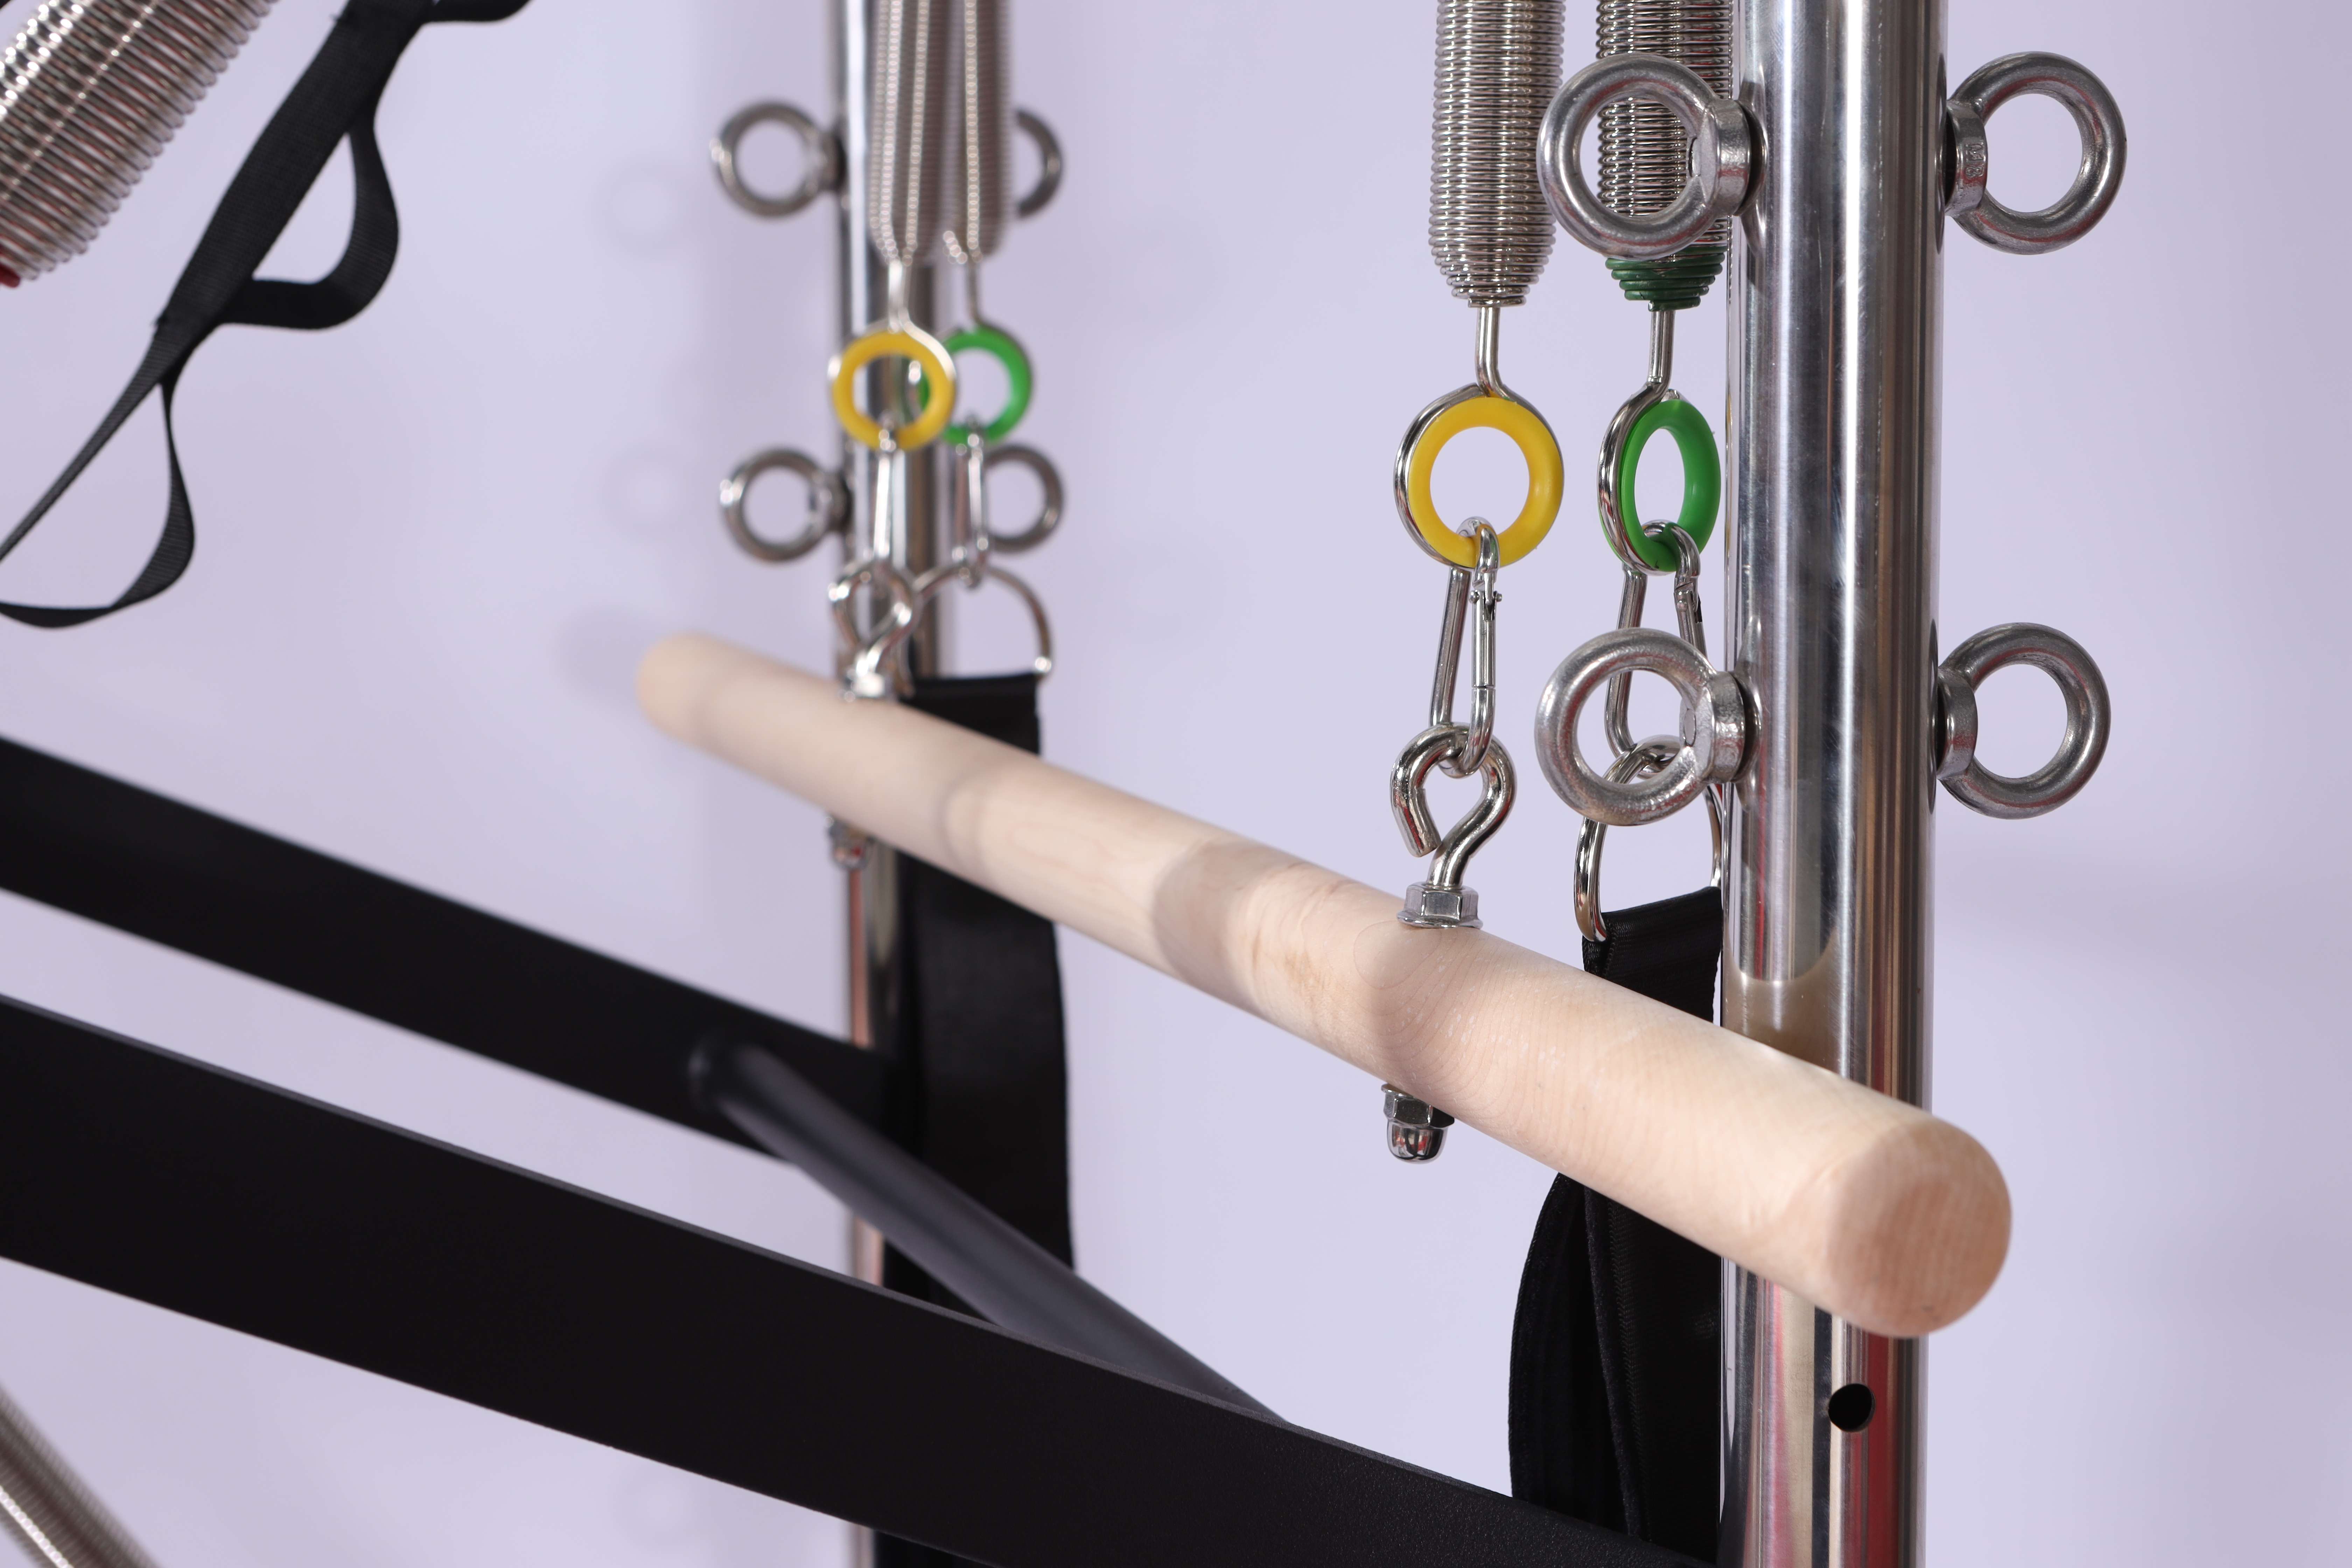
Accessories, by contrast, are supporting tools: resistance bands, magic circles, hand weights, foam rollers, jump boards, foot straps, head supports, and yoga blocks. They cost much less per item, add variety to every class, and let instructors modify exercises for clients of different strength levels and injury histories. However, accessories cannot replace core apparatus. A studio stacked with bands and rollers but no reformer will struggle to attract clients looking for authentic Pilates training.
A simple budget rule: allocate roughly 70% of your equipment budget to core machines, and reserve 30% for accessories, installation, spare parts, and shipping. This ratio keeps your studio functional while leaving room for creative programming.
Step 2: Choose Cost-Effective Sourcing Strategies for Core Apparatus
Brand-new commercial Pilates equipment carries premium pricing, and custom finishes or high-end timber frames can quickly blow your budget. Budget-focused buyers have several reliable options to cut costs without sacrificing safety and durability.
First, work directly with manufacturers rather than local distributors. Wholesale pricing removes middleman markup, and many factories offer standard color options for upholstery instead of fully custom finishes. Skipping custom logos and special paint jobs at launch can save a substantial amount. You can add private labeling later once your studio generates steady income.
Second, consider certified refurbished apparatus from trusted suppliers. Refurbished reformers that have replaced springs, straps, pulleys and upholstery can perform nearly as well as new units at 40–60% of the price. Always ask for inspection records and warranty terms before buying used or refurbished equipment. Avoid second-hand machines with cracked frames, worn carriage tracks, or rusted hardware — hidden structural failures create safety risks and expensive repair bills.
Third, explore phased buying. You do not need to finish your entire studio on opening day. Launch with your minimum viable setup, then reinvest monthly profits to add one core piece every quarter. For example: open with four folding reformers and a full accessory pack, then add a barrel, then a Wunda Chair six months later. Phased purchasing spreads out cash outflow and reduces pressure on your startup funds.
Step 3: Pick High-Impact Accessories That Maximize Session Variety
When your accessory budget is limited, avoid buying every trendy tool you see on social media. Focus on multi-purpose accessories that work across reformer, mat and chair sessions. These high-ROI picks give instructors the freedom to design hundreds of different workouts:
- Magic circles: ideal for glute, core and upper-body activation, easy to store and low cost
- Light, medium and heavy resistance bands: perfect for warm-ups, rehab modifications and home takeaway kits for clients
- Foam rollers and small massage balls: for myofascial release and pre-class mobility work
- Jump boards: turn a standard reformer into a cardio platform, expanding your class offering without another large machine
- Replacement springs, straps and foot loops: these are consumable parts. Stocking spares prevents classes from being canceled when components wear out.
Limit low-value, single-use accessories. Specialty small tools that only serve one niche exercise rarely justify the expense for a new budget studio. You can introduce those later when you build a dedicated niche program, such as advanced athletic Pilates.
Step 4: Layout Planning to Stretch Your Investment
Smart floor planning helps you get more value from every piece you buy. Folding reformers are the gold standard for tight-budget, small studios because the same space can host reformer group classes in the morning and mat/accessory workshops in the afternoon once machines are folded aside.
Design shared accessory storage near each station. A simple wall rack keeps bands, circles and rollers organized and accessible. If every reformer station shares a set of accessories instead of assigning one full set per machine, you can cut your accessory spend significantly. Most group classes do not need every client to have identical small tools all the time.
Also think about client flow. Leave enough clear space around reformers for safe movement. Crowding machines too closely leads to poor client experience and injury risk, which hurts retention far more than saving money on one extra reformer.
Step 5: Common Budget Pitfalls to Avoid
Many new studio owners fall into predictable traps when balancing core equipment and accessories. The first trap is overbuying accessories early on. It feels cheap to add dozens of small items to your cart, but clutter makes your studio look messy, and many tools will never be integrated into regular classes.
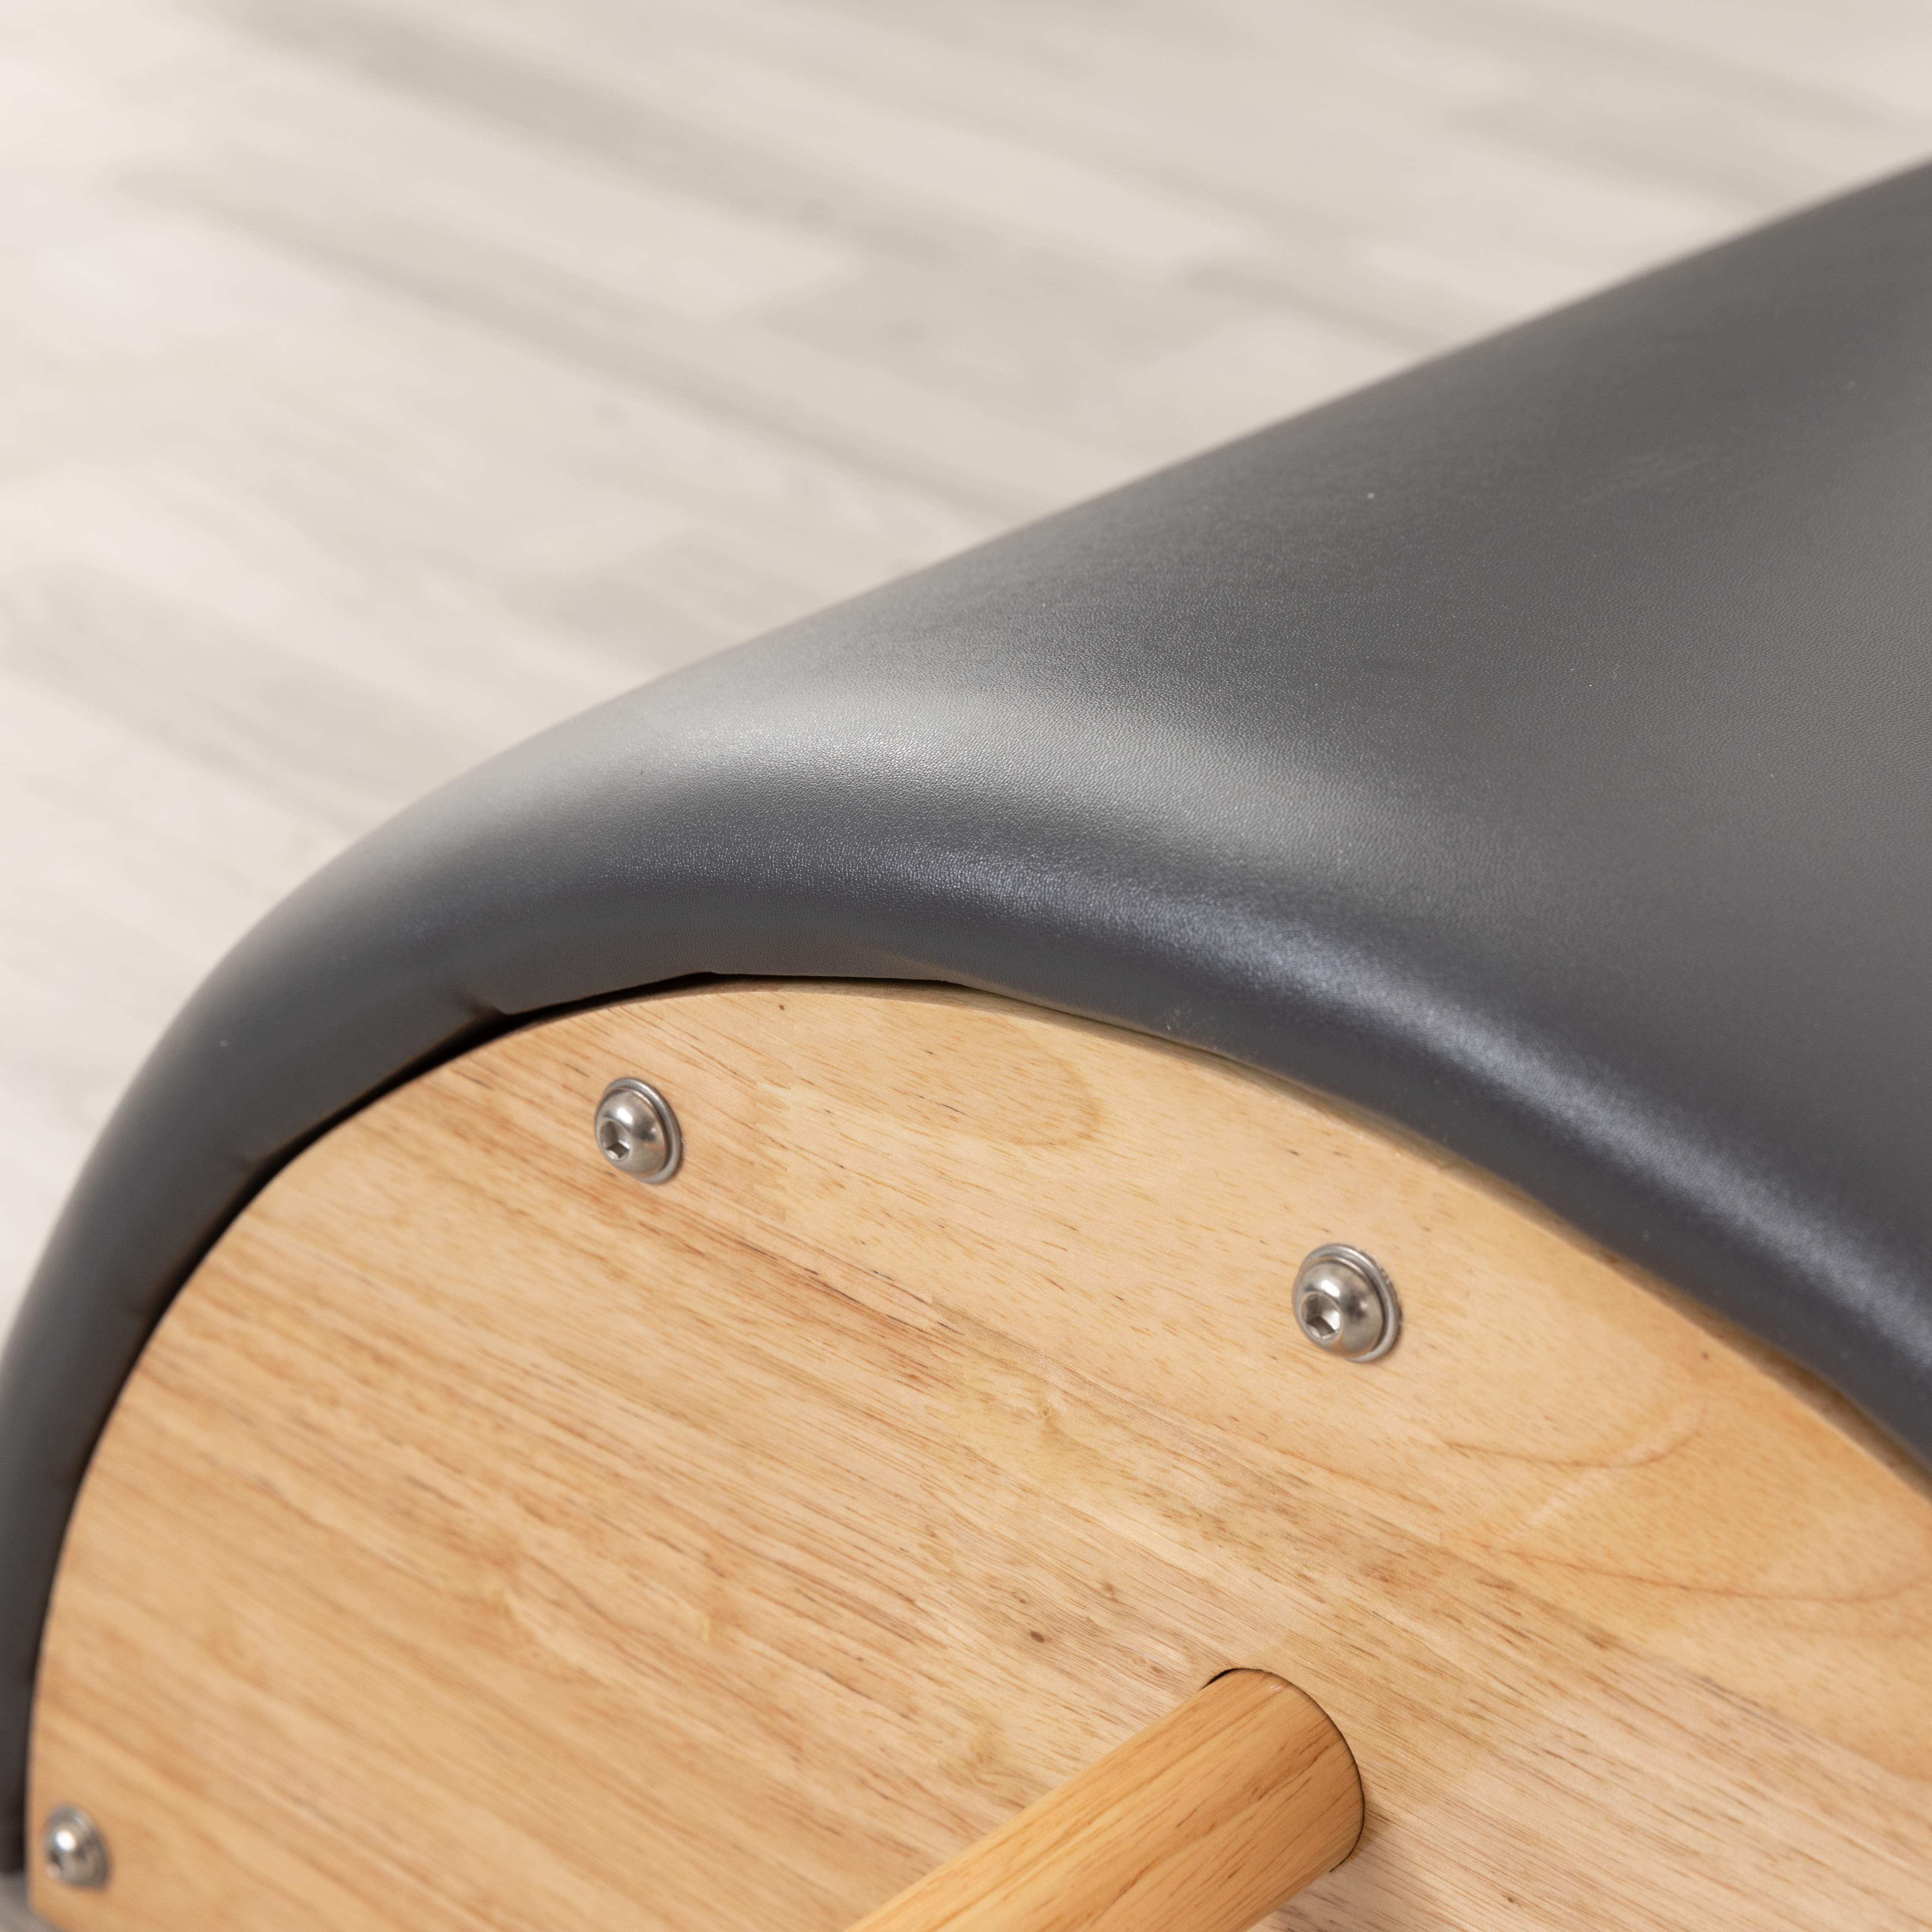
The second trap is prioritizing aesthetics over function. Premium hardwood frames, custom embroidery and luxury upholstery look impressive, but they add thousands to your bill. Standard commercial upholstery in neutral colours is durable, easy to clean and meets safety standards. You can refresh visual branding later once the business is profitable.
The third trap is ignoring aftersales and spare parts. A low-cost reformer with no available replacement springs or pulleys becomes useless quickly. Always confirm that your manufacturer can supply spare parts locally and offer a clear warranty before placing an order.
Step 6: Sample Budget Studio Setup Example
For a small boutique studio targeting group reformer and beginner classes:
- Core equipment: 4 folding aluminium reformers (main budget allocation)
- Accessories: magic circles, resistance band sets, foam rollers, jump boards, spare springs and straps
- Phase 2 (6–12 months): add one Wunda Chair and an arc barrel for private training
- Phase 3: upgrade to tower reformers or add custom upholstery and branding
This approach lets you launch reliably, test what your clients love, and expand intentionally based on real booking data.
Final Thoughts
Building a Pilates studio on a limited budget does not mean offering a low-quality experience. It means making intentional choices: investing most of your capital into safe, functional core apparatus that defines your class offering, and selecting a tight collection of versatile accessories to unlock programming flexibility. The best budget studios are not those with the largest equipment inventory. They are the studios whose instructors know how to use every piece they own to deliver consistent, effective sessions. By mixing core machines and supporting accessories in the right proportion, you can launch a profitable Pilates business without drowning in upfront costs.