Studio Floor Load Requirements: What Structural Checks You Need Before Installing Commercial Pilates Reformers
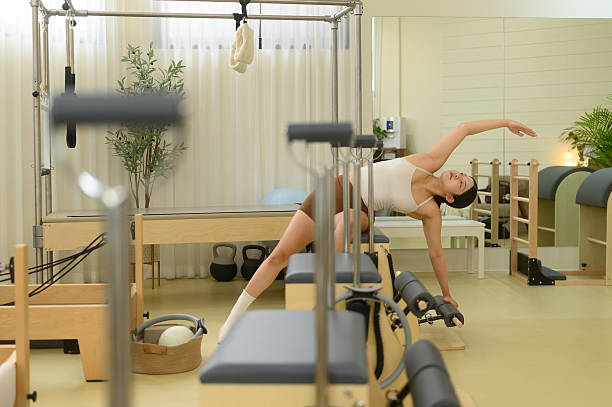
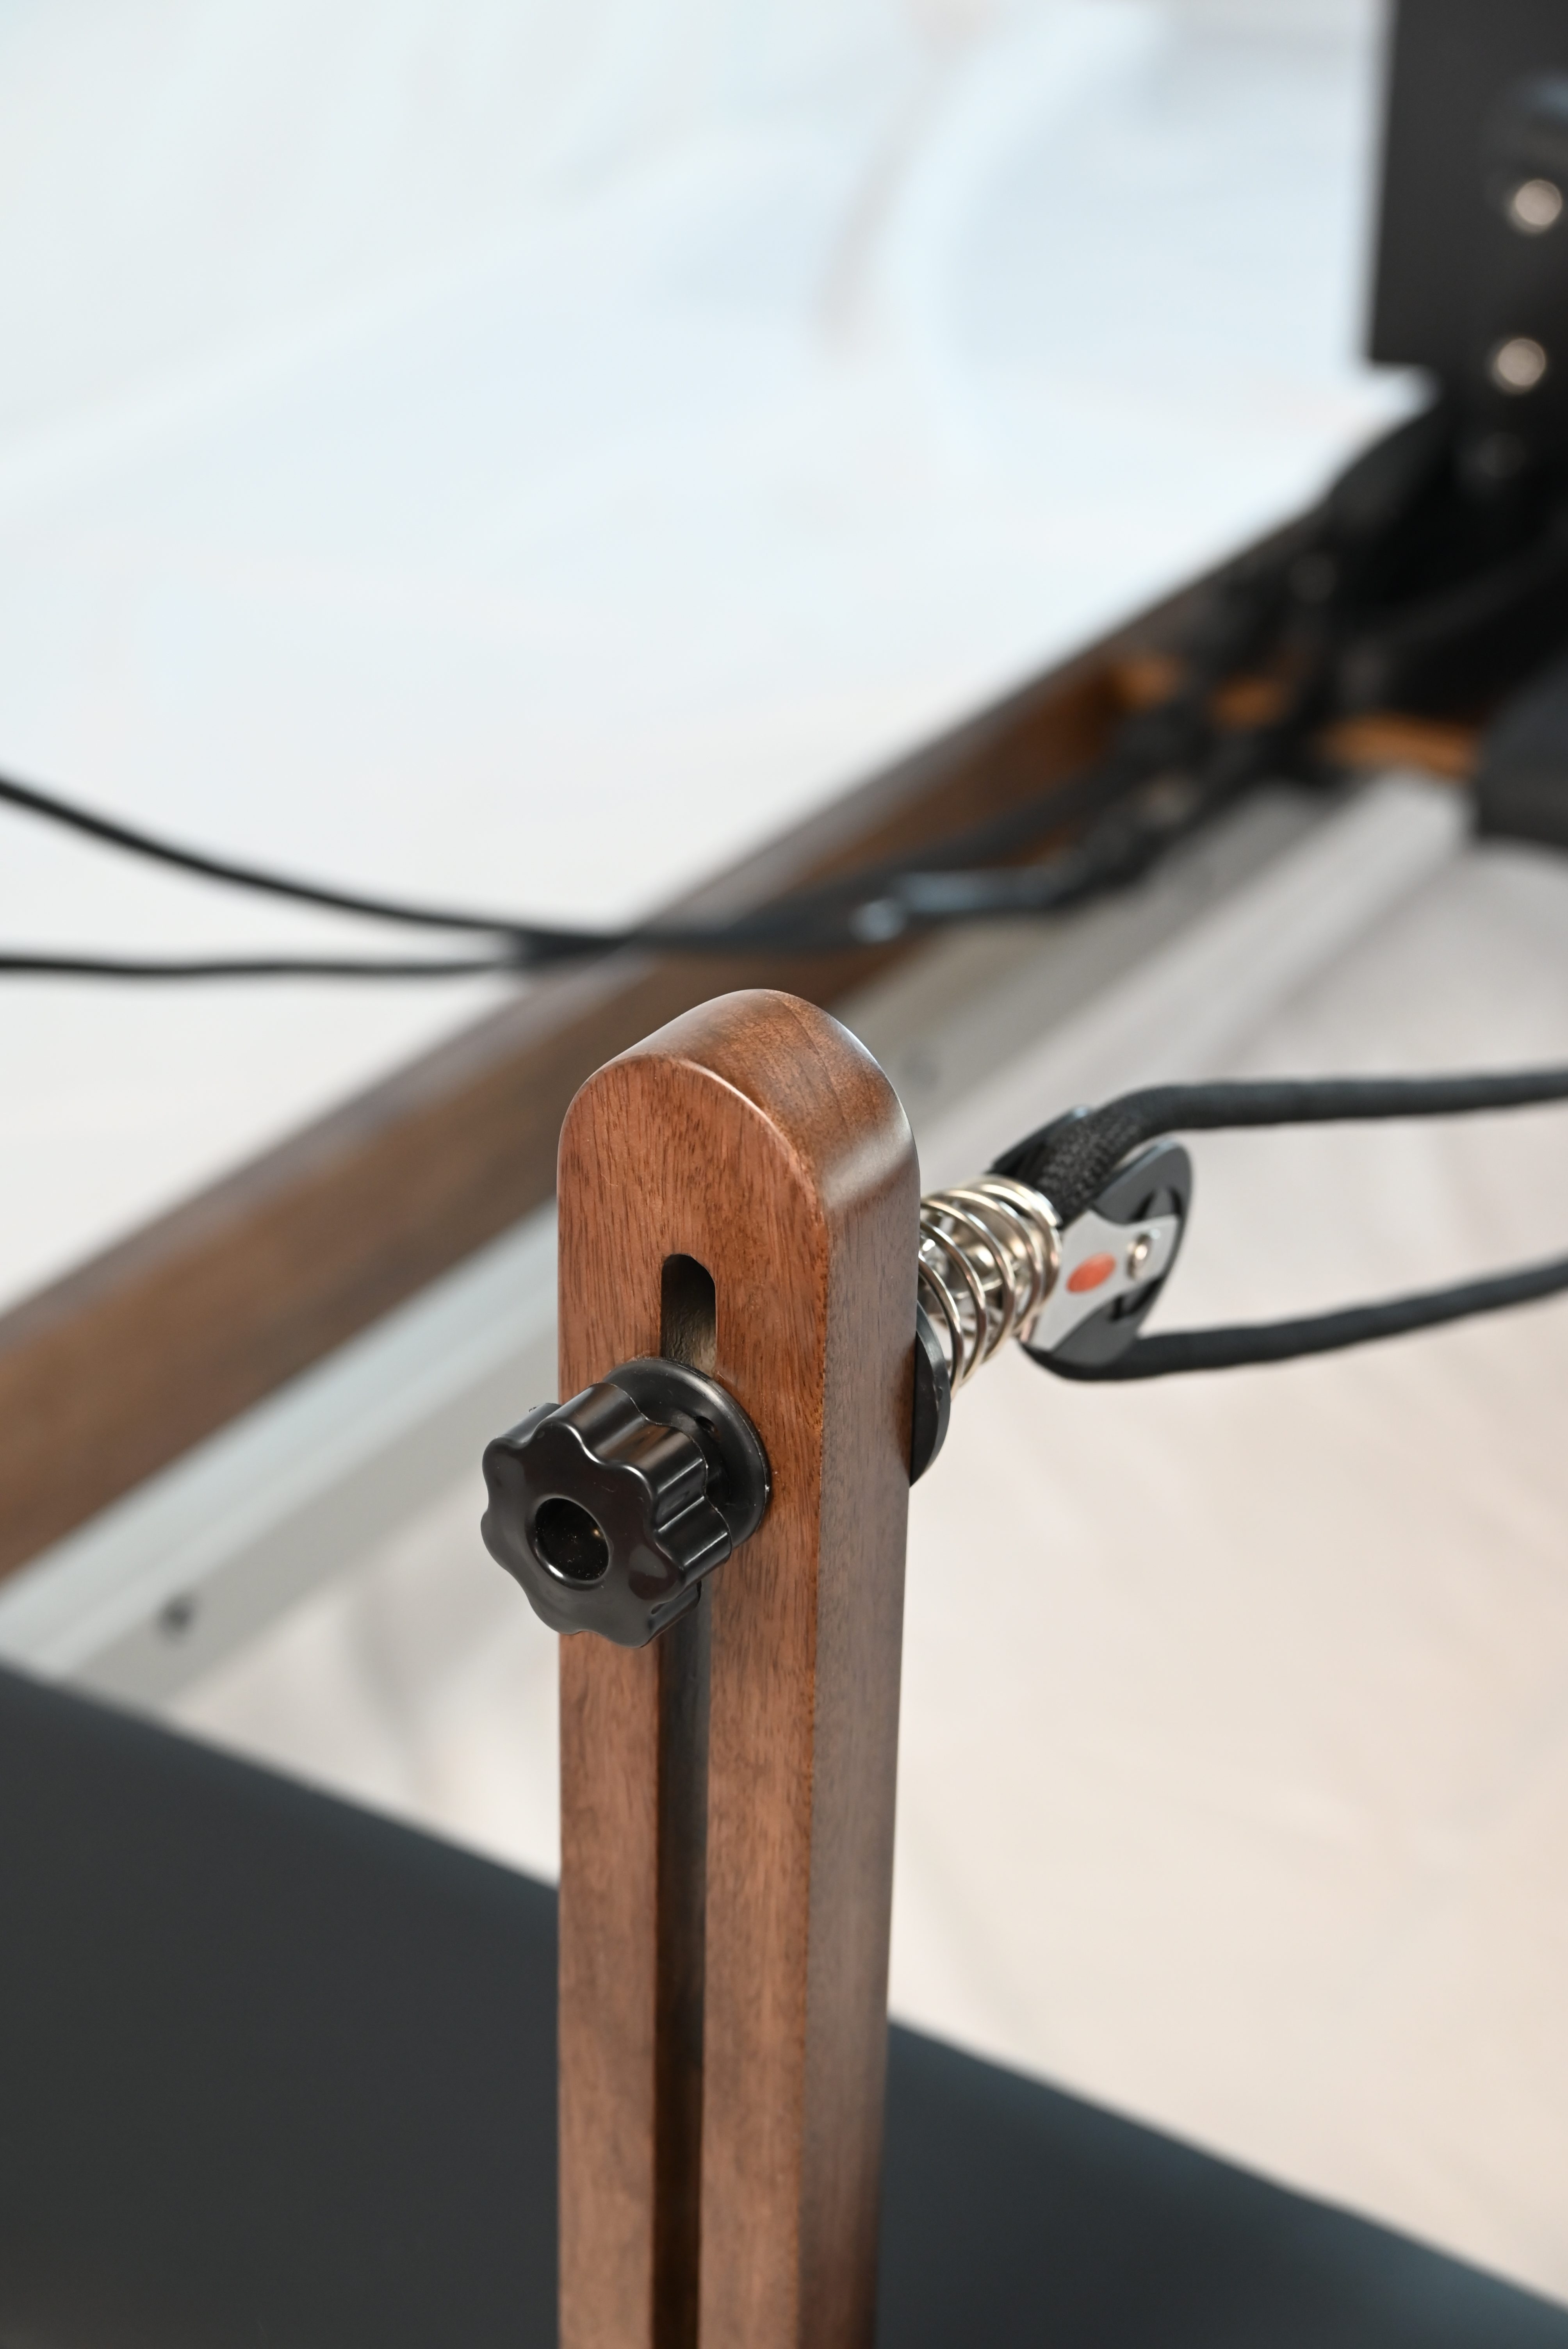
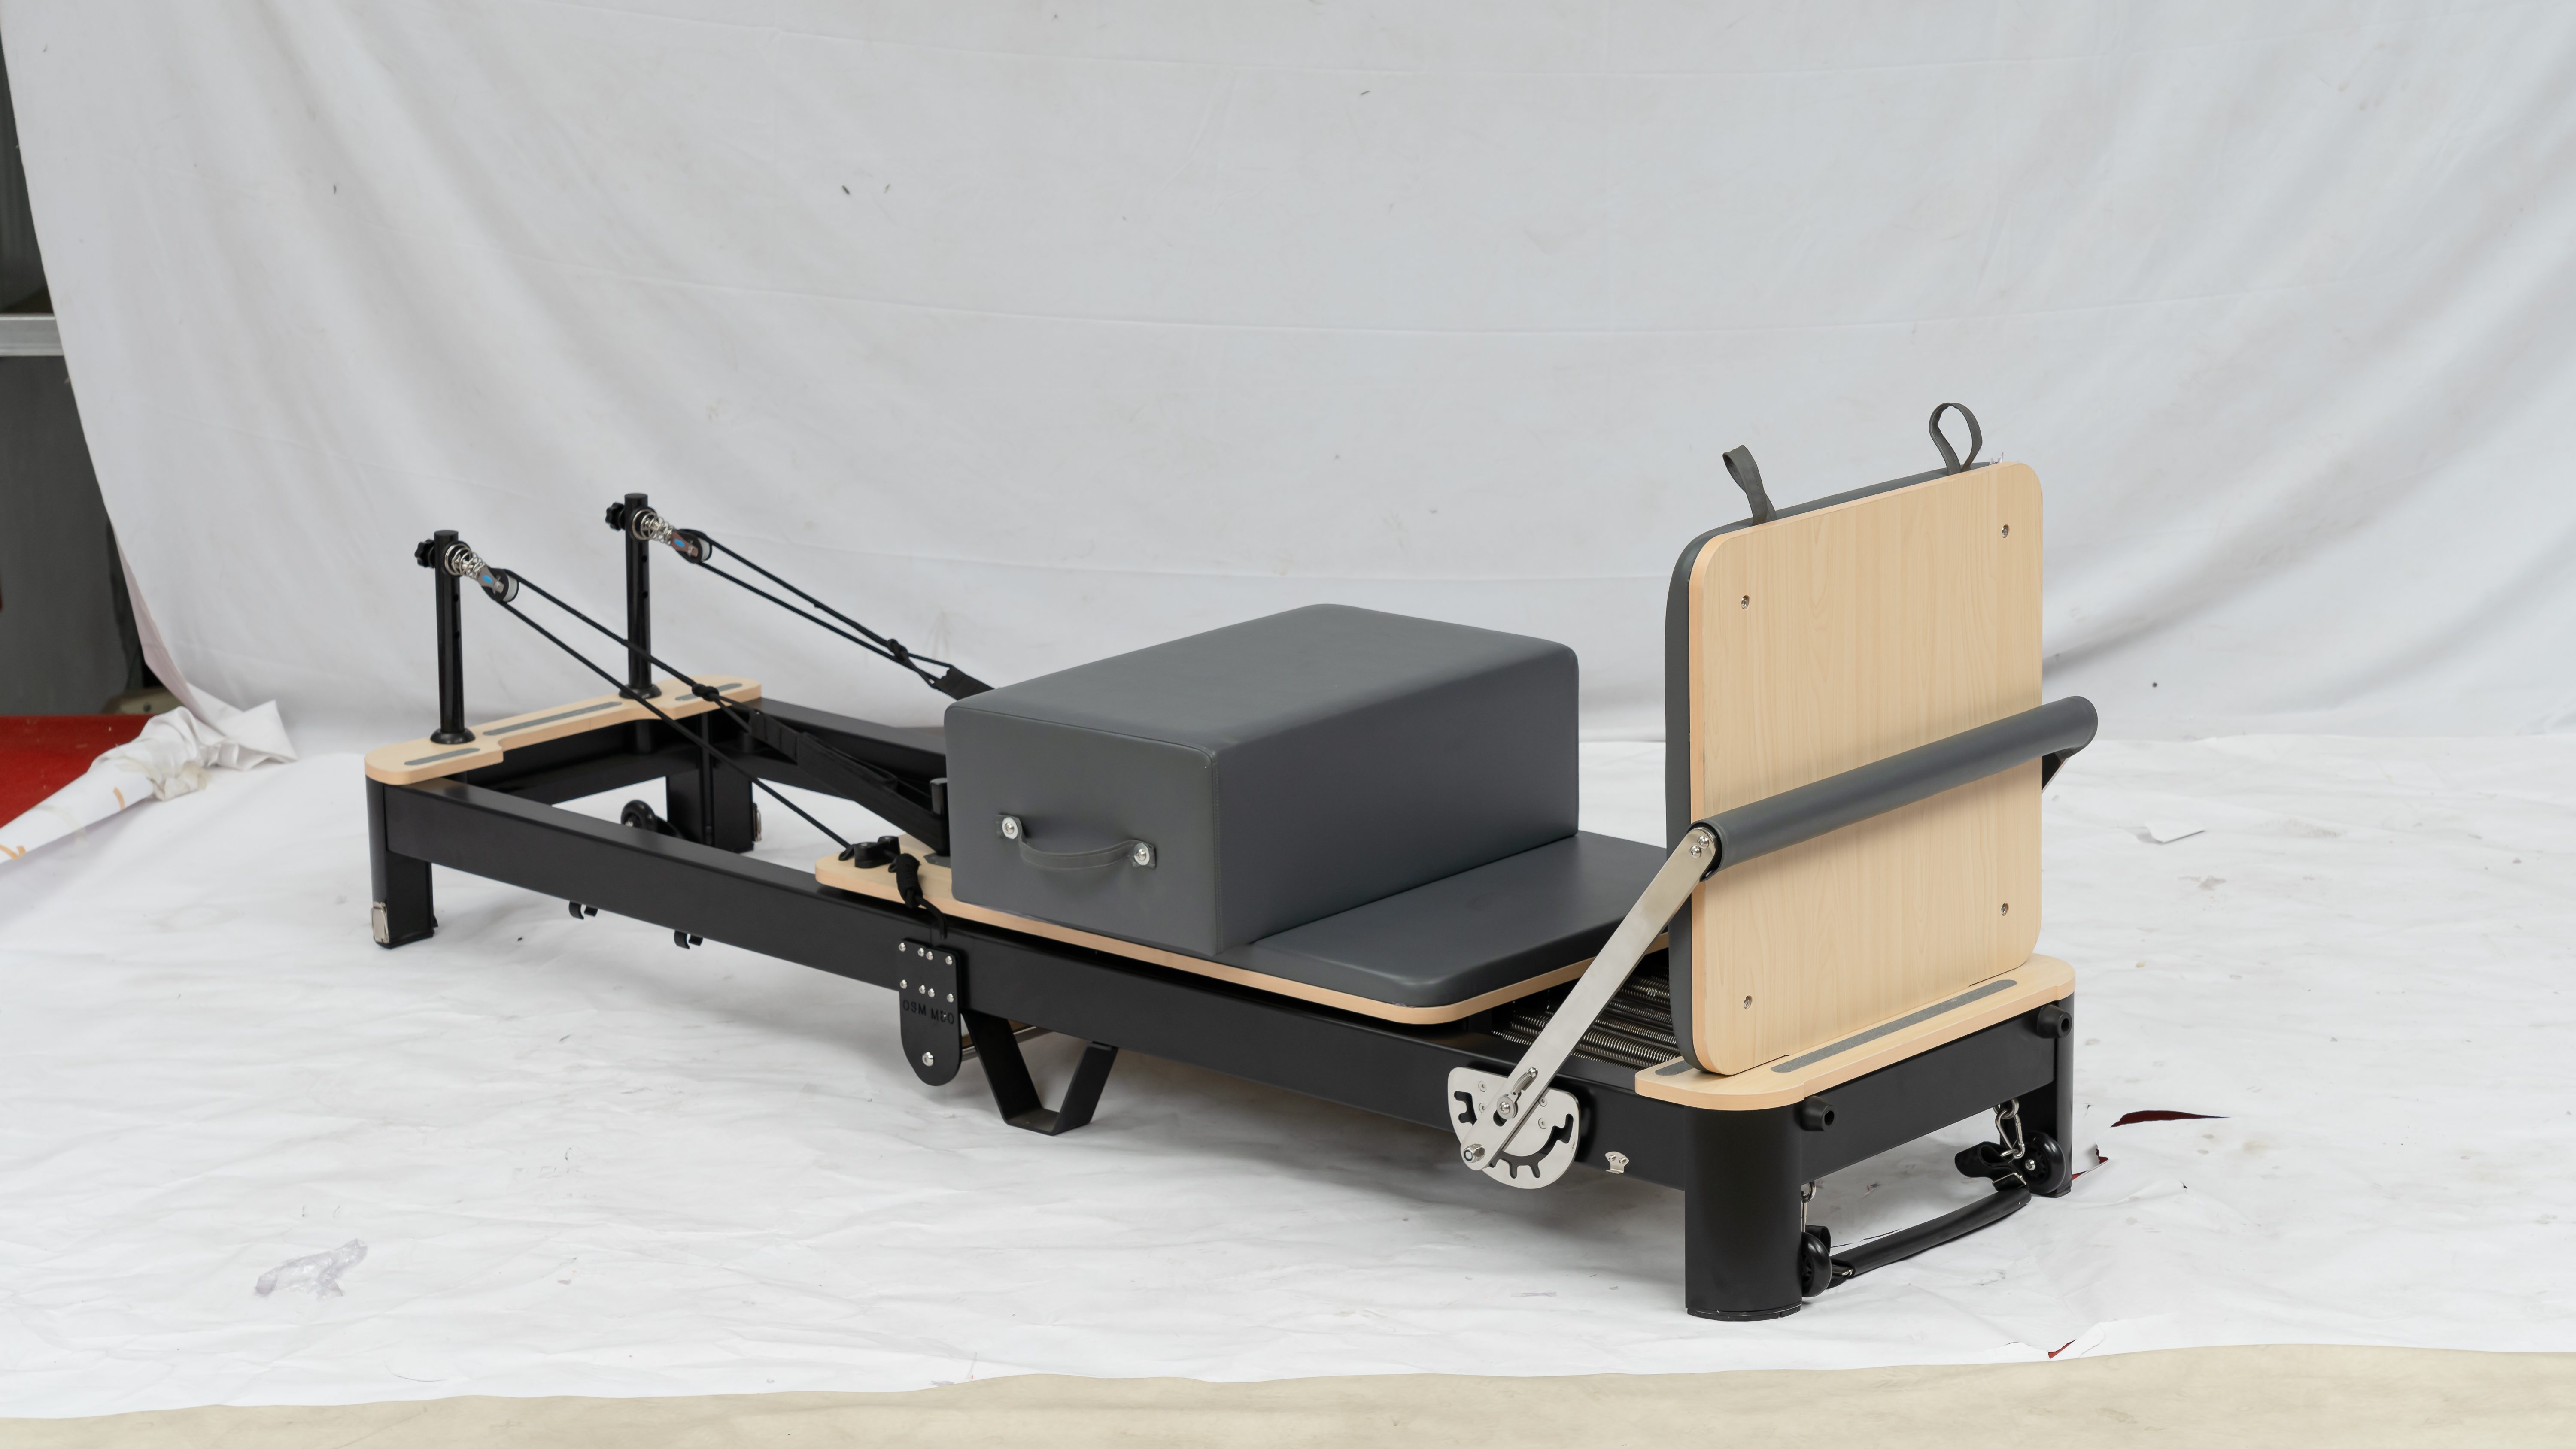
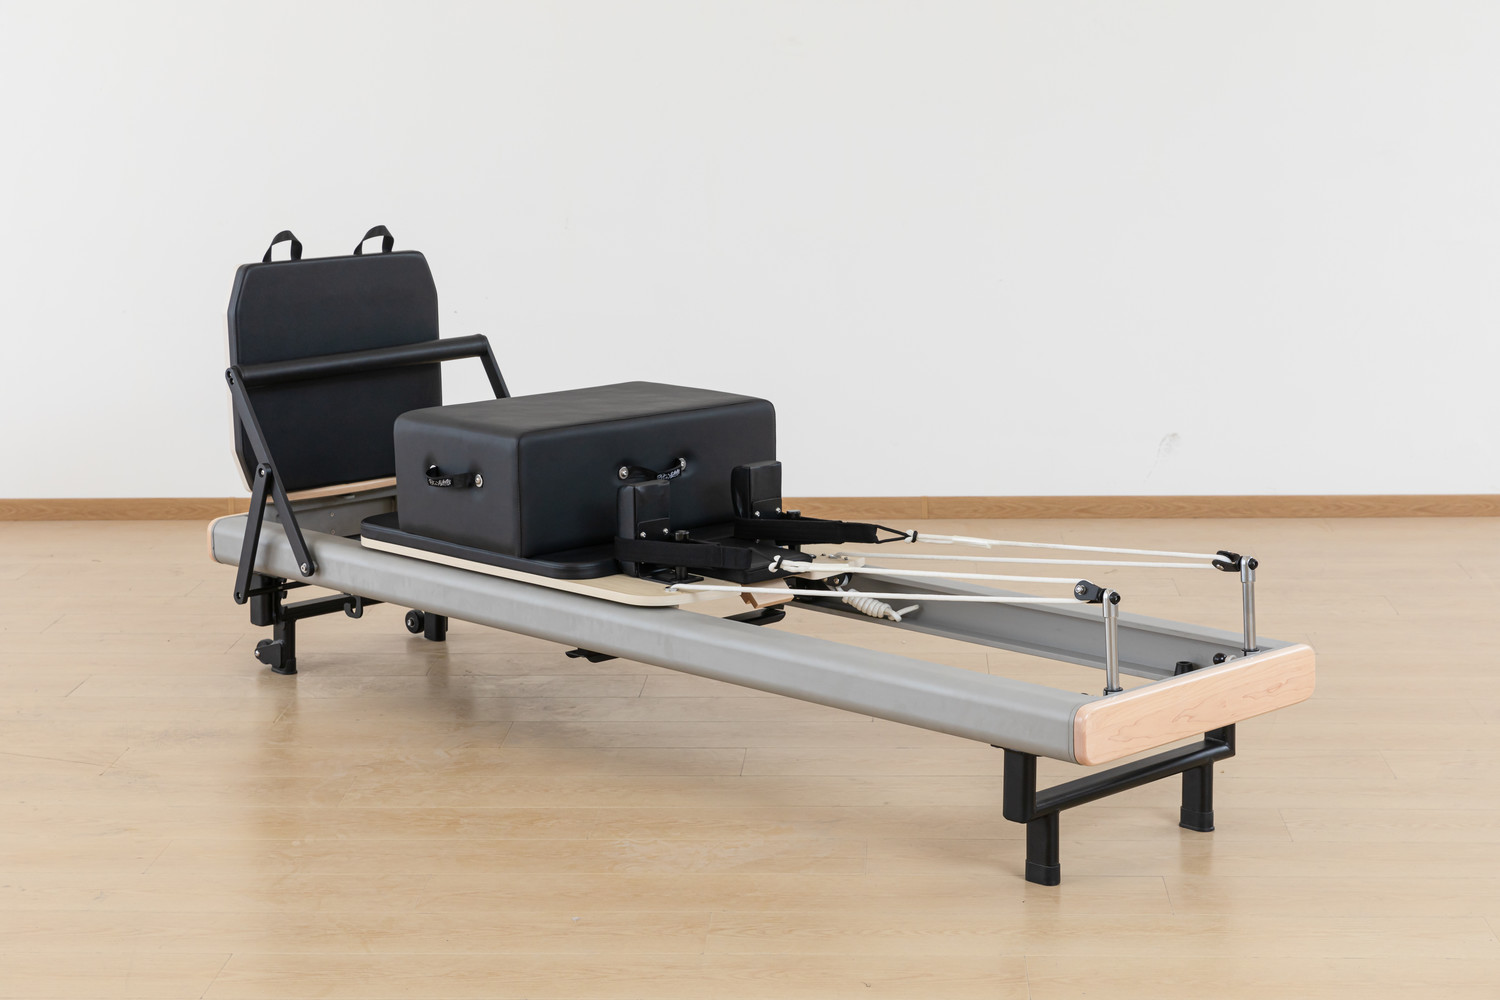
Many new Pilates studio owners focus their budget on reformer quality, upholstery colours and spring tension specs, yet overlook one foundational risk: floor structural capacity. A commercial reformer is not just static dead weight. During every class, it transfers dynamic, shifting, lateral and impact loads through a small set of contact points into your subfloor. Installing multiple reformers on an underrated floor can lead to long-term deflection, squeaking, cracked tile, uneven carriage movement, and in the worst cases, structural failure and insurance liability. For distributors supplying bulk reformer orders, guiding your studio clients through these structural checks is a high-value service that reduces aftersales complaints and builds trust.
This guide breaks down the core floor load principles and step-by-step structural inspections every studio must complete before delivery and installation of commercial reformers.
Understand the Difference Between Static Load, Concentrated Load and Dynamic Load
Most people only calculate the listed weight of a reformer, typically 120–180 lb (54–82 kg) for a commercial aluminum or hardwood model. That number alone tells you very little about floor safety.
Three load types matter for Pilates reformer installations:
- Static dead load: The permanent weight of the machine itself, always pressing down on the floor.
- Concentrated point load: All that weight plus the client’s body weight is distributed across just four or six small feet. This creates far higher pressure per square inch than evenly spread office or retail loading.
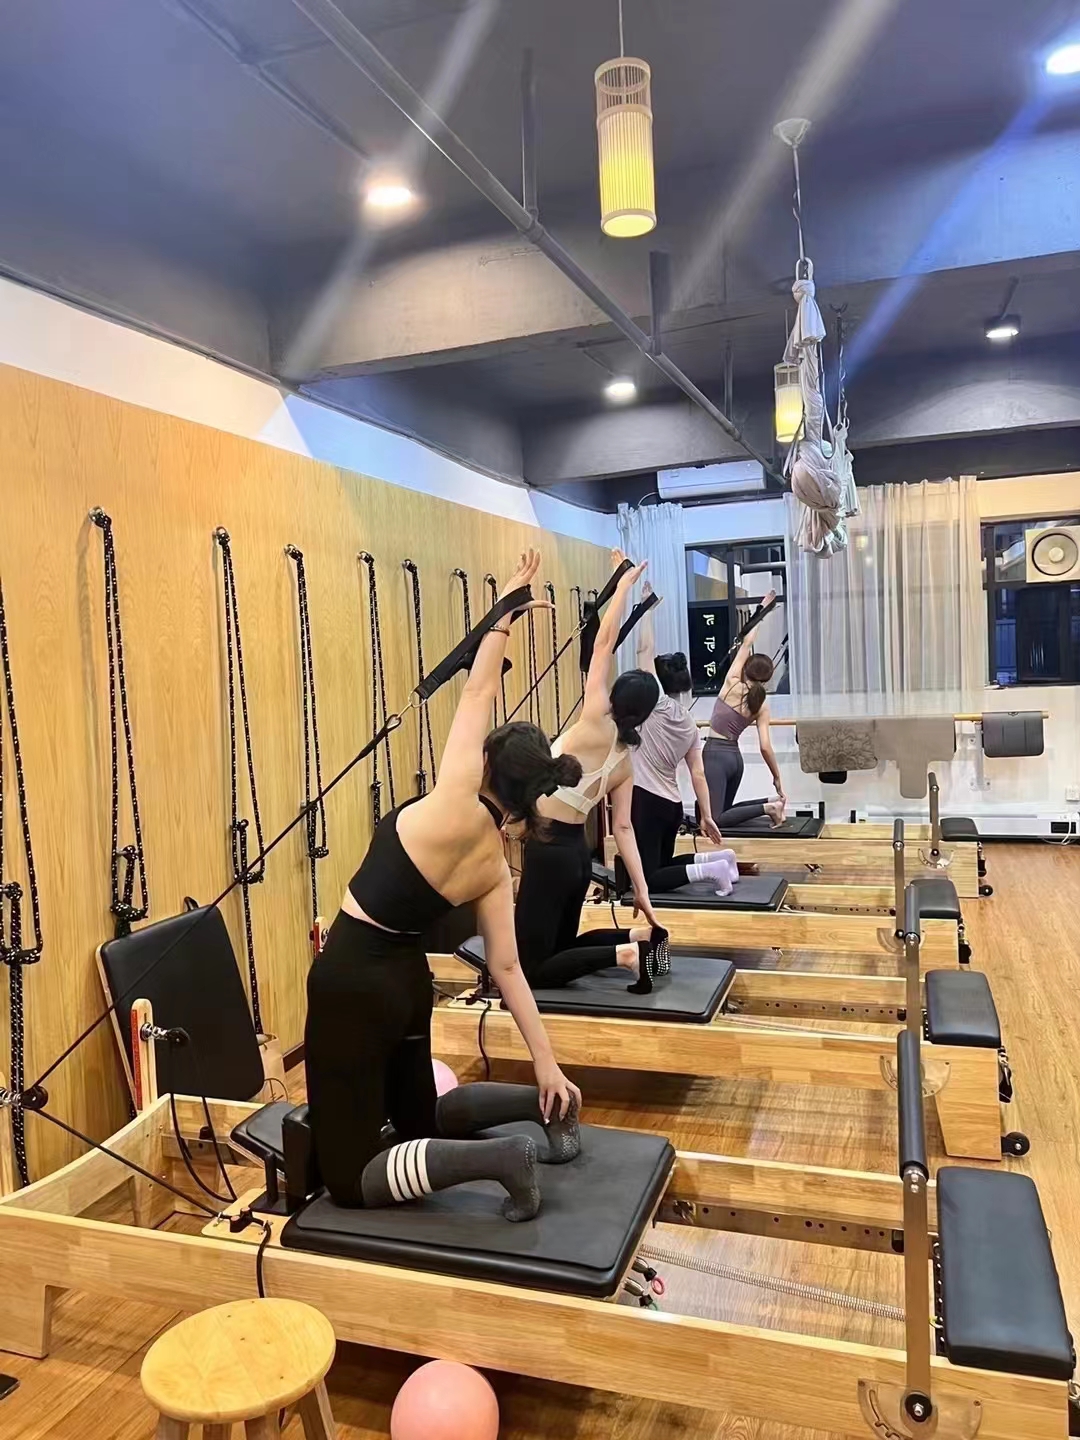
- Dynamic live load: The variable force generated as clients push, pull, jump, brace and transfer weight on the carriage. These movements create forward, backward and side-to-side shear forces, not just vertical downward pressure. On upper-level timber floors, this is also the main source of vibration and noise transfer to the space below.
Standard commercial retail floor ratings often sit around 40–50 psf (pounds per square foot). Fitness and dedicated studio spaces frequently require a minimum live load rating of 100 psf or higher for reformer zones, depending on local building codes. Ground-floor concrete slabs are usually the lowest-risk option. Suspended timber floors, mezzanines, old warehouse conversions and upstairs leased units are where most structural problems appear.
Step 1: Pull the Original Structural Drawings and Occupancy Load Documents
Start with paperwork before touching a level or tape measure. Ask your landlord or building management for:
- Certified structural floor plans showing beam spacing, joist size, subfloor thickness and material
- The original designed live load rating for that room
- Records of past renovations, modifications or wall removals that may have altered load paths
- Local building code requirements for fitness use and commercial occupancy
Do not rely on verbal confirmation from a landlord. “This space was a gym before” is not proof the floor meets reformer dynamic loading. A former yoga or mat studio only carried evenly distributed body weight, not concentrated point loads from banks of reformers. If documents cannot be located, the next mandatory step is a professional structural engineer assessment.
Step 2: On-Site Visual Structural Inspection of the Subfloor
A visual walkthrough catches obvious red flags before load testing. Inspect under the floor if access is available, plus the finished surface:
- Suspended timber joist floors: Check for sagging, twisting, cracked joists, loose bridging, rot, insect damage or water staining. Joists that are undersized, overspanned or cut for pipes are common weak points. Watch for bounce when you step firmly across the area where reformers will sit; noticeable flex is a warning sign.
- Concrete slabs: Look for shrinkage cracks, expansion joint separation, hollow sounding areas, previous repair patches or evidence of settlement. Cracks that open and close under foot traffic require engineering review.
- Subfloor panels: Check for delamination, loose screws, spongy movement or uneven seams. Even a strong structural beam layer can be compromised by a thin, poorly fixed subfloor.
- Level check: Use a long spirit level across each reformer position. An uneven floor creates carriage binding, premature wheel and rail wear, and unstable feel for clients. Minor gaps can be fixed with shims; larger slopes need self-levelling compound before installation.
Mark proposed reformer positions on your floor plan. Avoid placing heavy equipment directly over unsupported spans, close to large openings, or aligned over weak mid-span zones of joists whenever possible.
Step 3: Calculate Total Combined Load for Your Full Reformer Layout
You need to model the worst-case loading scenario, not average use.
For each station: reformer weight + maximum user body weight + dynamic force allowance.
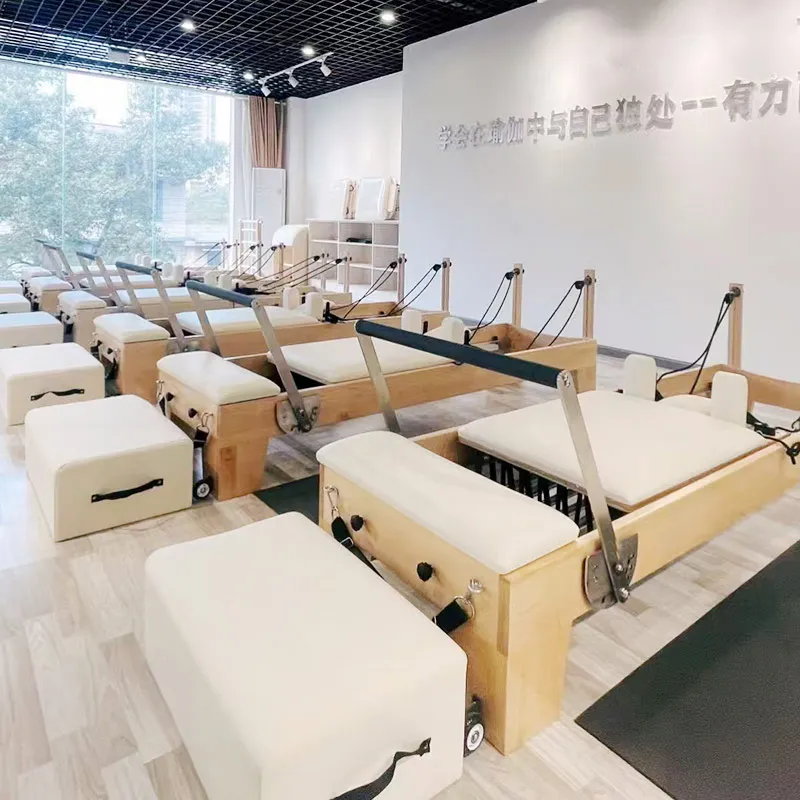
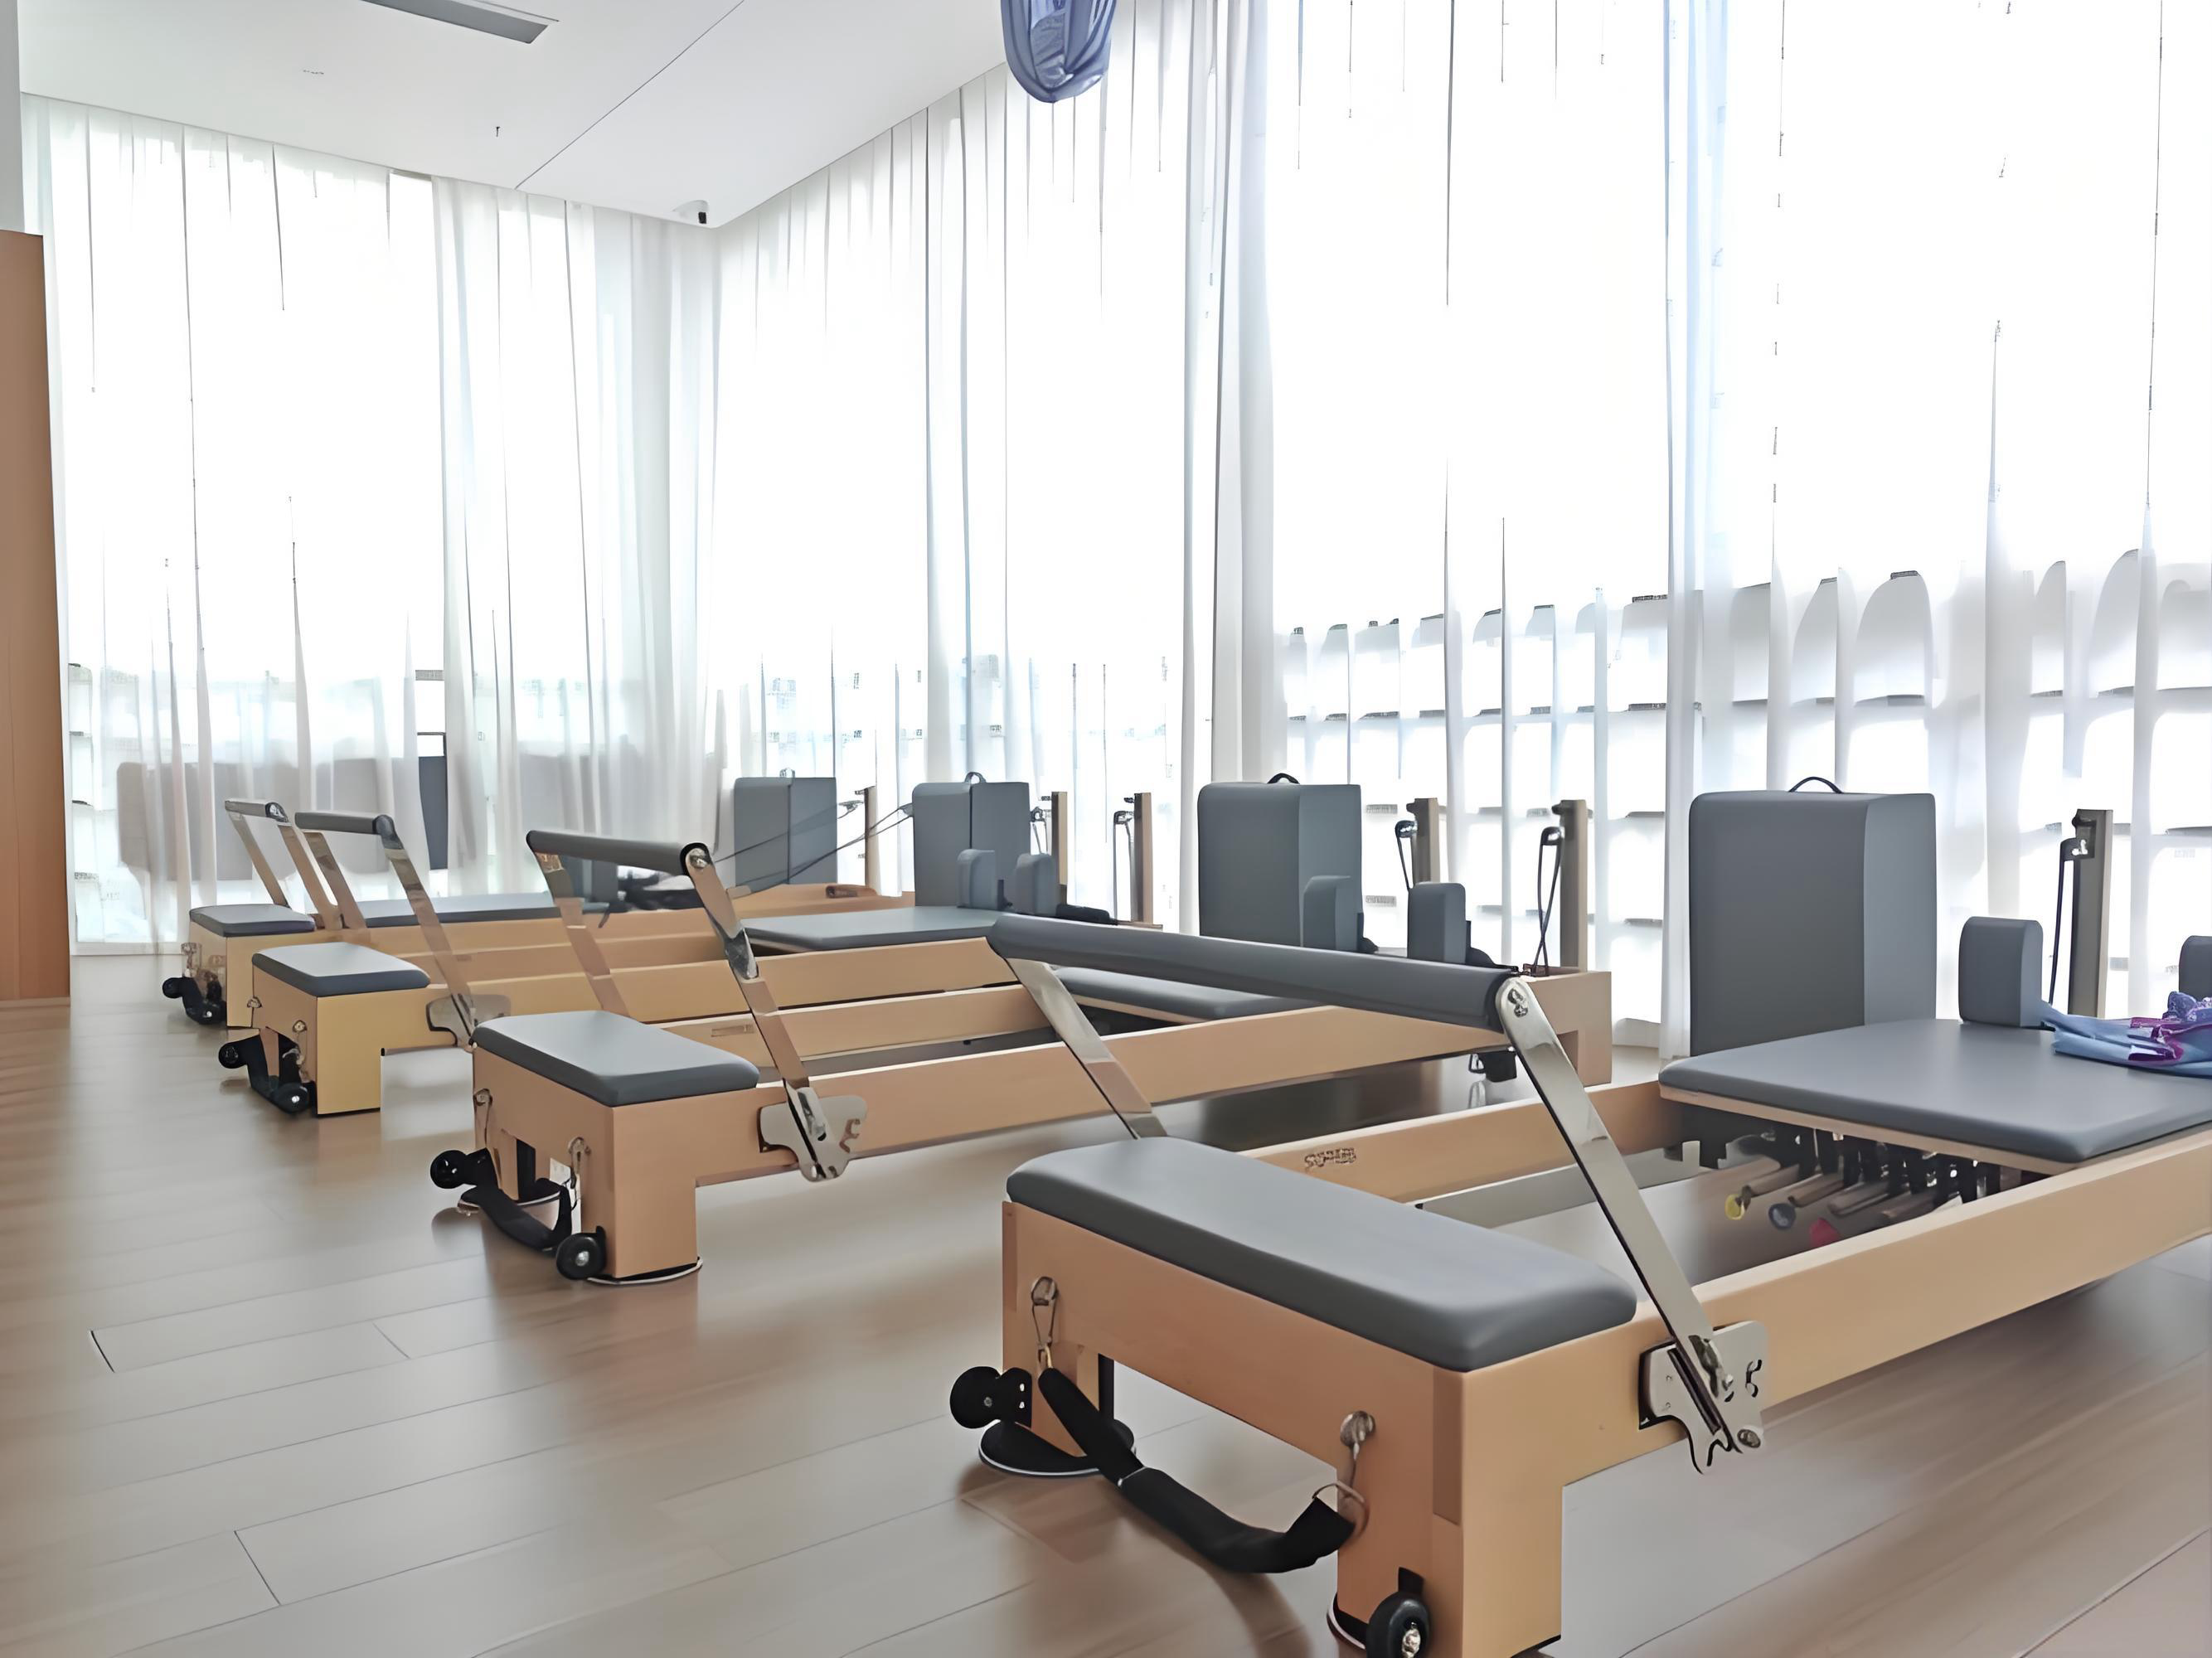
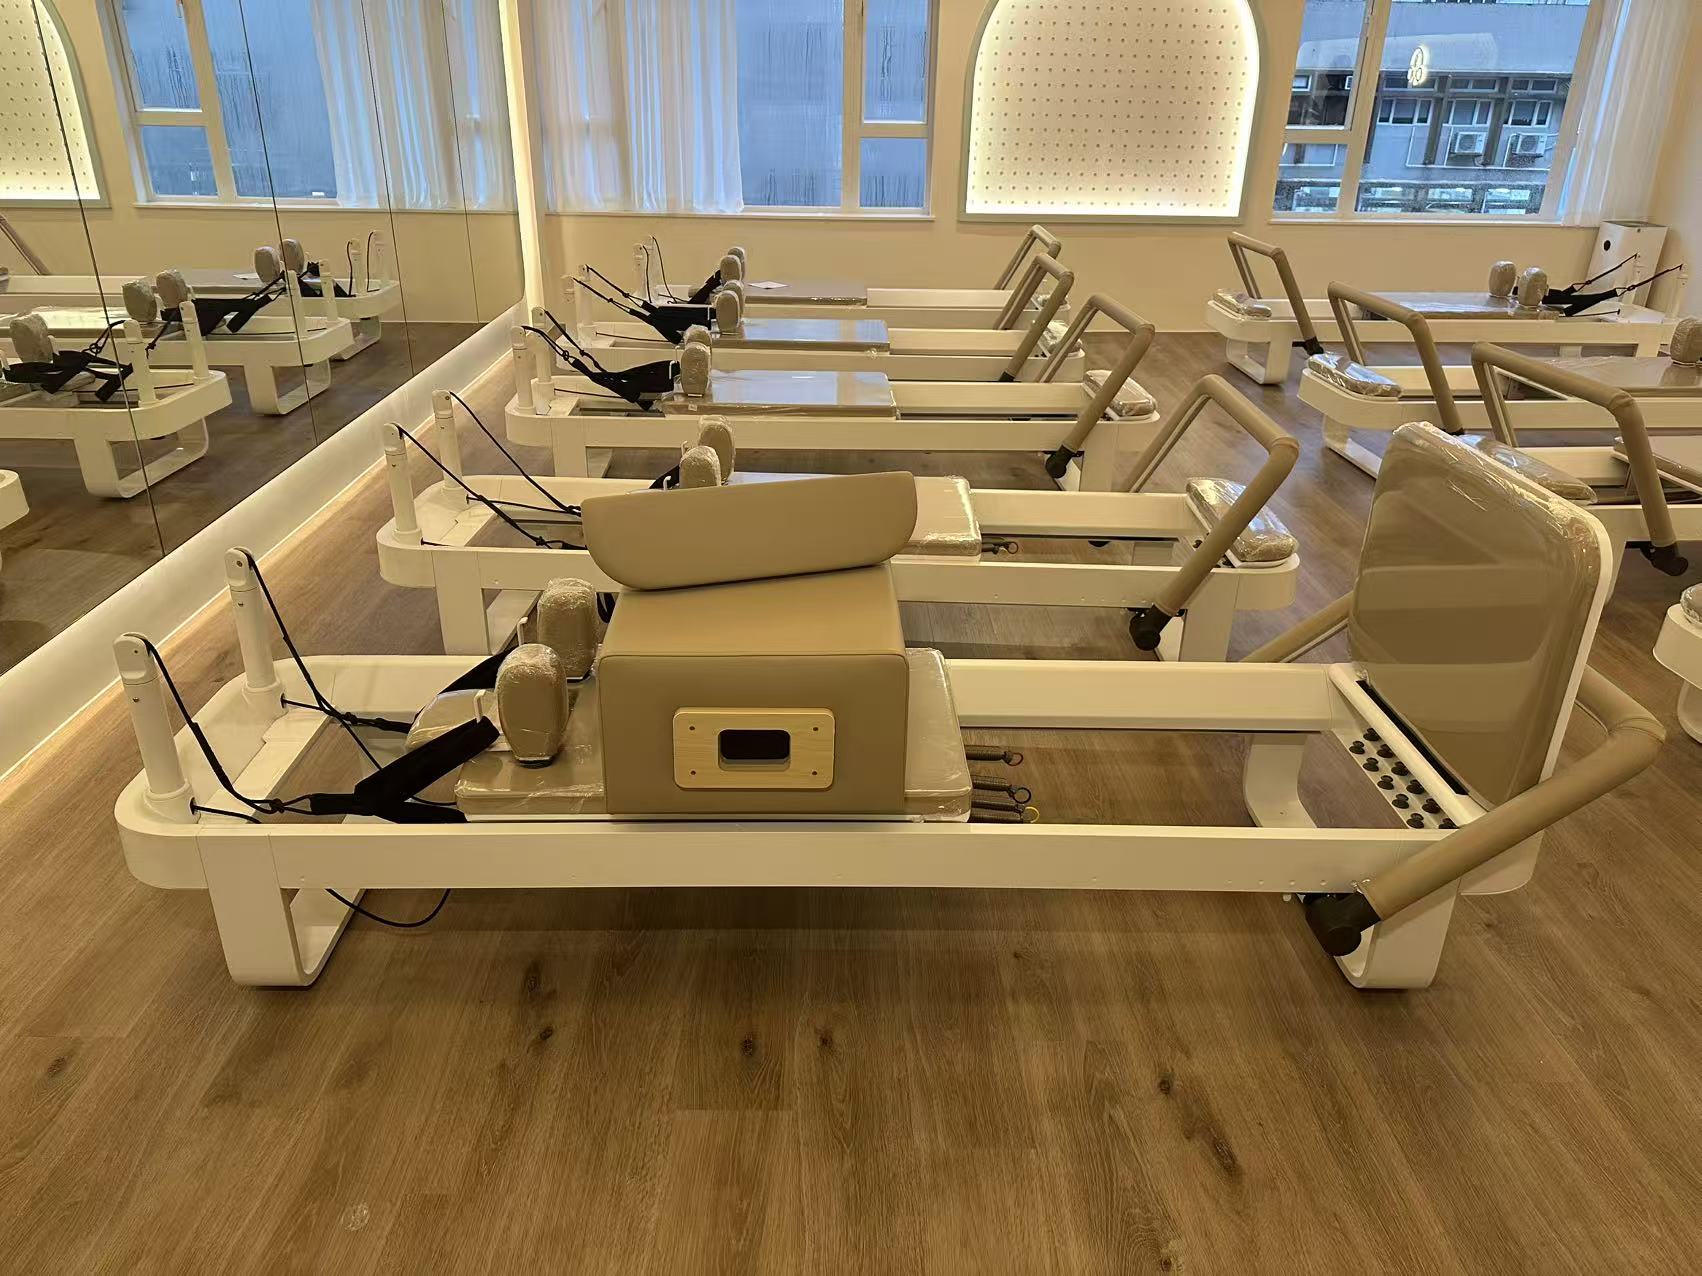
If you plan 8, 10 or more reformers in one room, calculate the total simultaneous live load across the whole floor area. Multiple clients loading machines at the same time creates cumulative stress that single-unit calculations miss.
Also map load concentration clusters. Grouping all reformers on one side of the room creates uneven loading on beams and can cause differential deflection. Spread heavy equipment across supporting beams where feasible, rather than lining them all along the same joist run.
If the floor has a published live load limit, cross-check your total load against this figure. If your calculation exceeds the rating, you have three options: reduce the number of reformers, reinforce the floor structure, or relocate the studio space.
Step 4: Check Anchorage Requirements for Wall and Floor-Mounted Pilates Equipment
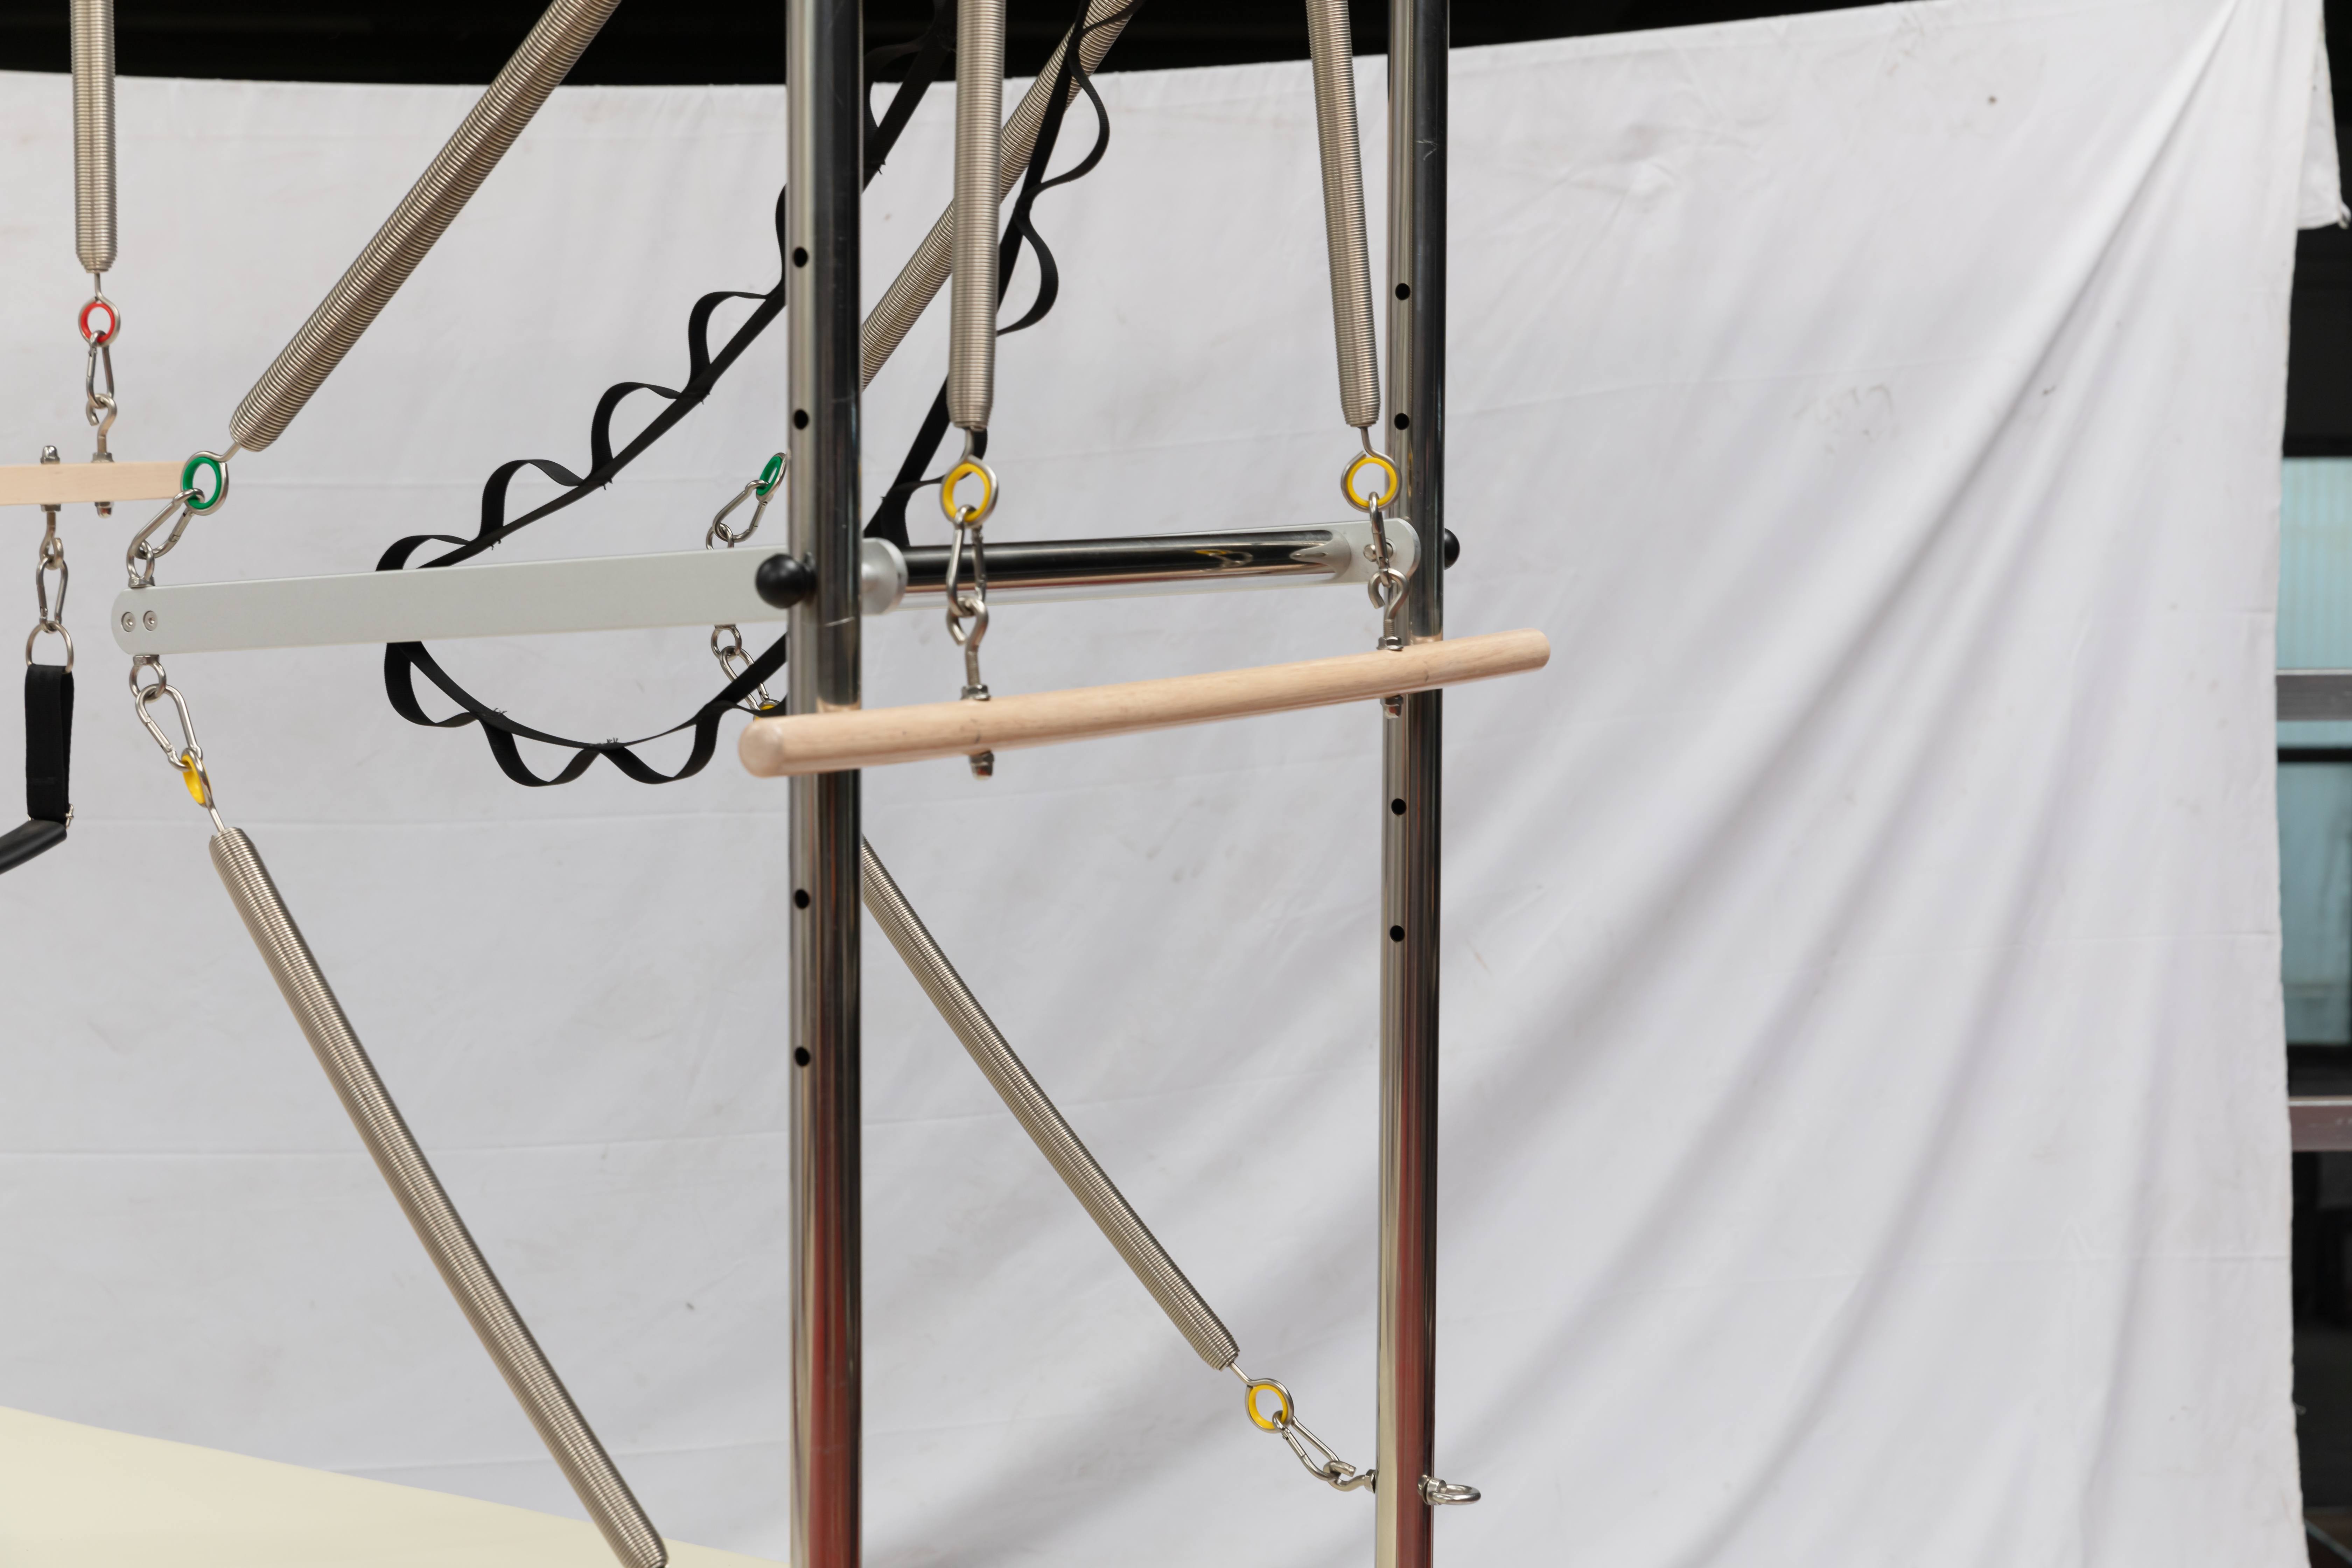
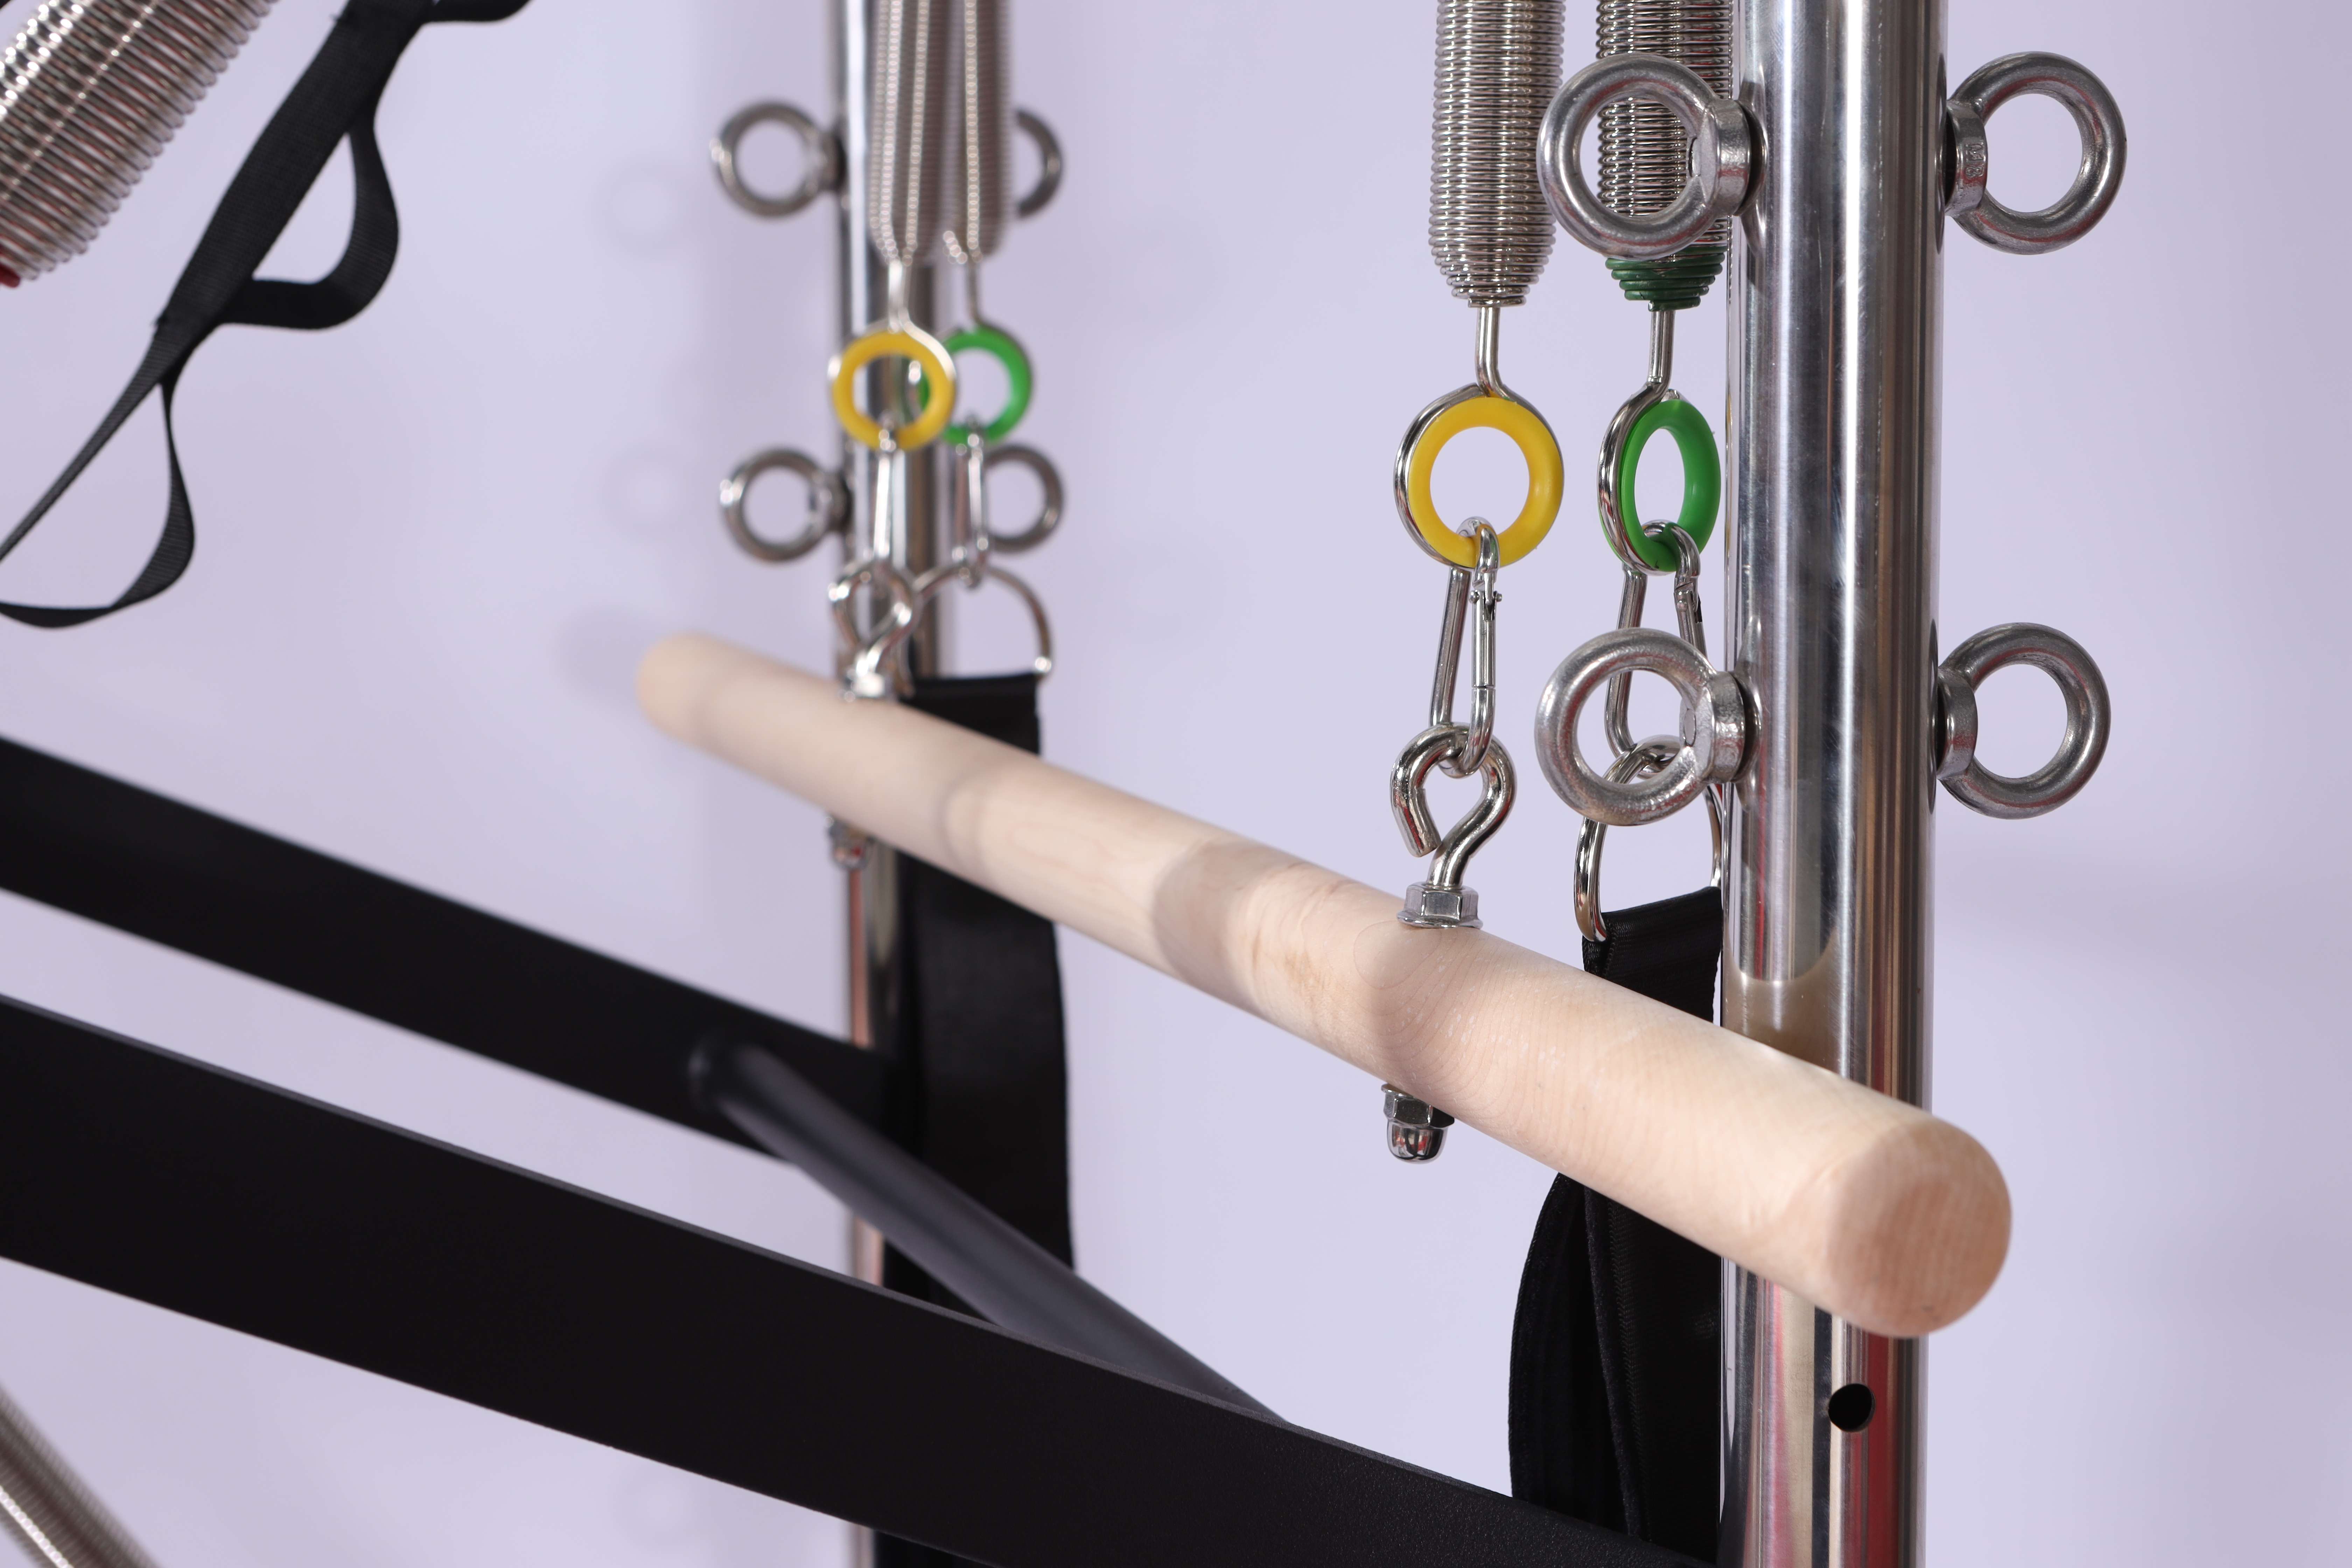
Reformers themselves are often free-standing, but many studios add wall springs, tower systems, Cadillac frames and floor anchor points. Any fixed anchorage that resists pulling tension is treated as a structural connection in most building jurisdictions. These anchor bolts transfer high reaction loads directly into floor slabs or wall framing and require engineered fixings, not simple DIY expansion bolts.
If your studio package includes anchored apparatus:
- Ask the engineer to specify anchor spacing, bolt grade, embedment depth and pull-out resistance
- Confirm the substrate (solid concrete, hollow core slab, timber stud wall) is suitable
- Keep anchor calculation documents for building inspectors and insurance records
Poor anchorage is a major safety hazard and a frequent reason for failed commercial inspections.
Step 5: Vibration, Noise Transfer and Acoustic Considerations
Structural checks are not only about preventing collapse. Dynamic reformer movement creates vibration that travels through joists and slabs. For upstairs studios above offices, apartments or retail spaces, this leads to noise complaints, lease penalties and unhappy neighbours.
Your structural assessment should include vibration review for suspended floors. Common mitigation solutions include:
- Acoustic isolation underlayment and floating floor systems
- Rubber anti-vibration mats under each reformer
- Stiffer subfloor reinforcement to reduce joist bounce
- Separating heavy reformer zones from sensitive occupied spaces below
Important note: Thin EVA foam tiles sold for yoga are not sufficient for reformer vibration control. High-density commercial rubber matting is required for both noise reduction and floor protection from reformer feet.
Step 6: Verify Insurance and Compliance Obligations
Many commercial insurance policies require disclosure of fitness equipment and confirmation that the premises are structurally suitable for the intended use. If a floor-related accident occurs and you cannot provide structural assessment records, your claim may be denied.
Keep this documentation package on file:
- Structural engineer report or load certificate
- Floor load calculation sheet for your reformer layout
- Anchorage design certificates (if applicable)
- Photos of the subfloor and finished installation
- Building permit or inspection sign-off where local rules demand it
Common Red Flags That Mean You Should Delay Installation
Stop scheduling reformer delivery if you spot any of these:
- The building owner cannot provide floor load documentation and refuses an engineer inspection
- The timber floor visibly bounces or sags when loaded
- Proposed reformer positions sit over large unsupported joist spans or damaged subfloor
- The space is an old mezzanine or lightweight raised platform built for light storage or office use
- Local building codes classify reformer studios as fitness occupancy, but the lease is only approved for general office use
- You plan to install floor anchors but the builder cannot confirm pull-out strength for the substrate
These issues are far cheaper and safer to resolve before equipment arrives on site. Moving heavy commercial reformers back out after delivery adds huge logistics and labour costs.
Final Takeaway
A perfectly built Pilates reformer cannot perform safely on an unsuitable floor. Floor load assessment is not a one-time quick check — it is a structural due diligence step that protects studio owners, instructors, clients, equipment suppliers and distributors.
As a distributor, sharing this checklist with your studio buyers helps set realistic expectations before they place bulk orders. It prevents the common frustration: a client loves the quality of your reformers, only to discover they cannot safely install half of their planned order because the building cannot support the load. Always recommend a qualified structural engineer for formal sign-off; no visual inspection or spreadsheet calculation replaces professional certification for commercial spaces.