Reformer Installation and Setup: A Step-by-Step Guide for New Owners
A new Pilates reformer is an exciting investment, but the moment it arrives can feel overwhelming. Crates, hardware bags, and a manual full of unfamiliar terms can turn a happy occasion into a stressful afternoon. The good news is that installation and setup follow a logical sequence, and once you understand the order of operations, the process becomes manageable. This guide walks new owners through each stage, from preparing the space to the first test glide, so the machine is safe, level, and ready for training.
Step One: Prepare the Space Before the Box Arrives
The most common mistake new owners make is unboxing first and figuring out the room later. Before the reformer arrives, confirm that the delivery path is clear. Measure every doorway, hallway turn, and stairwell the crate must pass through, and compare those measurements to the crate dimensions, not just the assembled machine. A reformer that fits in the room may still be impossible to carry through a narrow stairwell in its packaging.
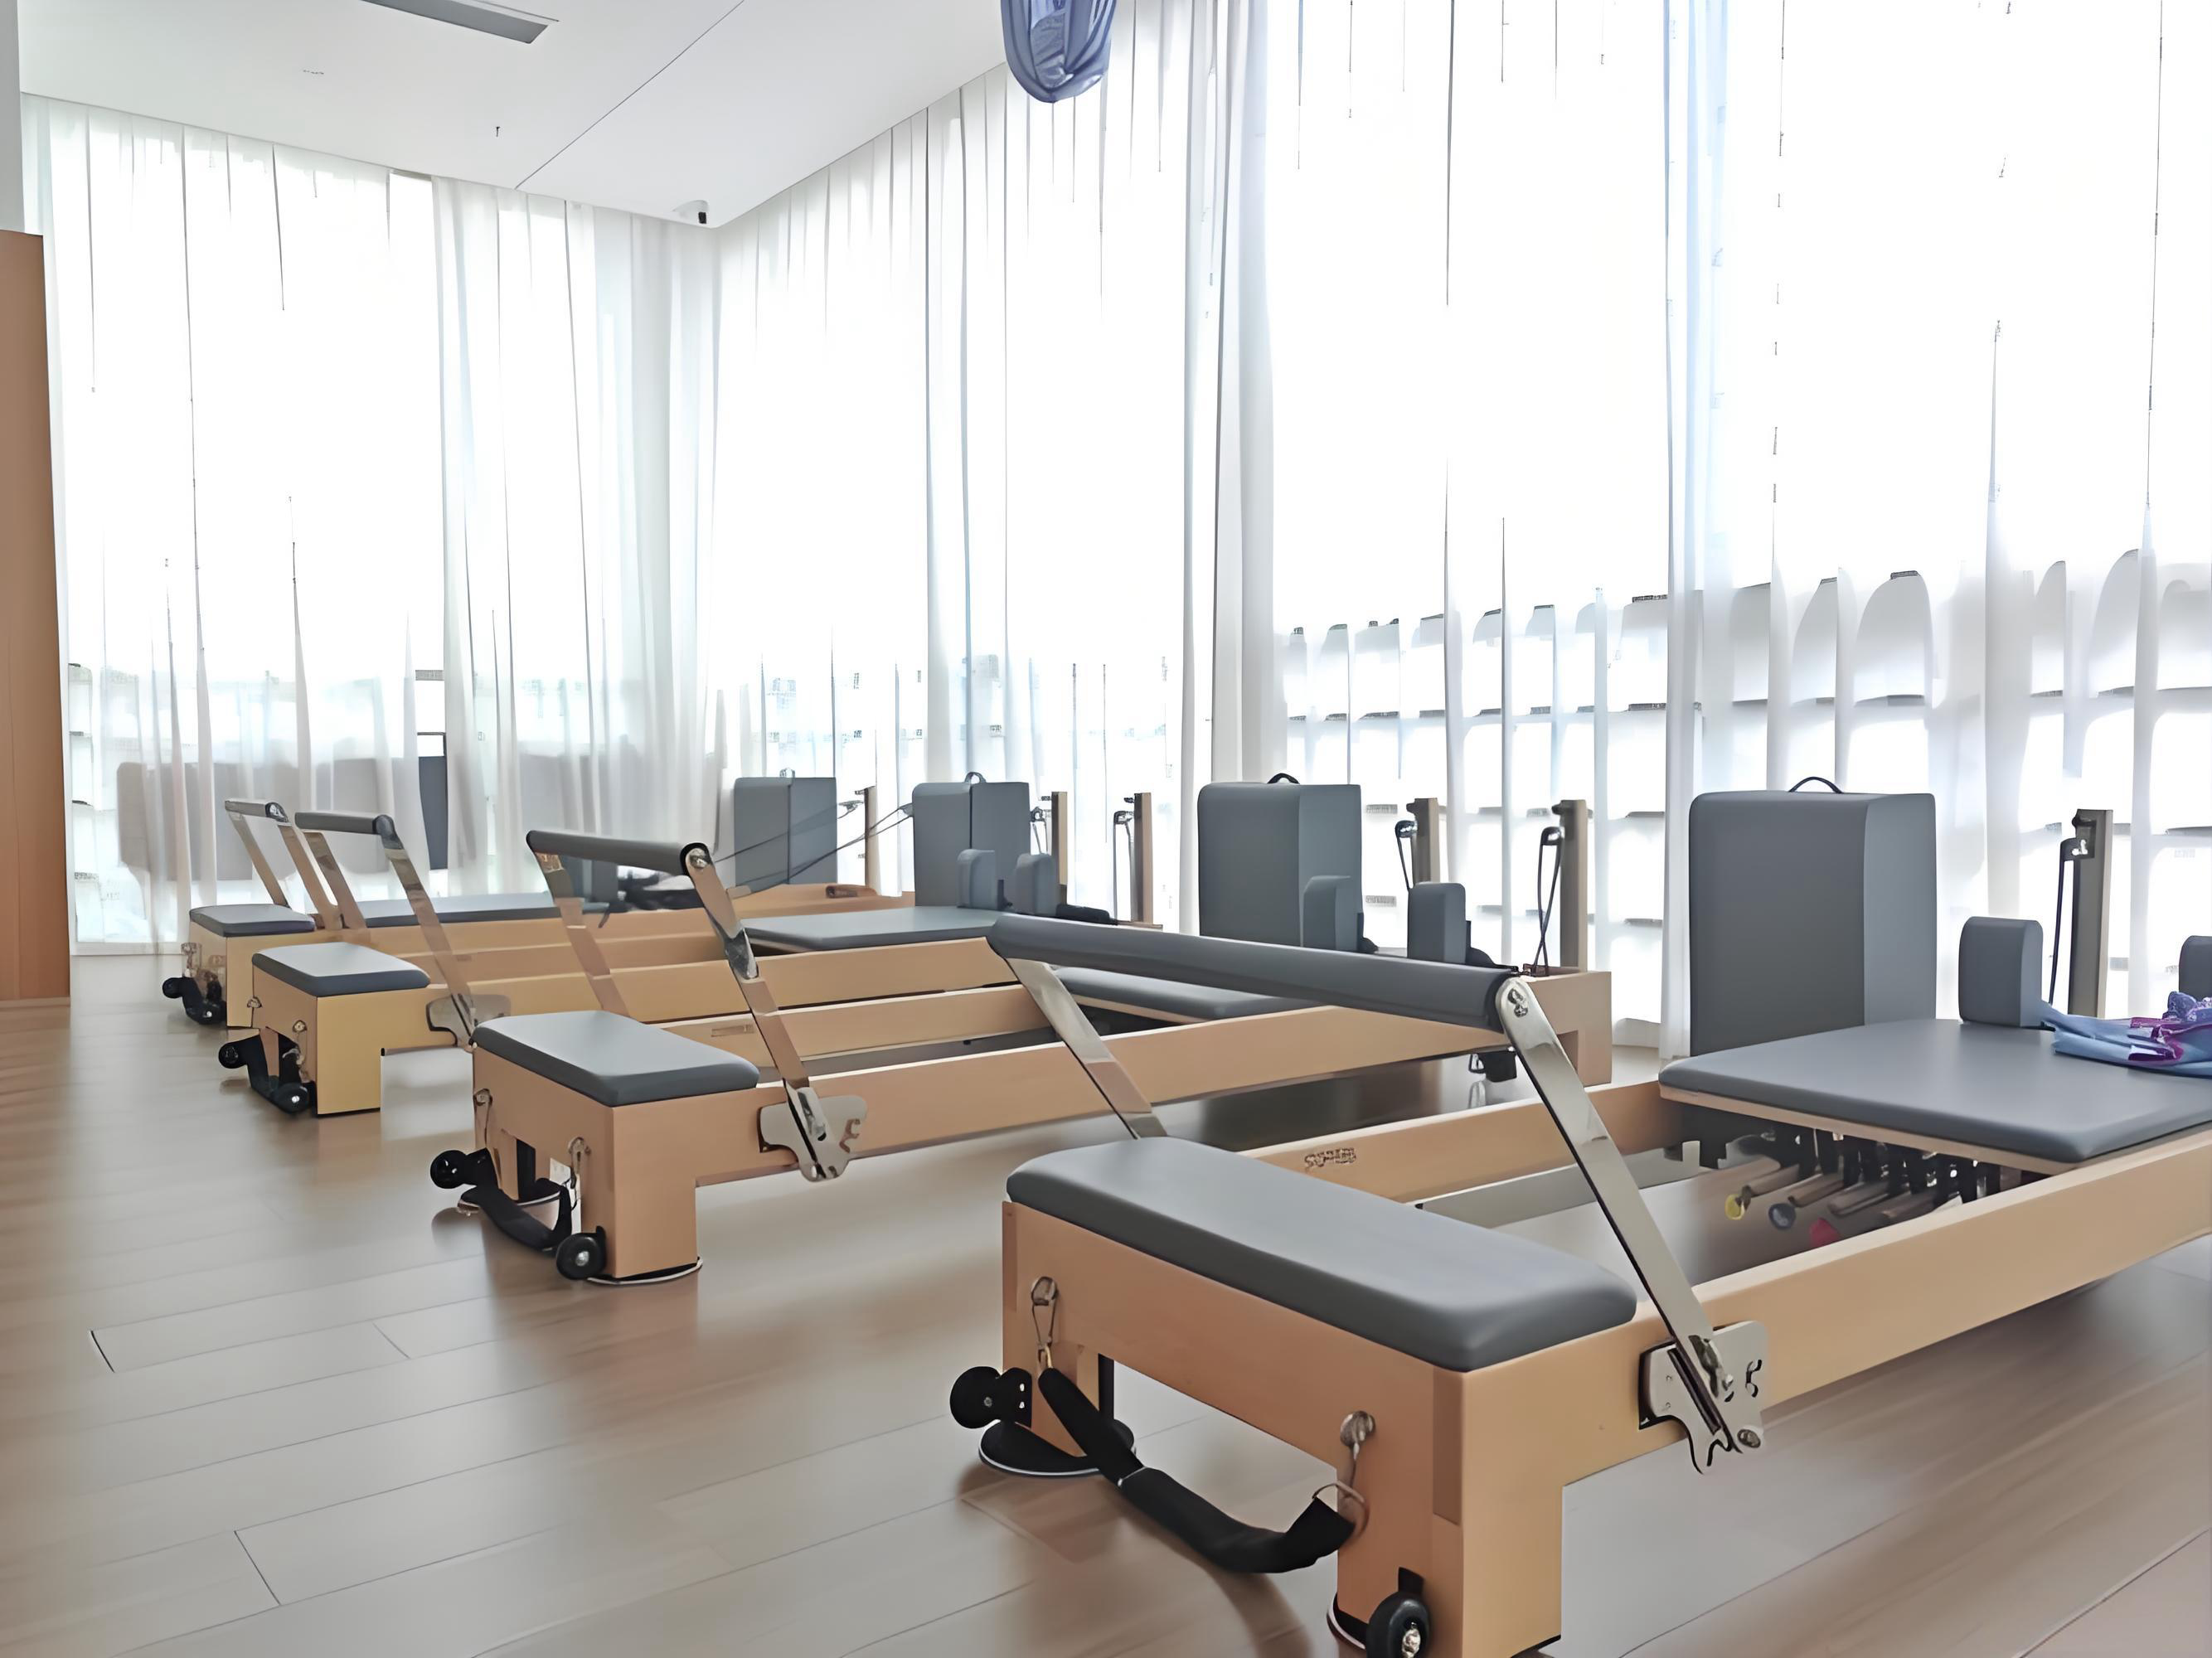
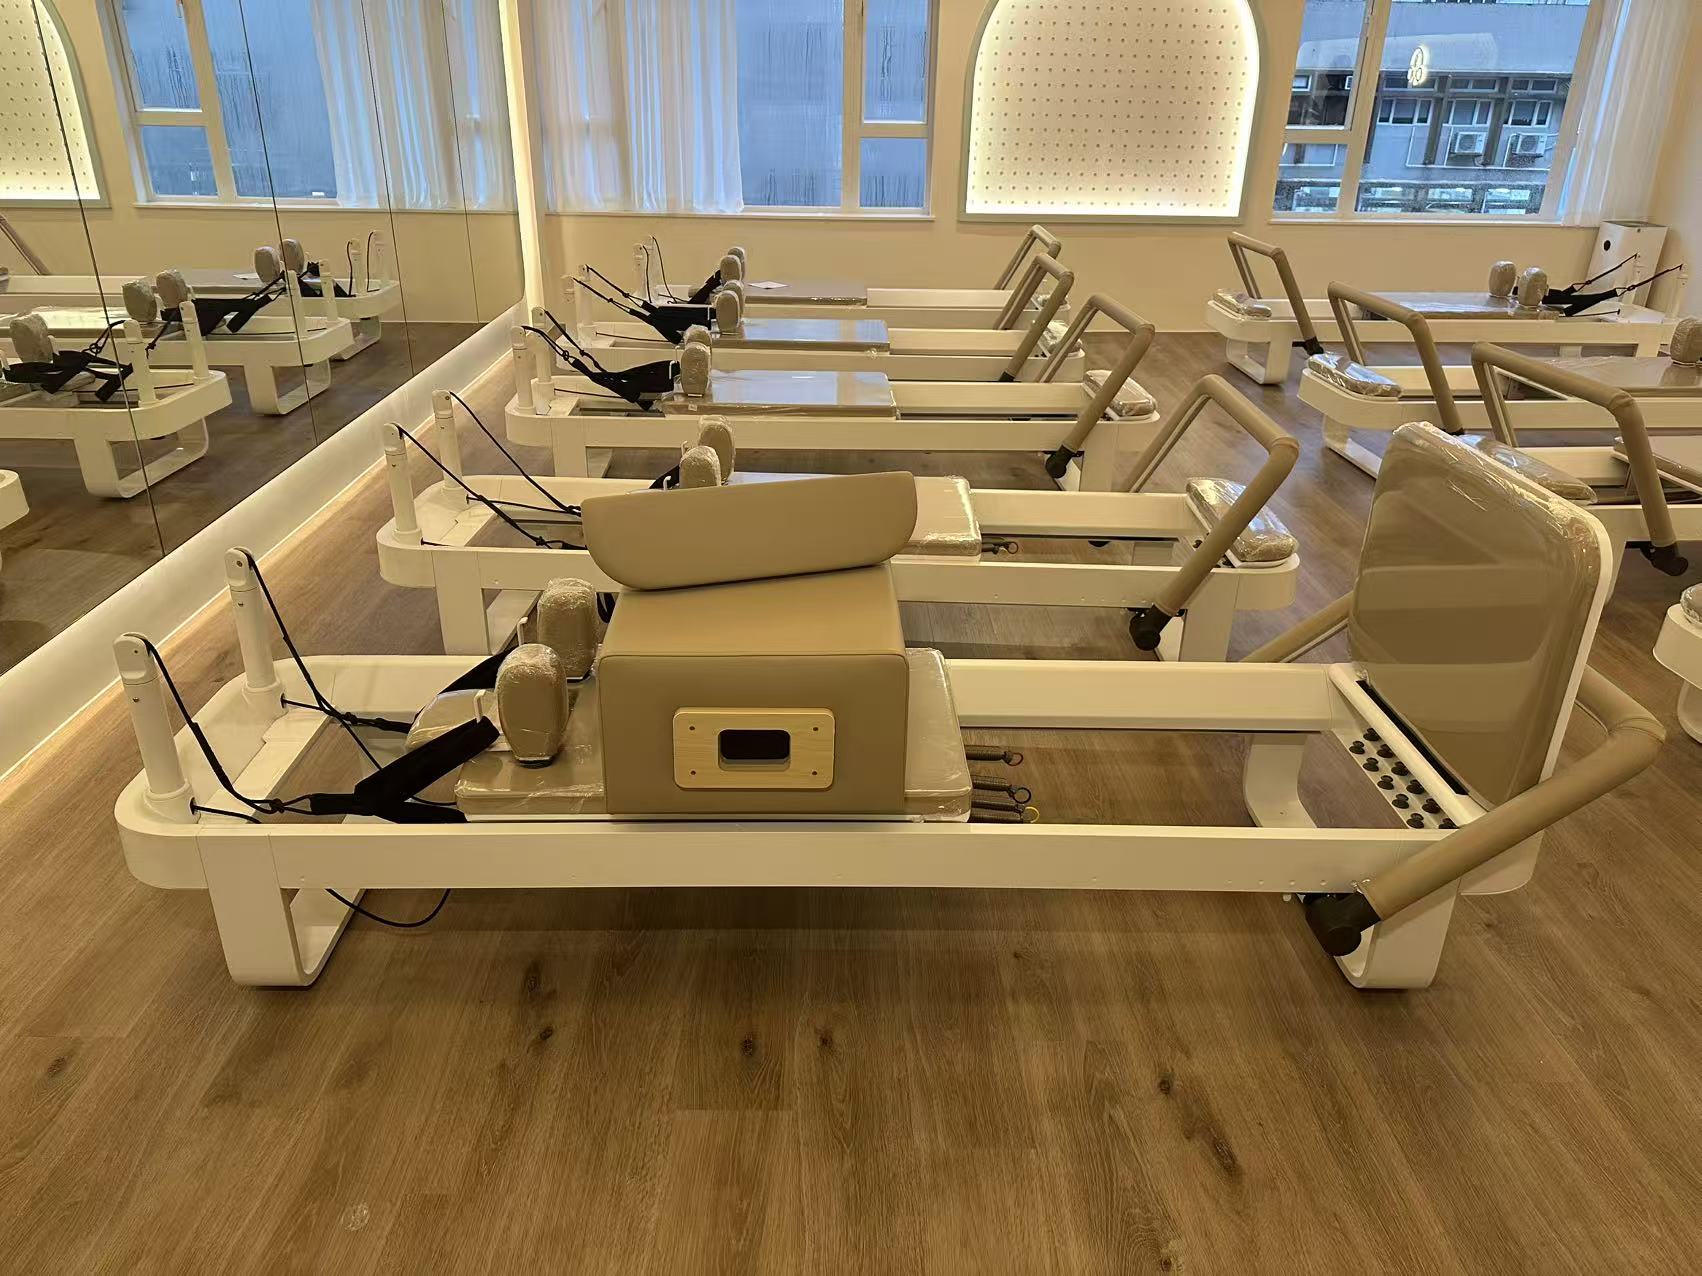
Once the path is confirmed, prepare the training area itself. The floor should be flat, solid, and free of debris. Check for level using a spirit level; a reformer placed on a sloped floor will have a carriage that drifts, which affects every exercise. Allow at least two feet of clearance on all sides of the machine for mounting, dismounting, and strap work, and more at the head end if the reformer has a tower or jump board. Consider ceiling height as well, especially for exercises performed standing or with the carriage elevated.
Step Two: Inventory the Parts
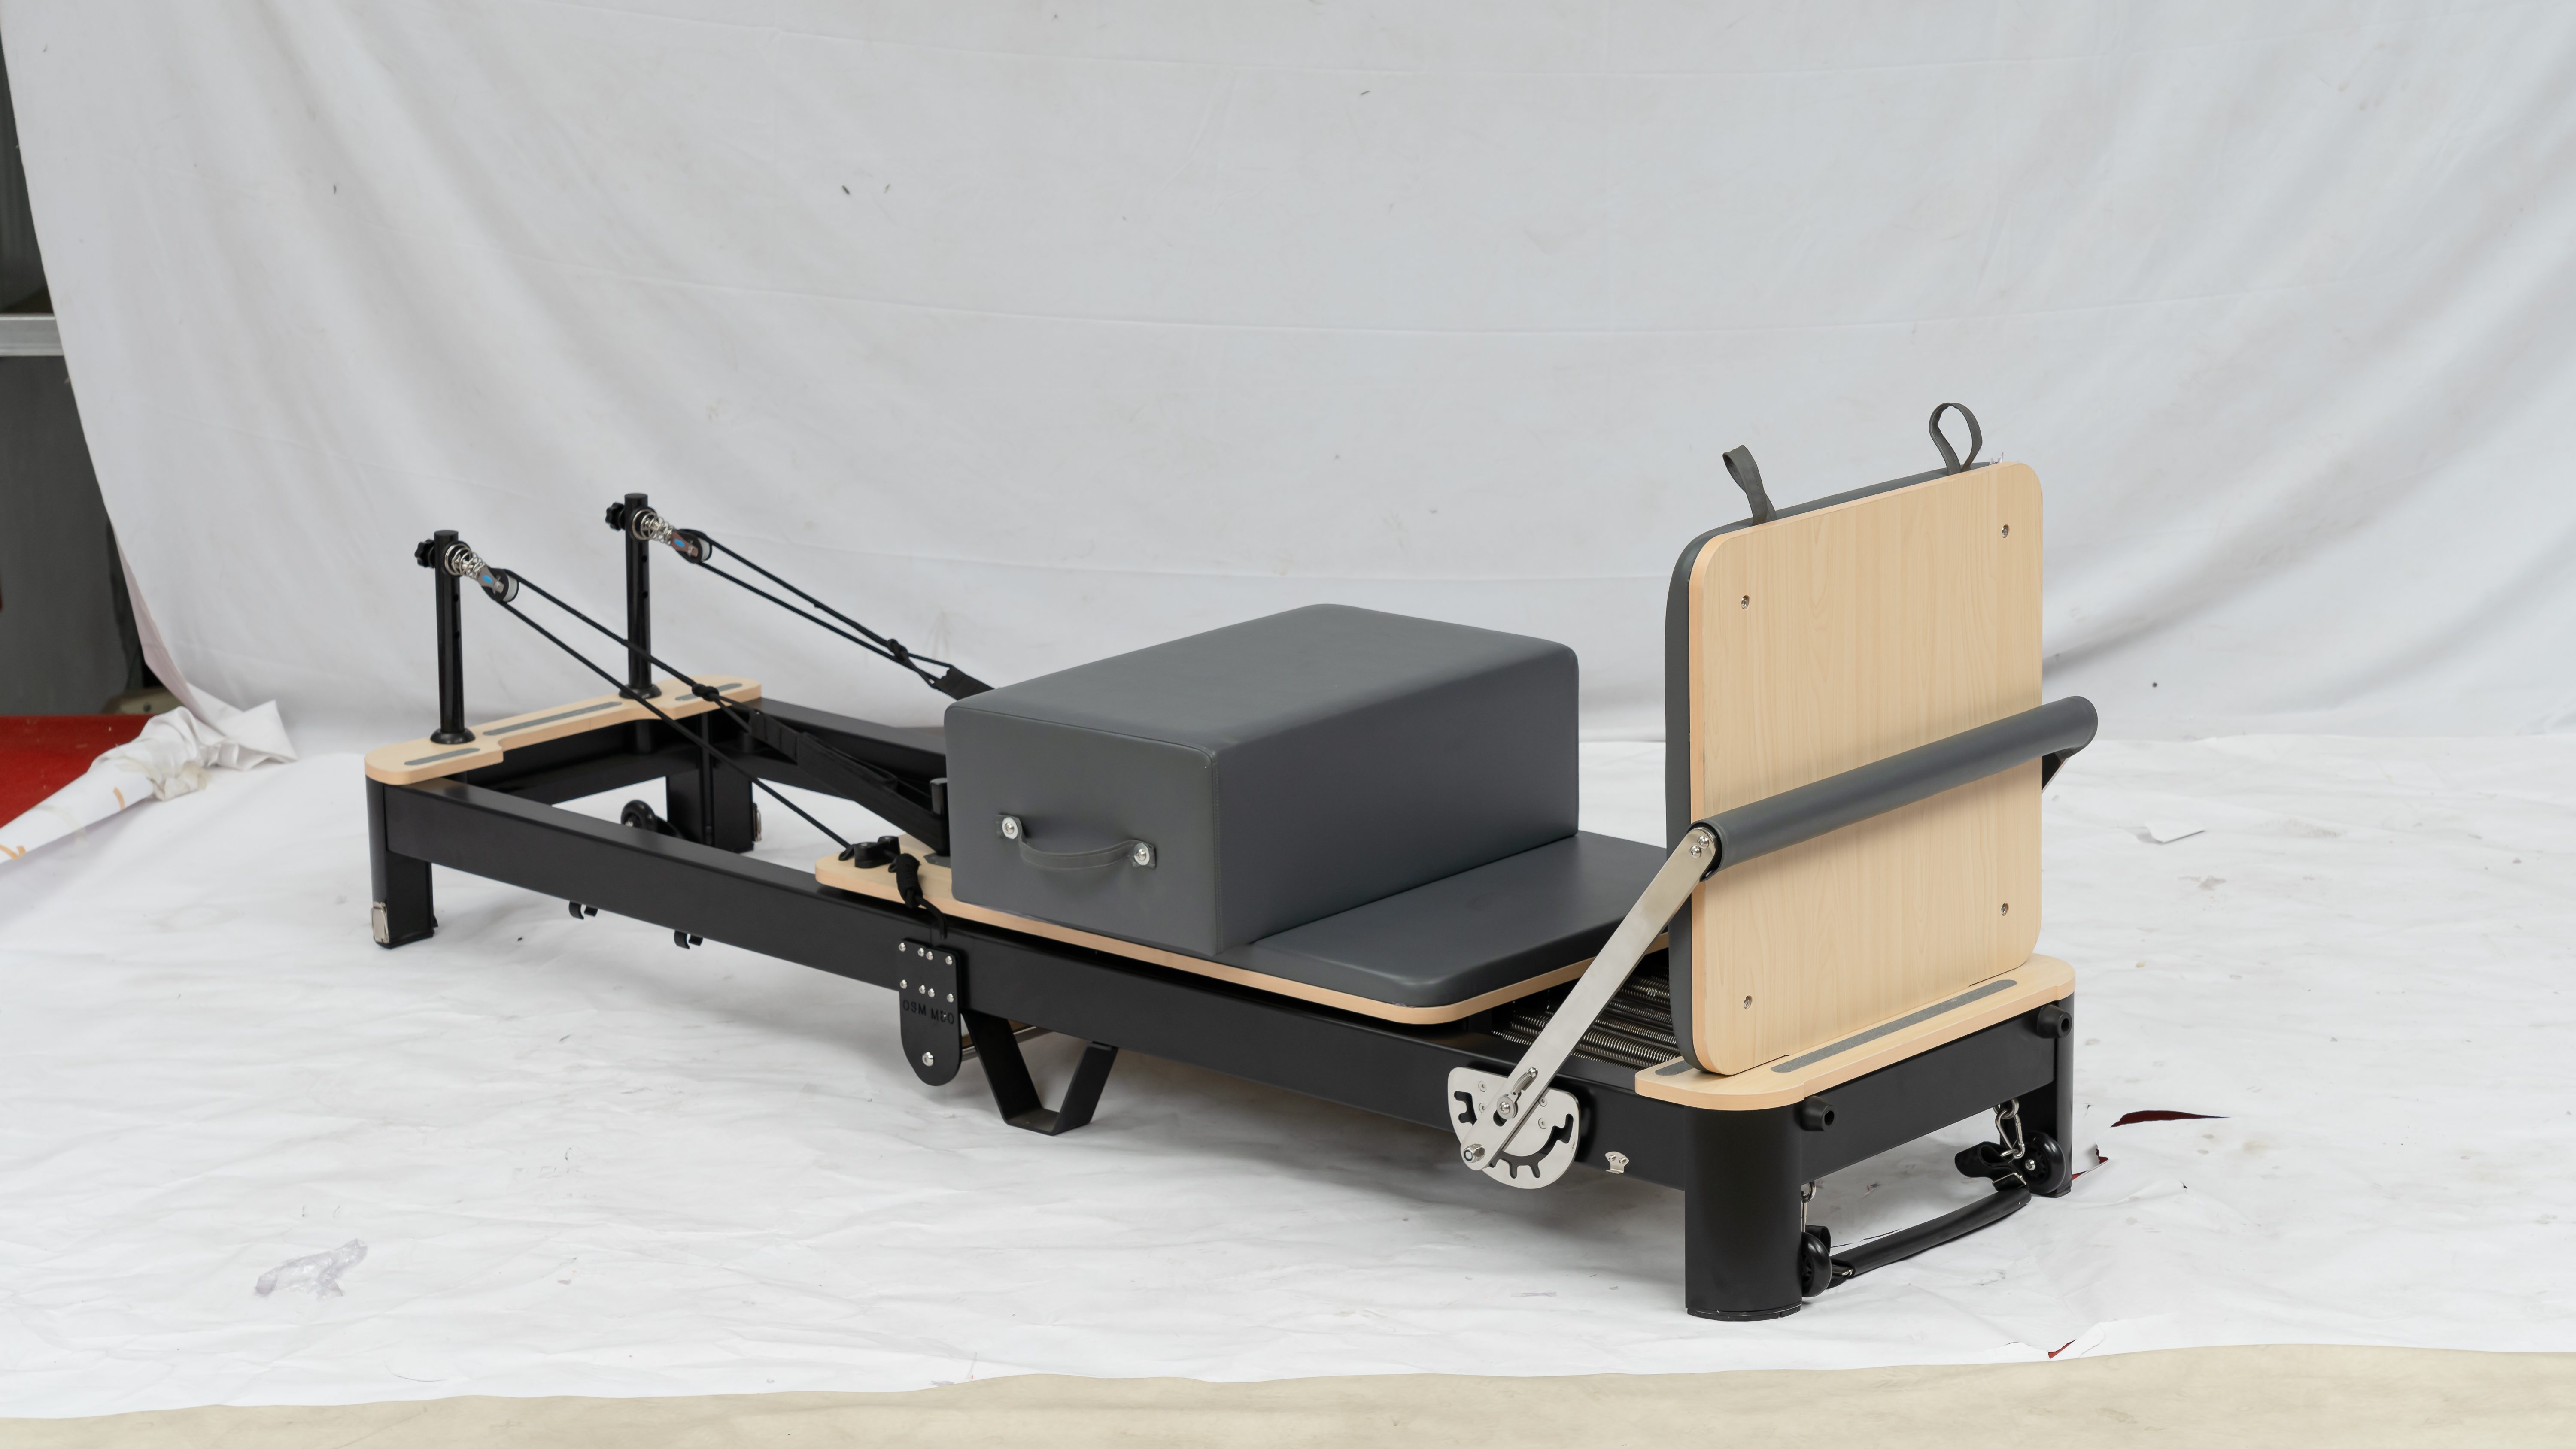
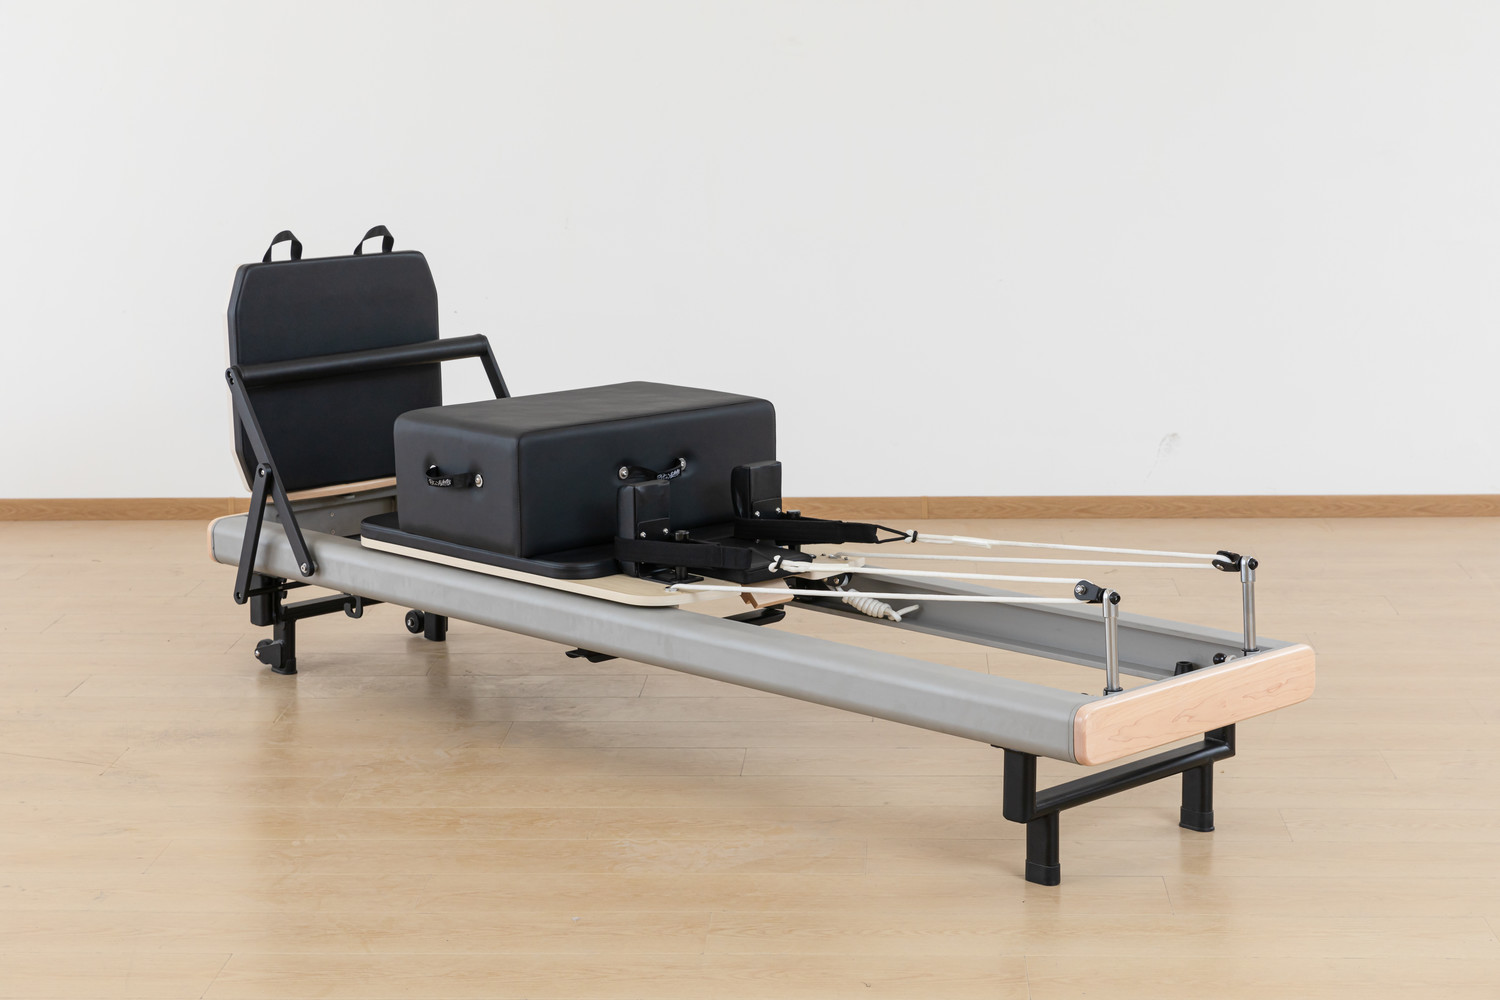
Before assembling anything, unpack the components and check them against the packing list. Lay hardware out in groups—bolts, washers, spring clips, tools—so nothing rolls away or gets lost. Identify the frame sections, the carriage, the rails, the footbar, the shoulder rests, the risers, and the spring bar. Count the springs and confirm their color coding matches the resistance levels stated in the manual.
This inventory step is not busywork. Missing or damaged parts are far easier to resolve before assembly begins, and a careful check protects your warranty claim if something arrived faulty. Photograph the packed contents if you plan to keep records.
Step Three: Assemble the Frame and Rails
Most modern reformers arrive partially assembled, with the frame in two or more sections. Follow the manufacturer's manual precisely, as bolt patterns and sequence differ between brands. A general order works for most models: connect the frame sections first, then attach the rails, then mount the spring bar and footbar.
Use the correct tools and tighten bolts in a diagonal pattern rather than going around in a circle, which helps the frame seat evenly. Do not fully tighten every bolt at once. Bring all bolts to finger-tight first, confirm the frame is square by measuring diagonally from corner to corner, then tighten fully. A frame that is not square will cause the carriage to bind on the rails, a problem that is frustrating to diagnose later.
Step Four: Install the Carriage and Wheels
Set the carriage onto the rails carefully, supporting it evenly rather than dropping it into place. Check that all wheels sit properly in the rail channels and that no wheel is misaligned. Push the carriage slowly along the full length of the rails by hand and listen. A properly installed carriage glides quietly and smoothly; scraping, wobbling, or a sudden tight spot indicates a wheel alignment issue or debris in the rail.
Adjust the wheel tension according to the manual. Too loose and the carriage wobbles; too tight and it drags. This is a small adjustment with a large effect on the feel of every exercise.
Step Five: Attach Springs, Straps, and Accessories
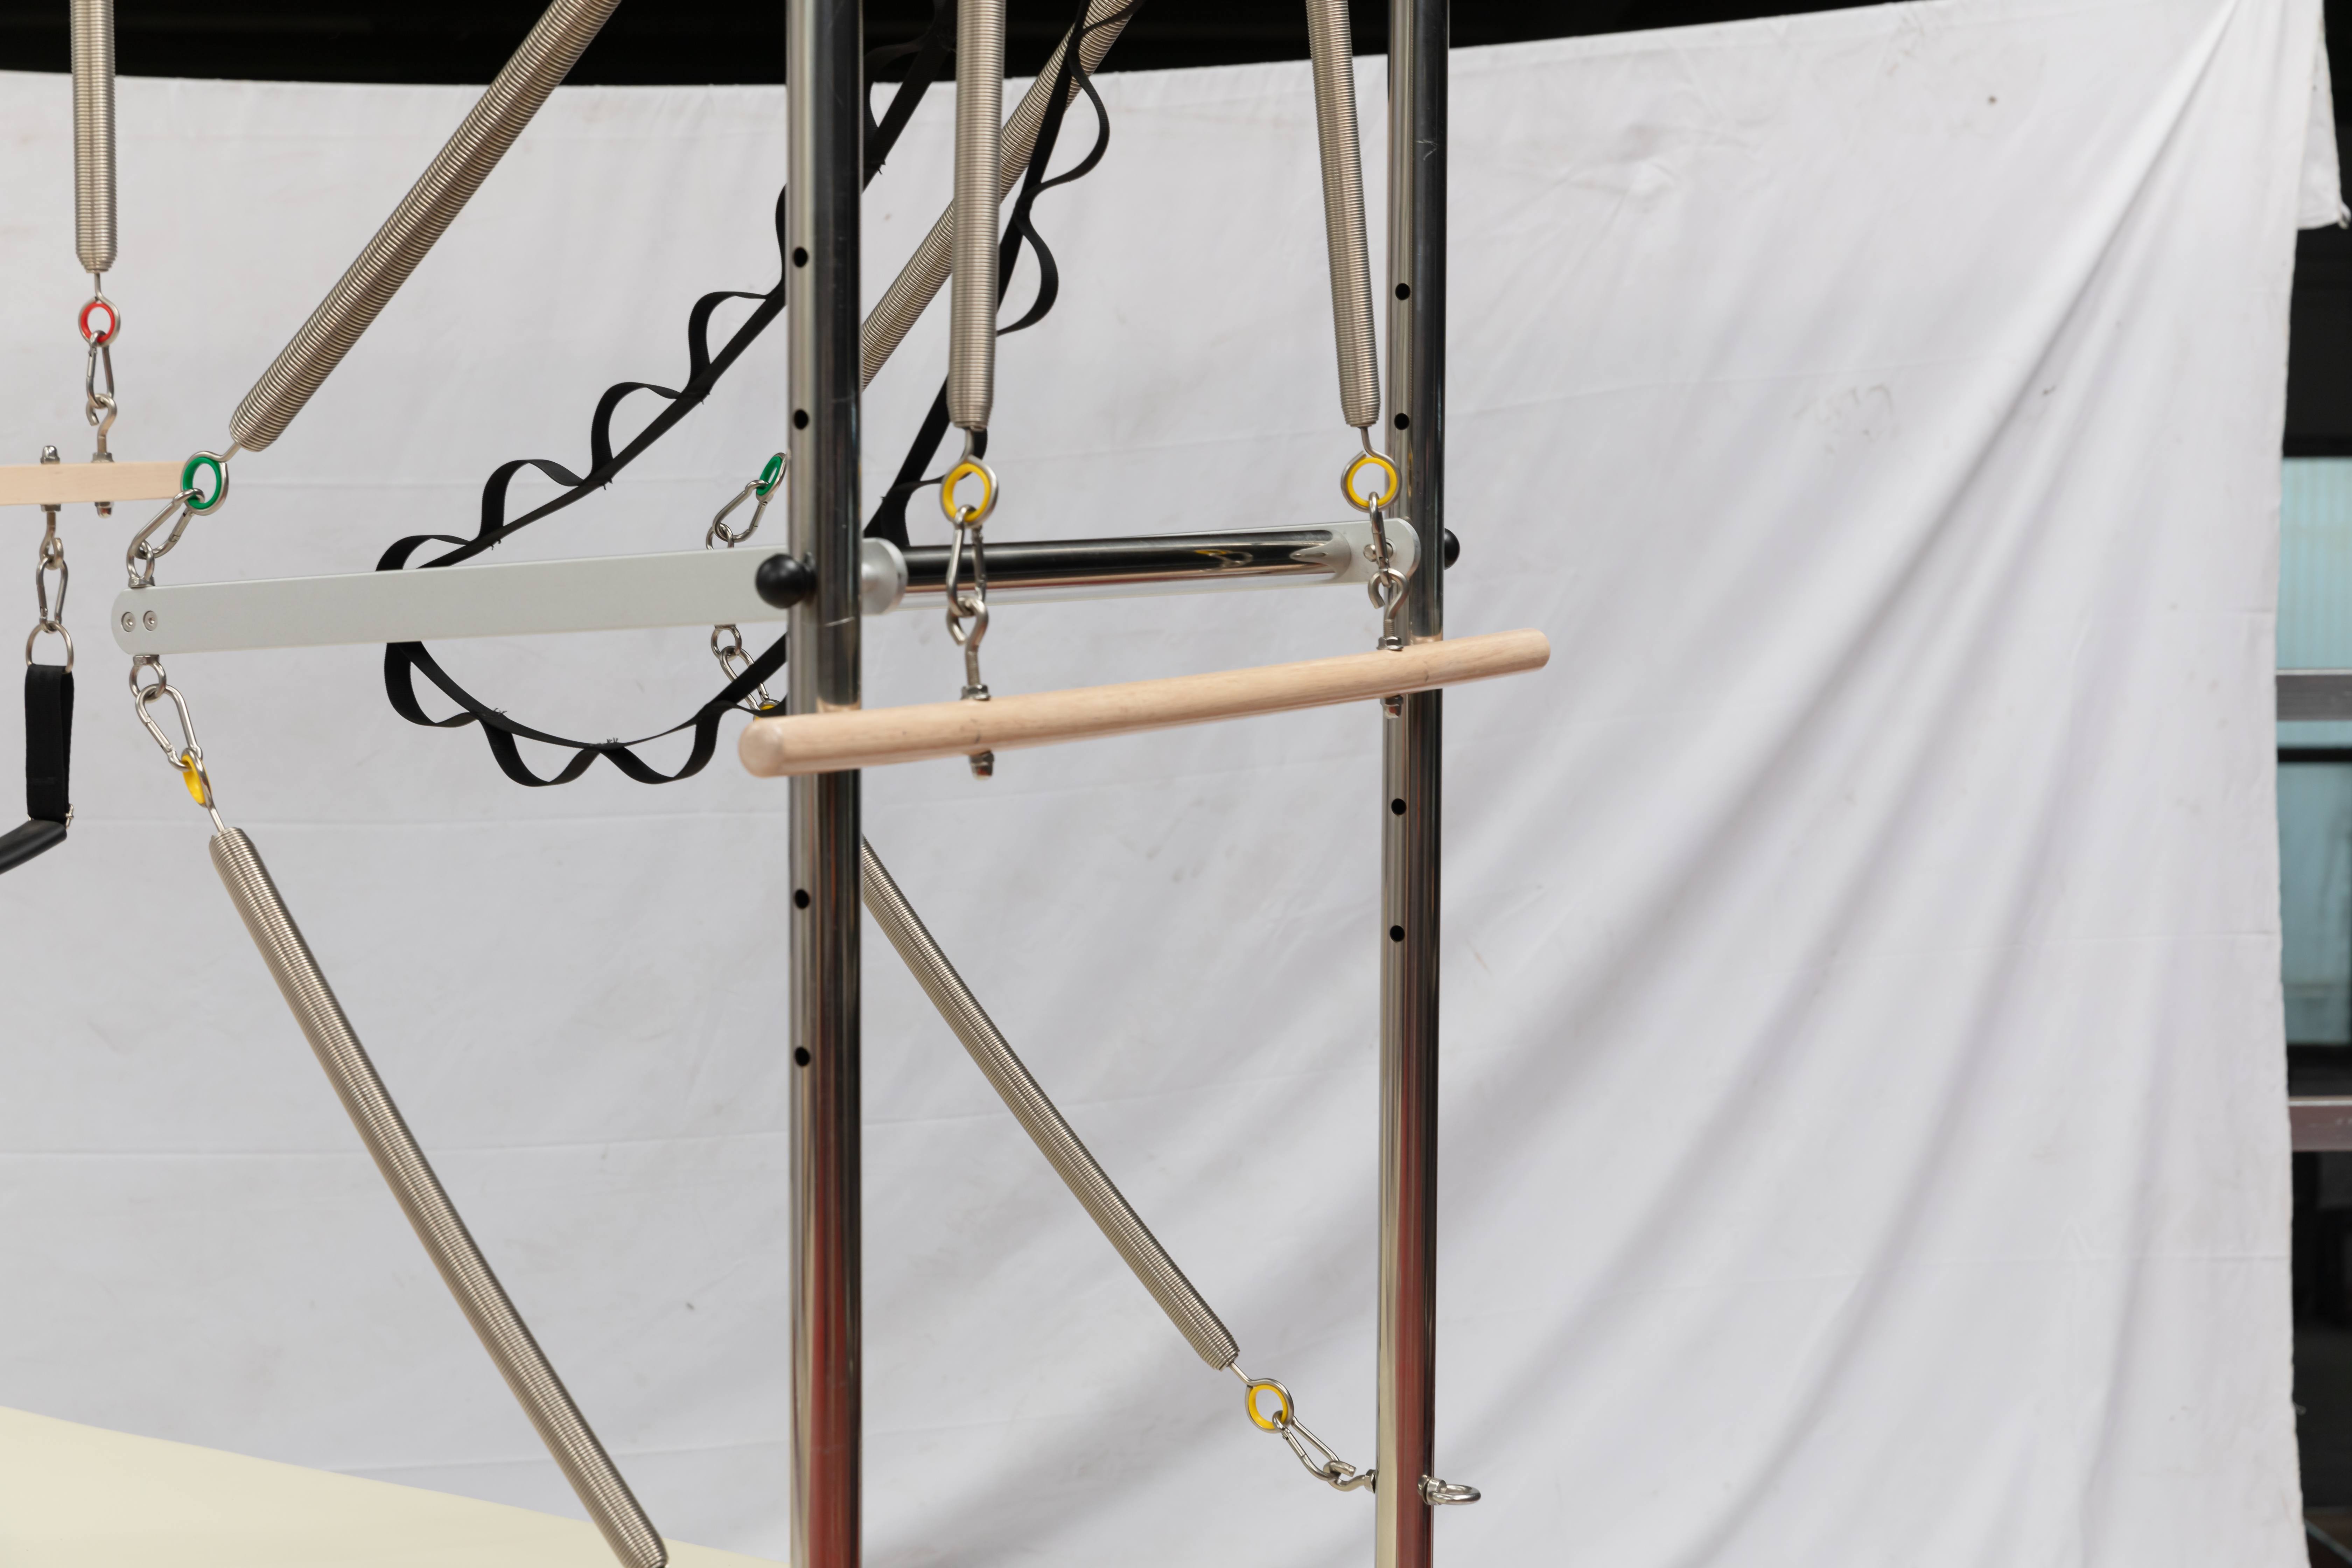
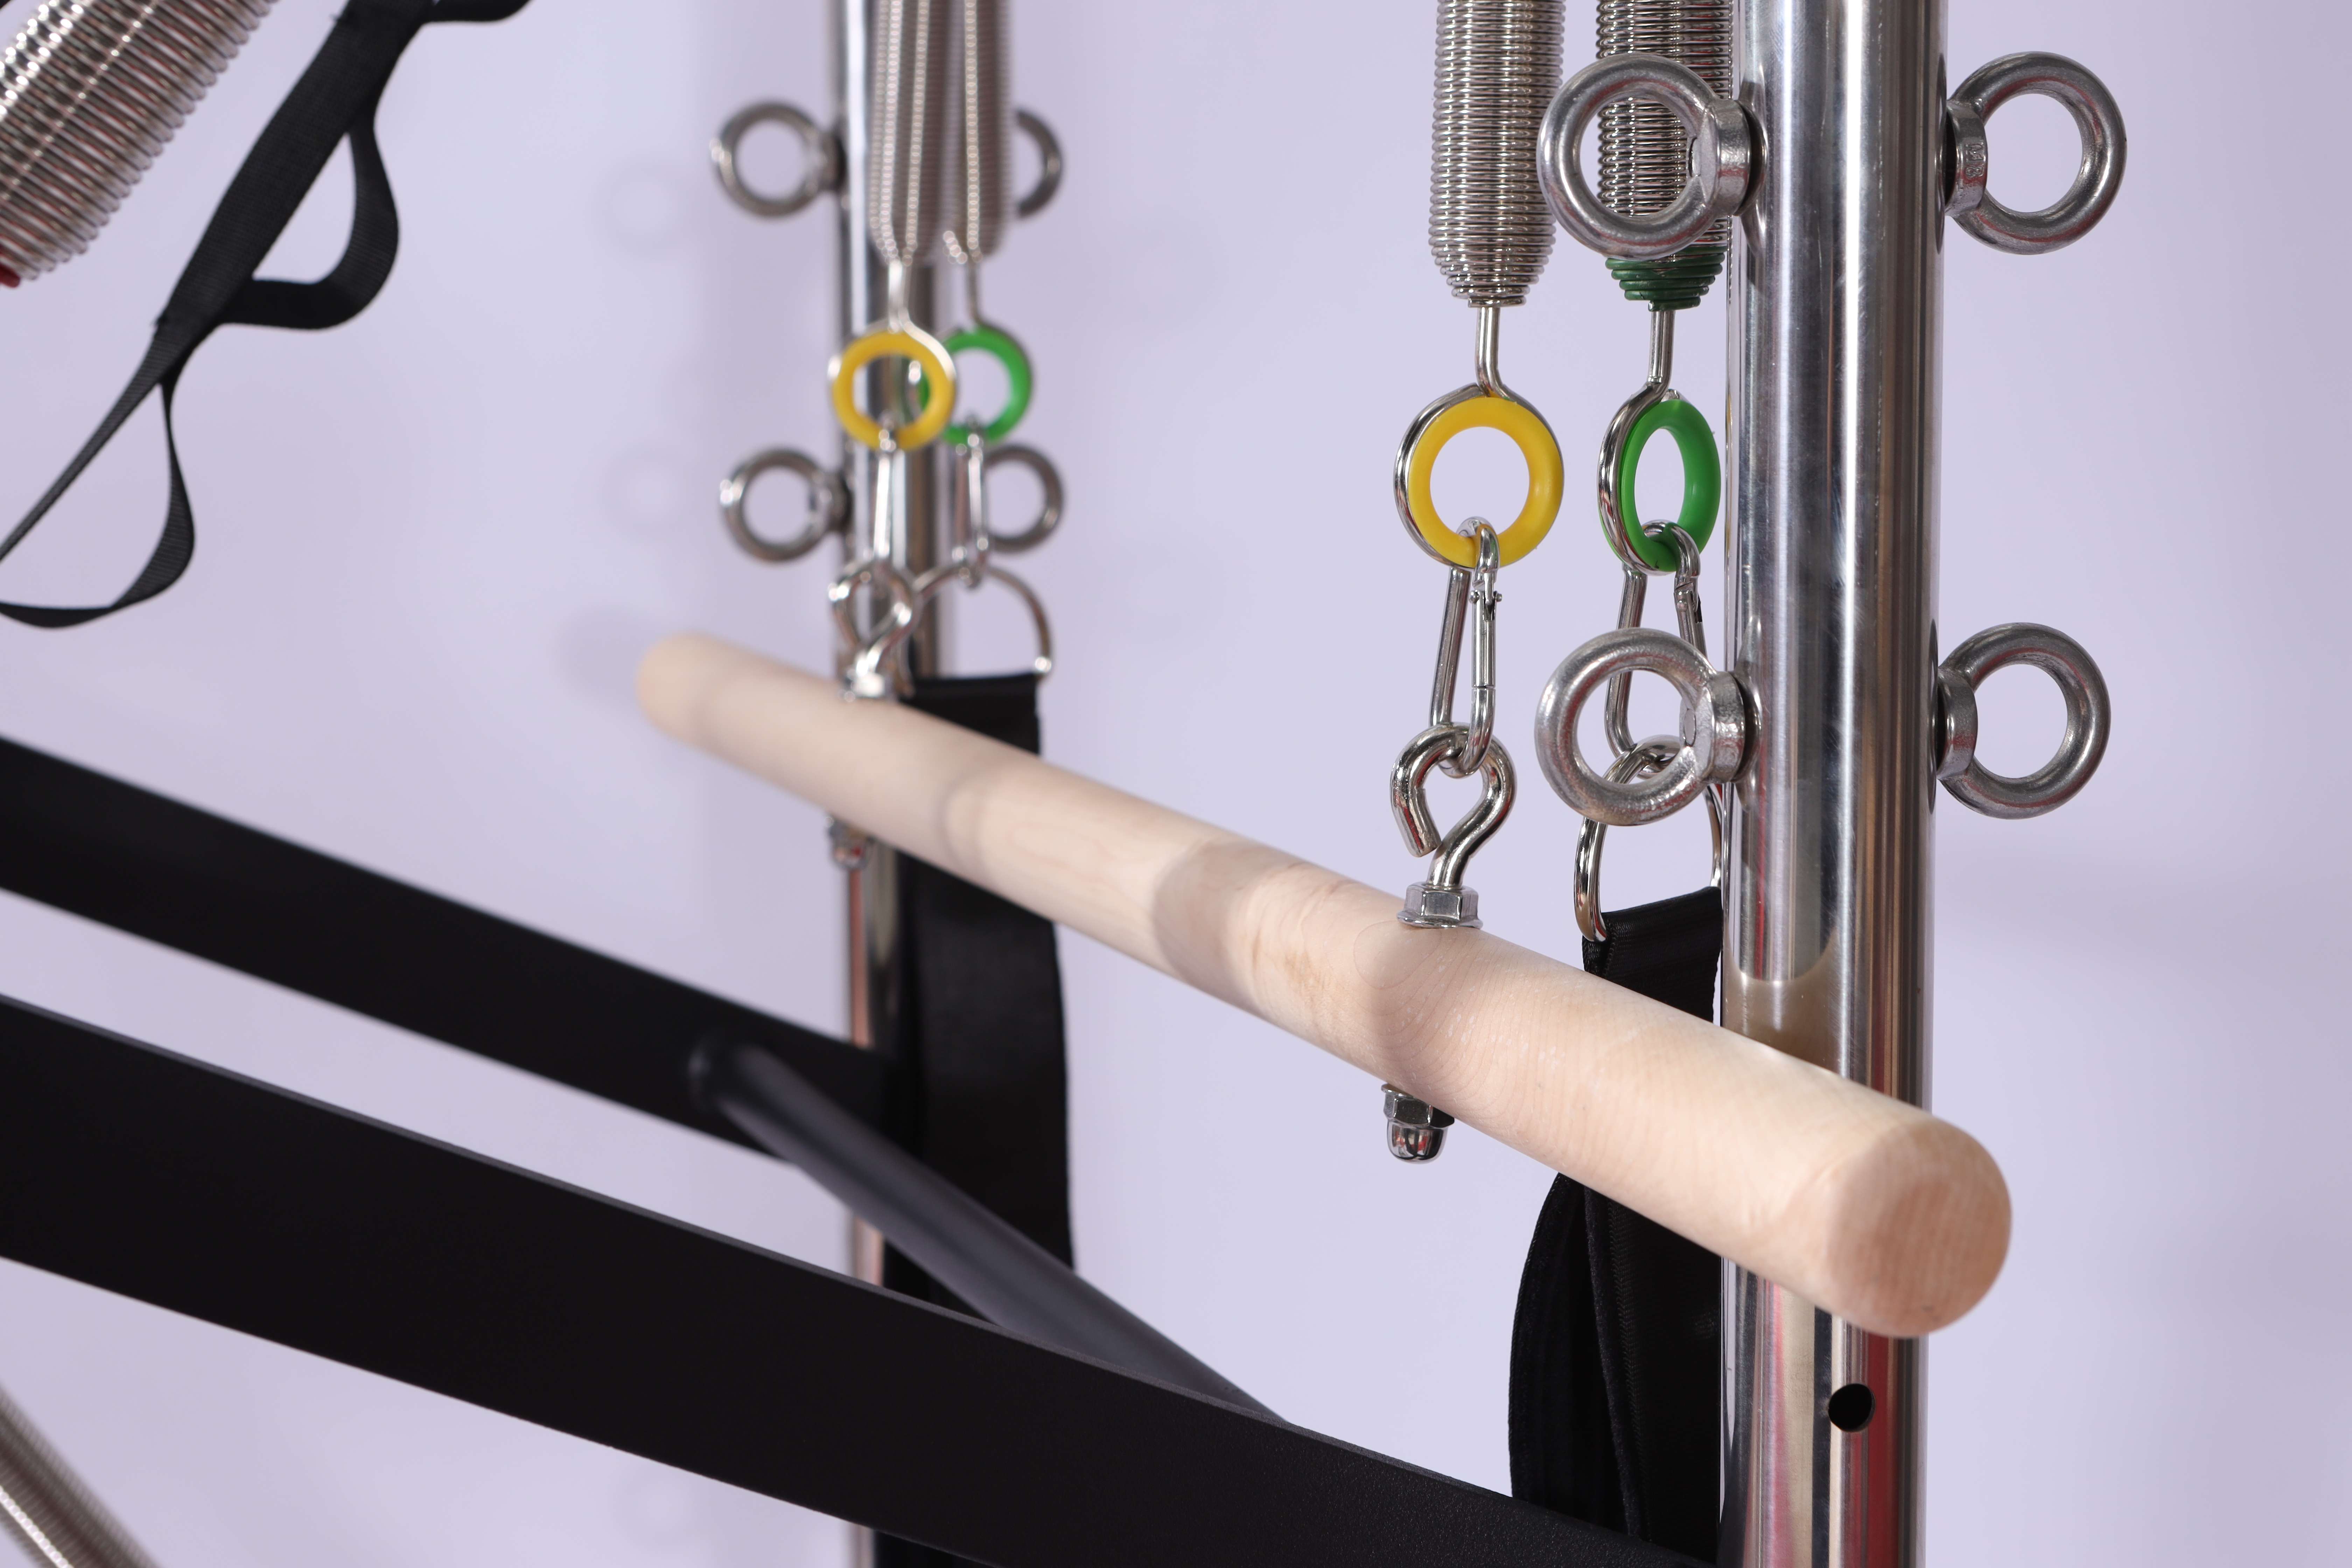
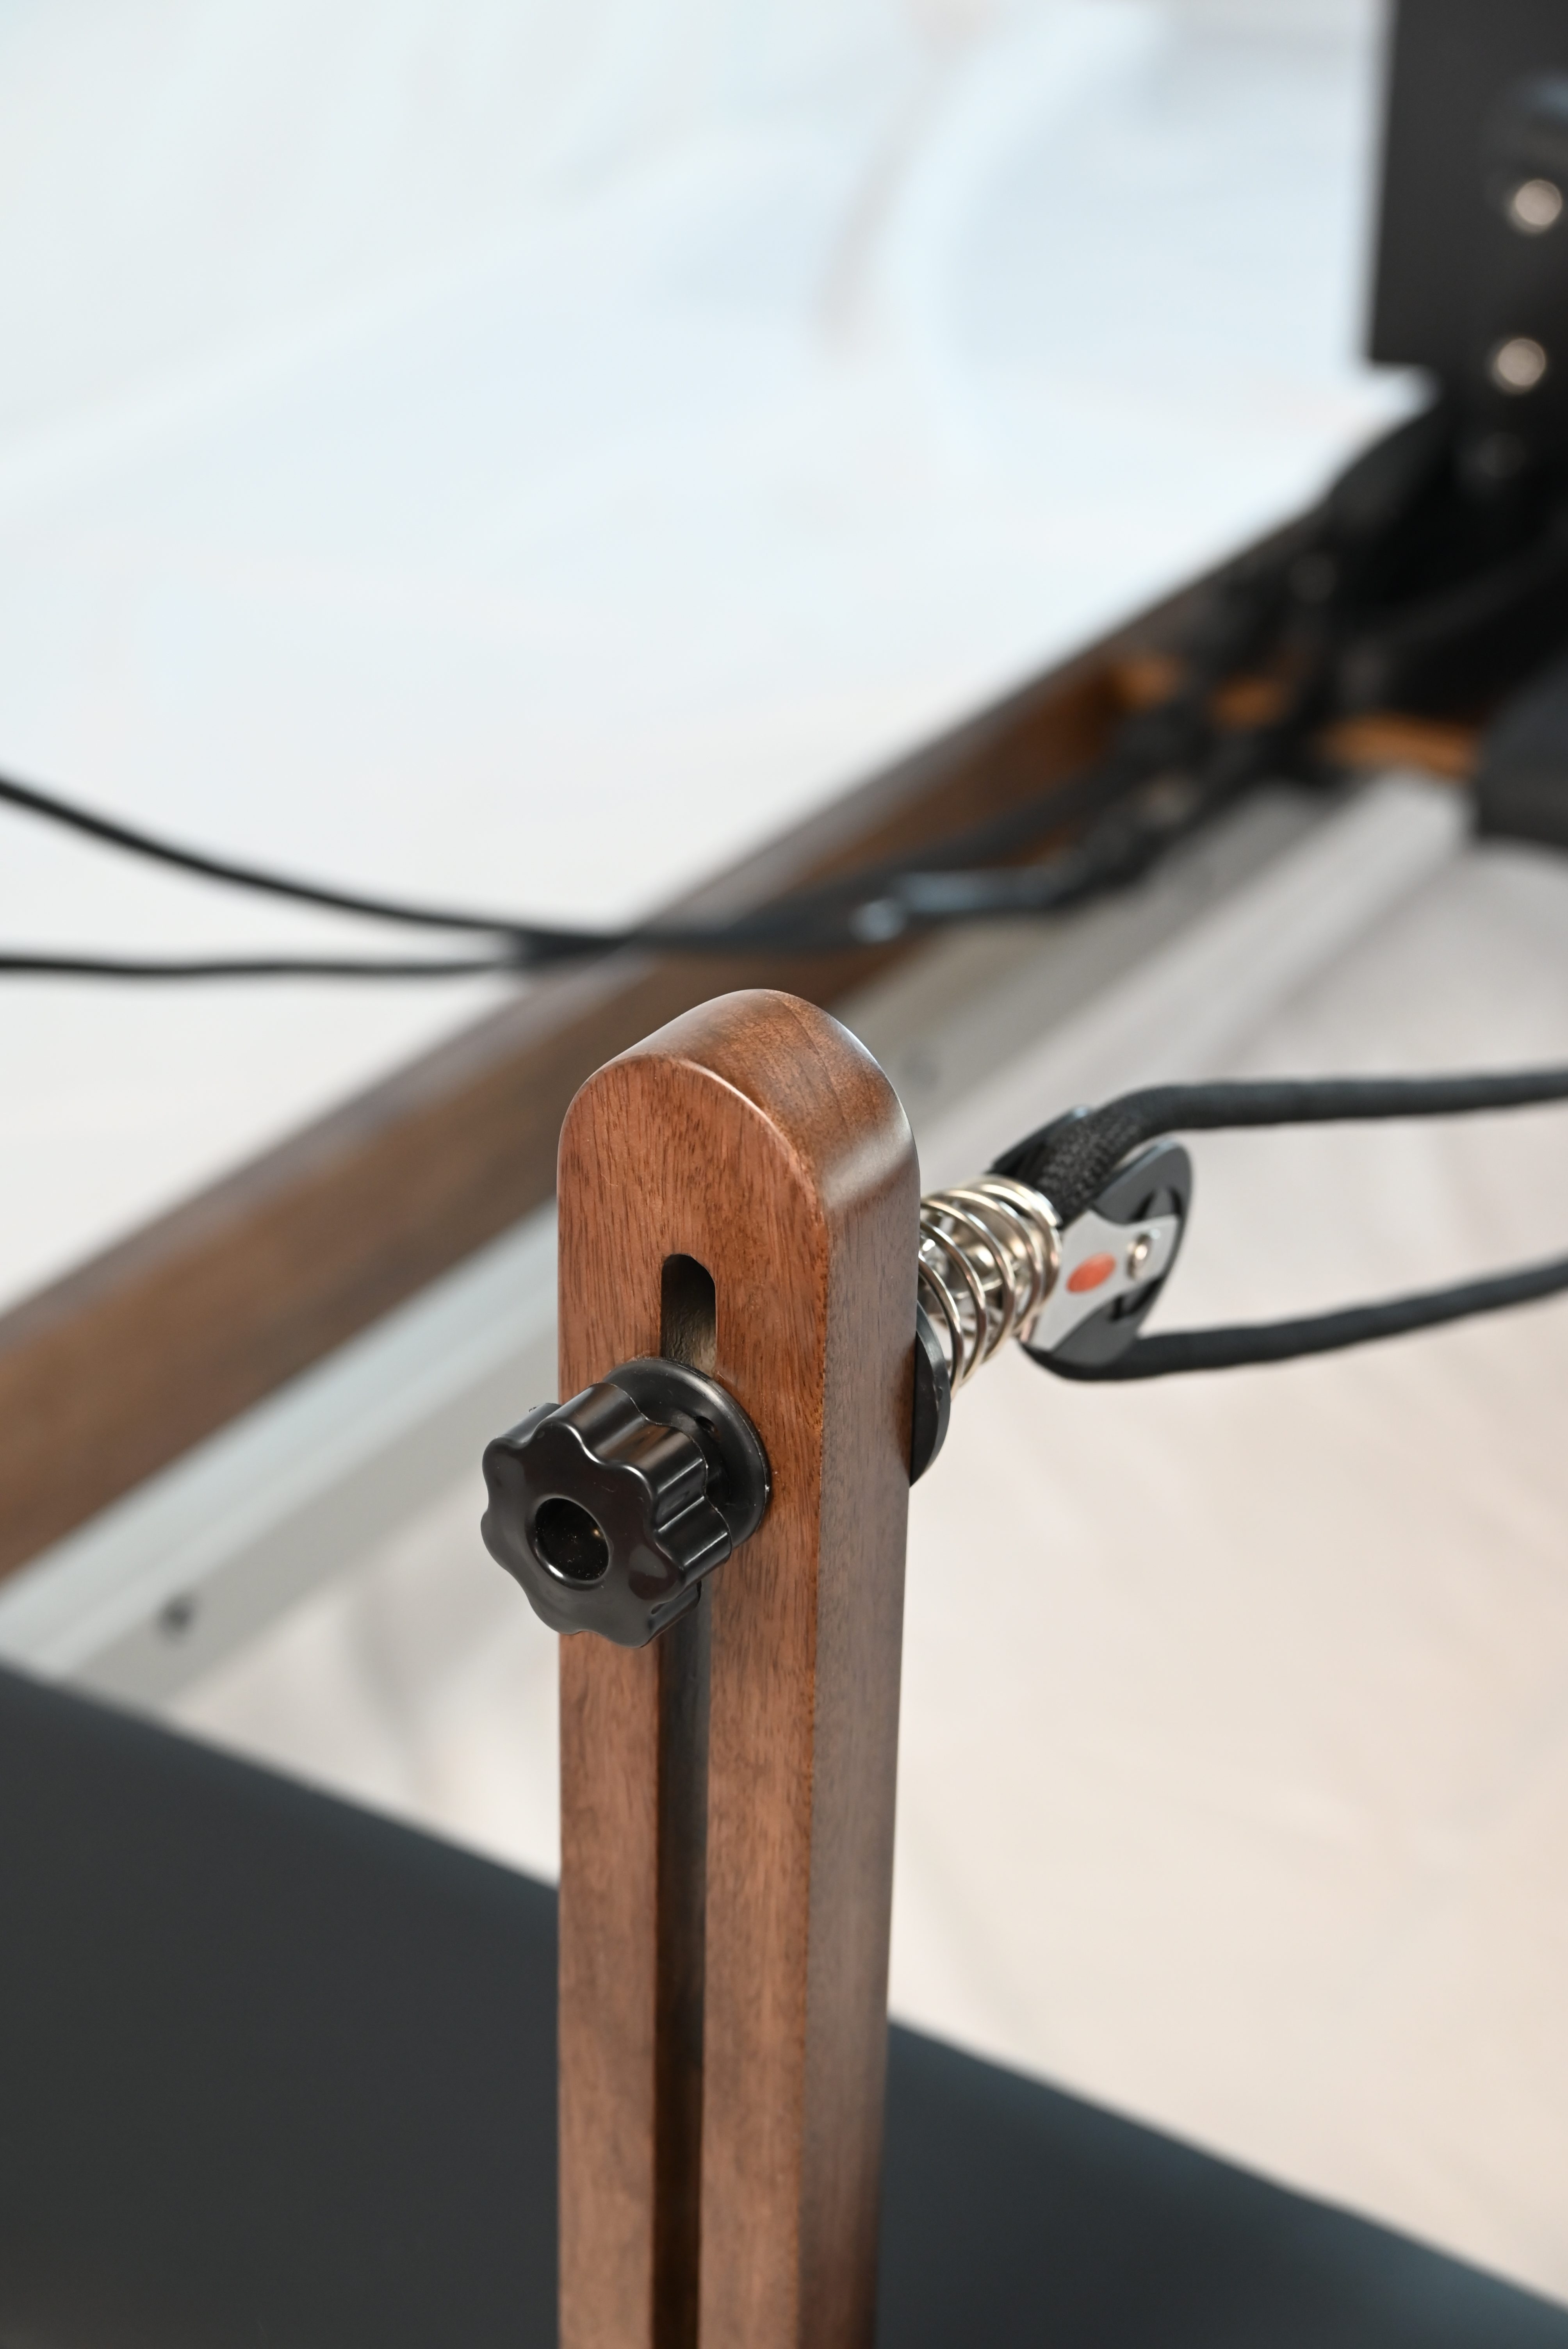
Install the springs on the spring bar, checking that each clip engages securely and that the spring rests in the correct slot. Attach the ropes or straps to the carriage and route them through the pulleys, confirming they run in the correct channels and are not twisted. Fit the shoulder rests and any riser adjustments, then install the footbar and check its locking mechanism.
At this stage, test each component individually before loading the machine. Pull each spring gently and confirm it releases cleanly. Pull the ropes through their full range and check for snags. Press the footbar into each of its positions and confirm it locks firmly.
Step Six: Level and Stabilize the Machine
Even on a flat floor, small adjustments matter. Most reformers have adjustable feet or leveling glides. Place a spirit level across the frame in both directions and adjust until the machine sits perfectly level. Then test stability by pressing down firmly on each corner in turn. Any rocking indicates an unlevel foot or a floor irregularity that needs correction.
A stable, level machine is not a luxury. An unlevel reformer causes uneven spring resistance and a carriage that drifts, and over time it can stress the frame unevenly.
Step Seven: The First Test Glide and Safety Check
With the machine assembled, perform a complete safety walkthrough before any client or family member uses it. Confirm every bolt is tight, every spring clip is secure, and every rope is properly routed. Check that the carriage stops are in place and that the machine cannot tip when weight is applied to one end.
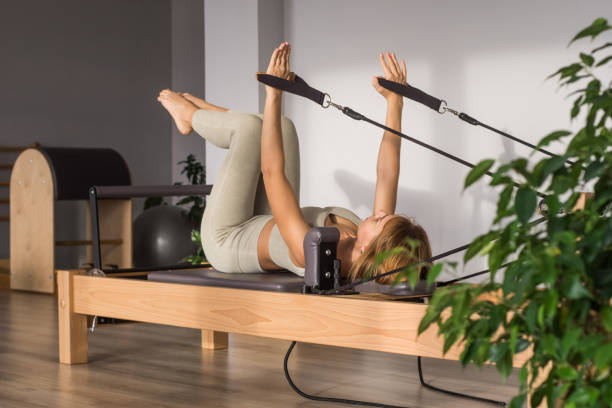
Then perform a slow, deliberate test glide yourself. Lie on the carriage, engage one light spring, and move through a few basic footwork repetitions. Listen for unusual sounds, feel for any binding, and watch that the carriage tracks straight. Repeat with a heavier spring to confirm resistance feels consistent. Only after this personal test should the reformer be used for regular training.
Step Eight: Document and Maintain
Record the serial number, purchase date, and assembly date in a safe place, and photograph the assembled machine from several angles. These records support warranty claims and help if you ever need to sell or relocate the equipment. Note the spring color coding and resistance values in a visible spot near the machine.
Finally, establish a simple maintenance routine from day one: wipe the upholstery after each session, check spring clips weekly, and clean the rails regularly. A well-installed reformer that is consistently maintained will deliver years of reliable performance.
Conclusion
Installing a Pilates reformer is a sequence of deliberate steps, not a race. Preparing the space, inventorying parts, assembling the frame squarely, aligning the carriage, testing each component, leveling the machine, and performing a personal safety glide all protect your investment and your safety. New owners who take the time to do it properly will find that the machine feels better, lasts longer, and inspires confidence from the very first session.