When and How to Replace Reformer Springs Safely

Reformer springs are wear components with a finite service life. Unlike the frame, which can last for decades, springs fatigue gradually through repeated loading cycles and can fail without obvious warning. Knowing when to replace them—and how to do it without risking injury—is essential maintenance for any home user or studio owner.
Calendar Time vs. Actual Usage
Manufacturers commonly recommend replacing springs every two years, but this guideline assumes a certain level of use. Peak Pilates and Merrithew both advise a two-year replacement interval, with immediate replacement for any spring showing early signs of fatigue such as separation in the coils . Balanced Body offers a more usage-based benchmark: approximately 3,000 hours of use before replacement . For a busy studio running six hours a day, six days a week, that works out to less than two years . A home user training a few times per week will likely reach that threshold much more slowly. The practical takeaway is to track actual hours or class counts per machine rather than relying solely on the calendar.
Visual and Tactile Warning Signs
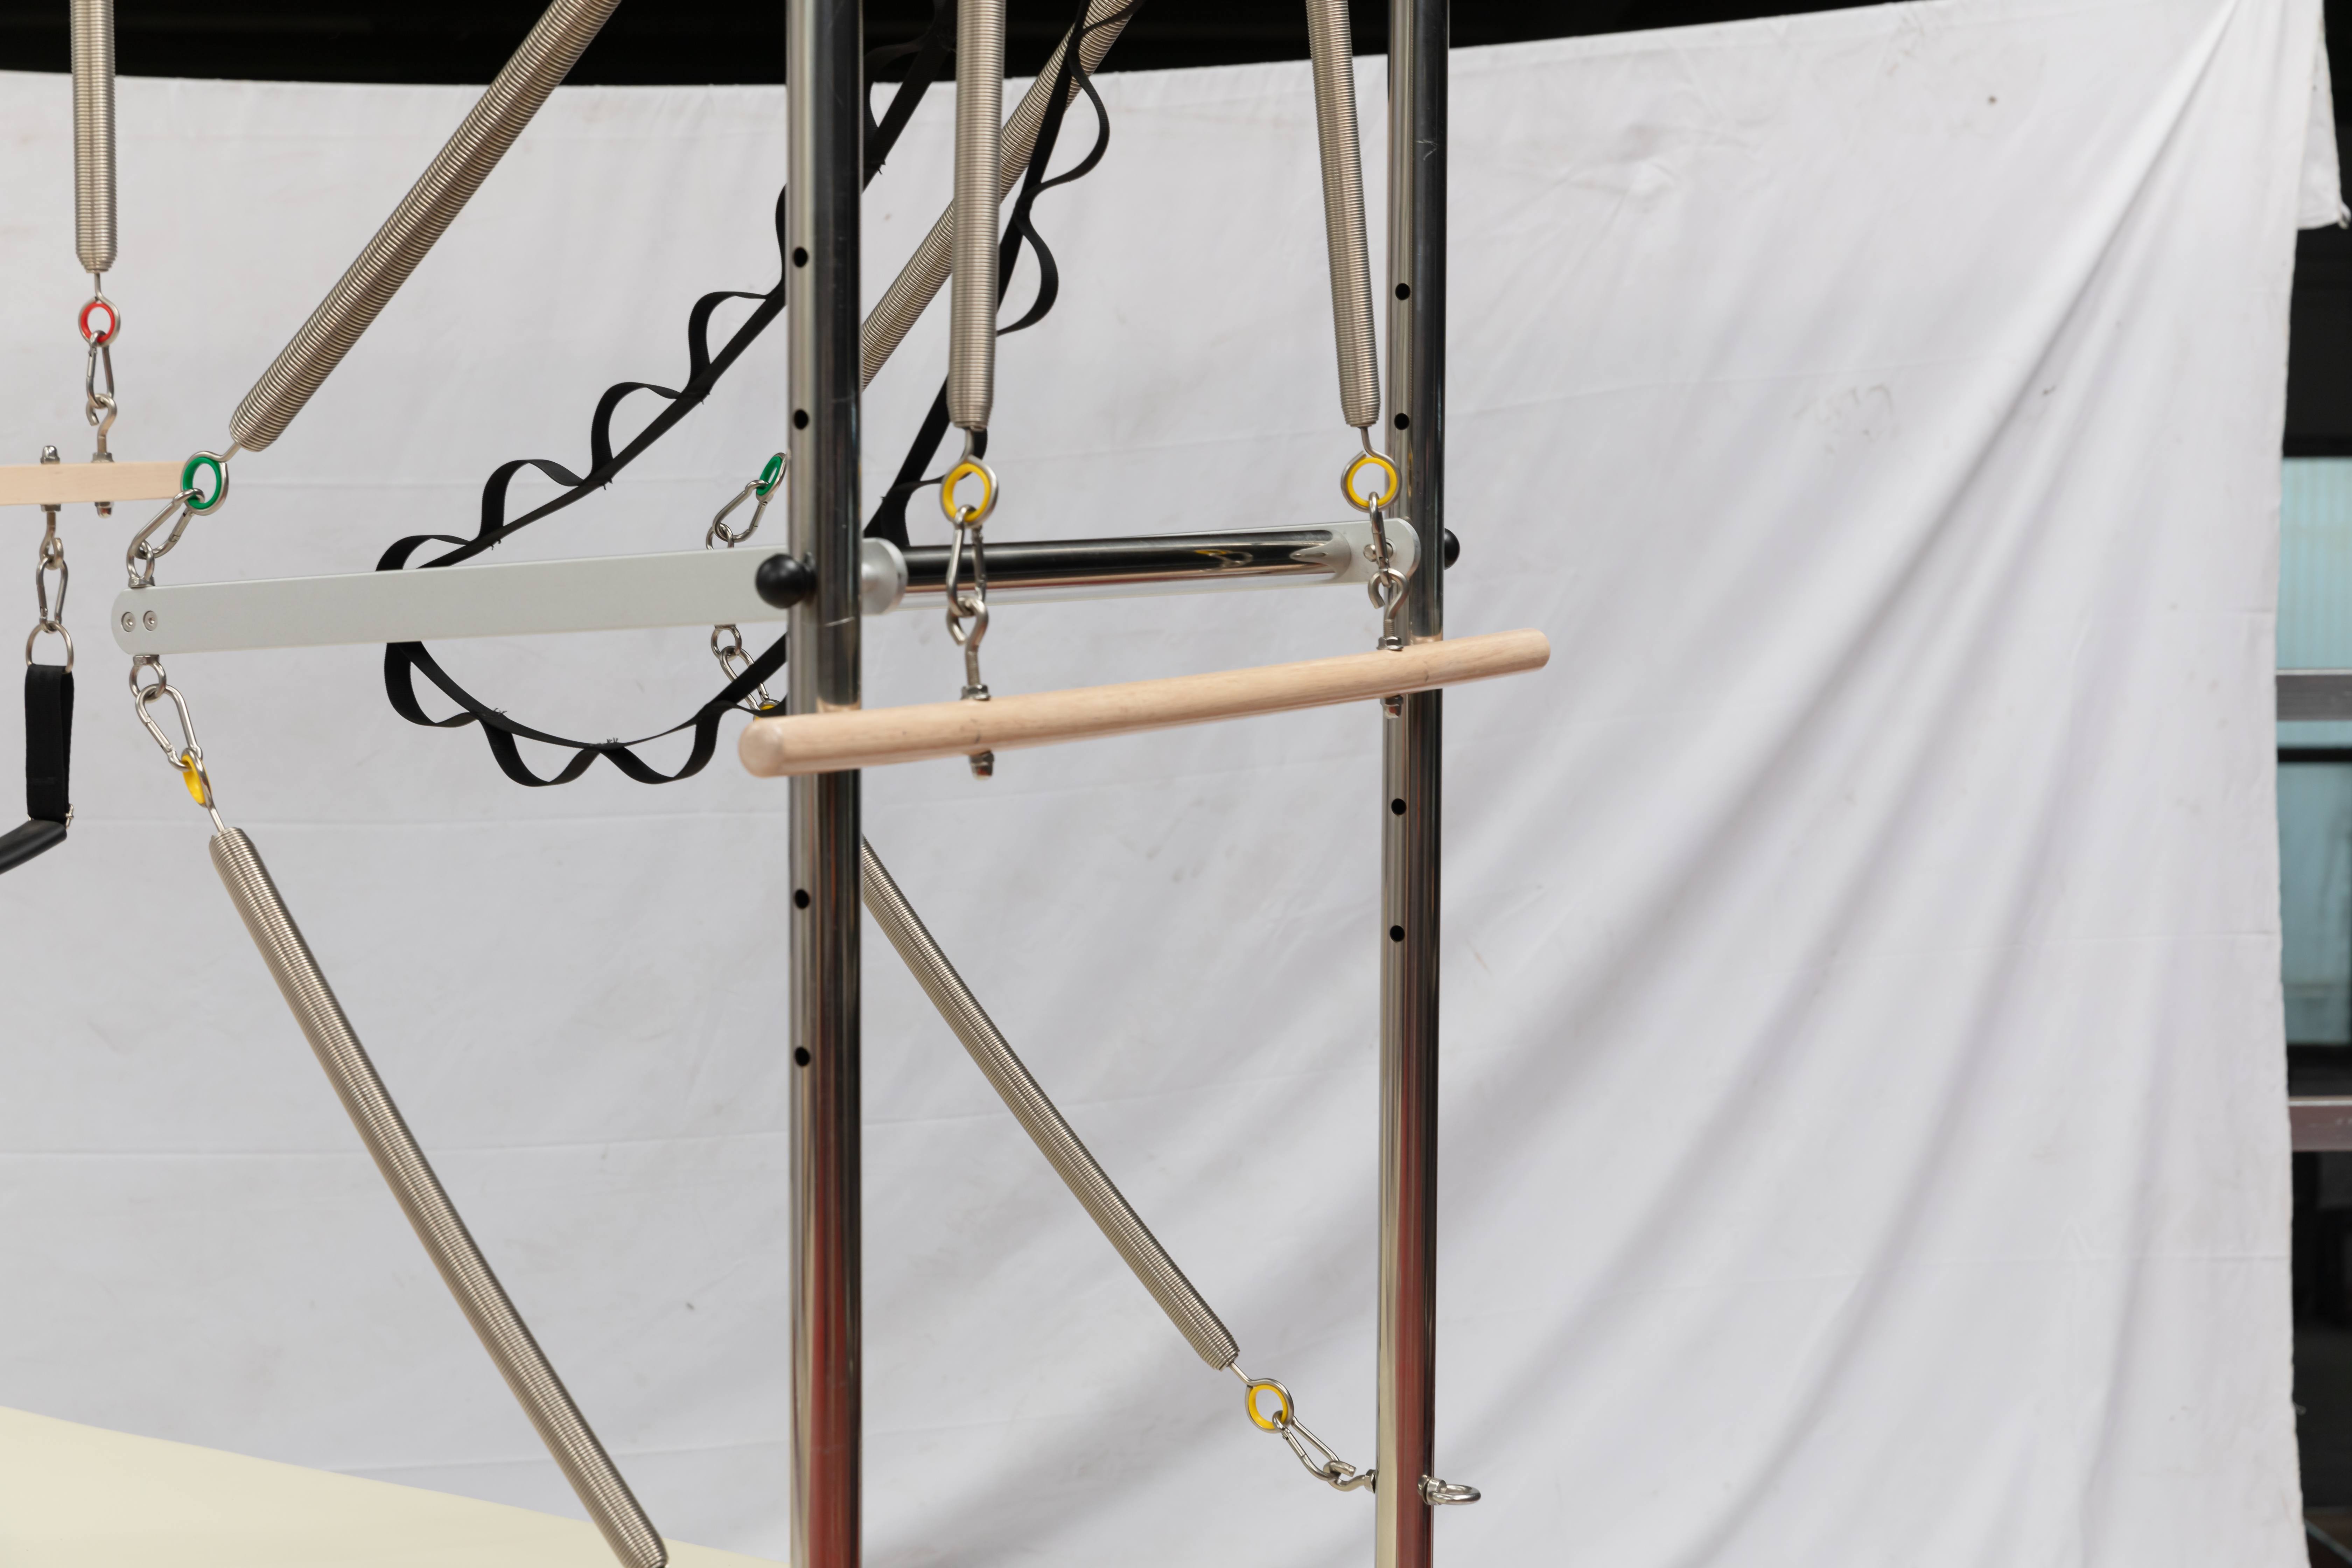
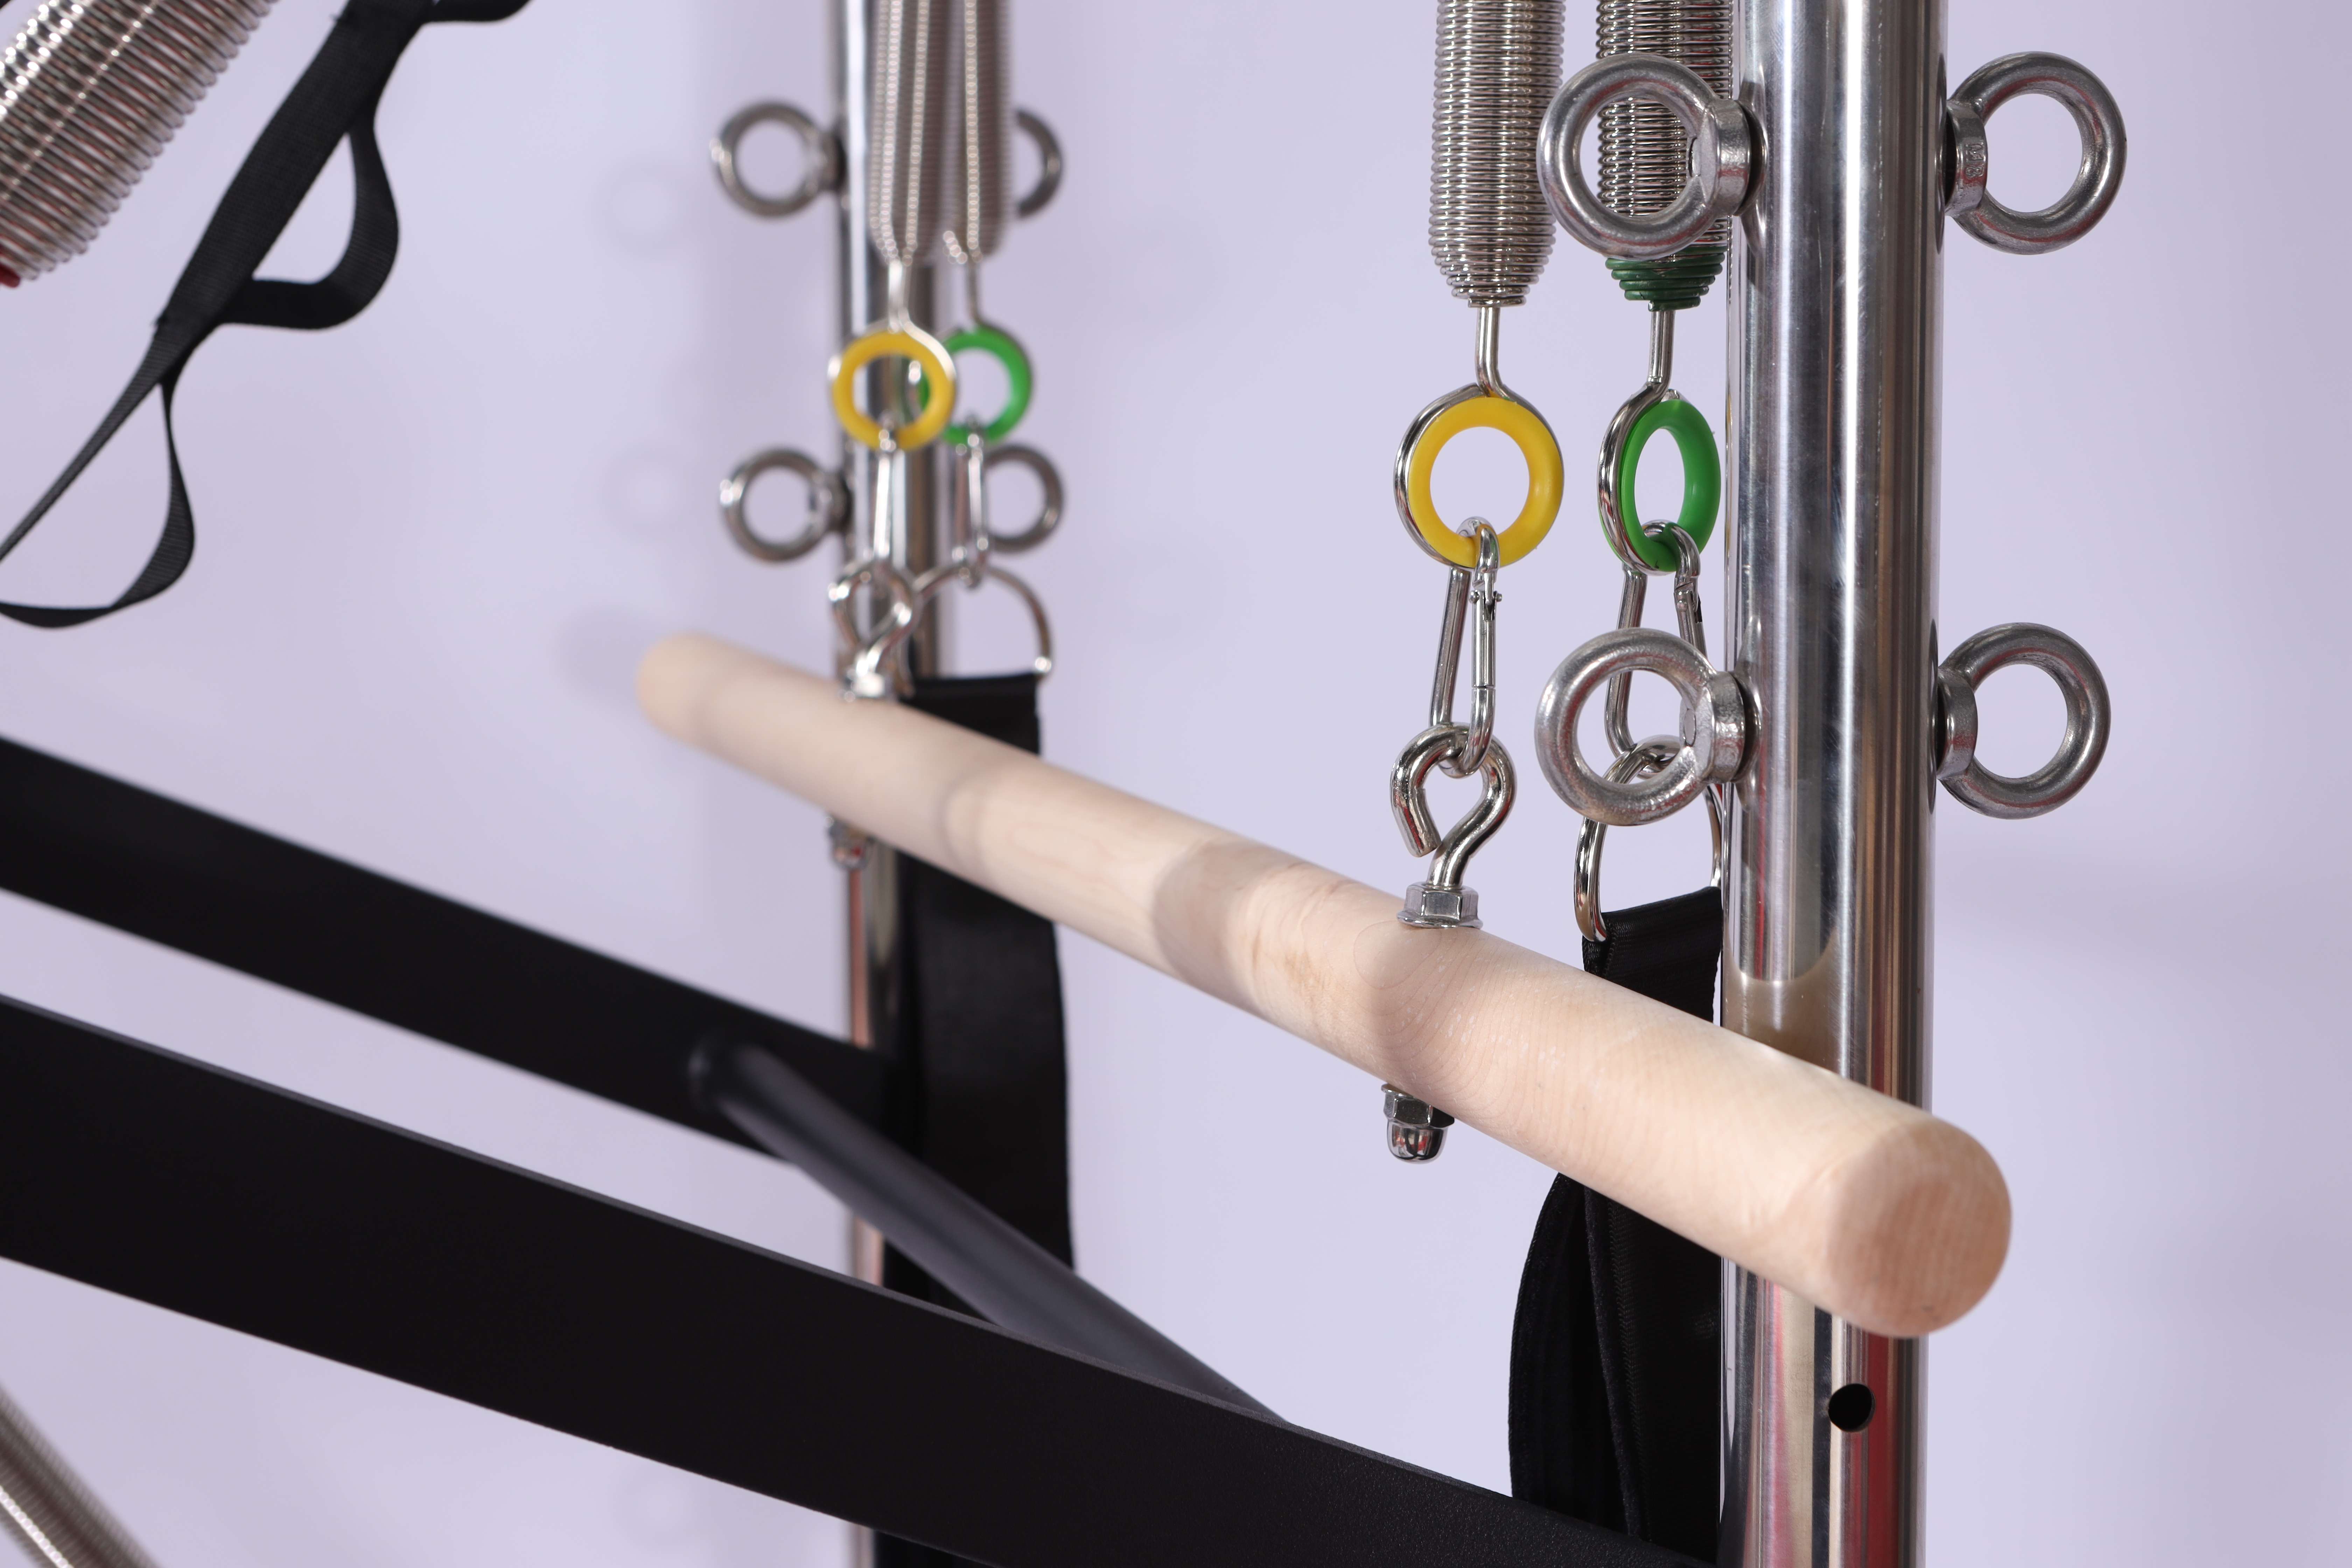
Certain conditions demand immediate replacement regardless of age. Any visible gap between coils, even slight, indicates the spring has begun to fail . Kinks, bends, or a spring that no longer returns to its original free length are also red flags . Rust or corrosion, particularly pitting that feels rough to the touch, means the protective coating has been breached and the wire is degrading. Uneven tension across a set—where one spring feels noticeably softer or stiffer than others of the same color—suggests fatigue has altered its resistance curve. If more than one spring shows these signs, replace the full set rather than mixing old and new.
Preparation Before You Begin
Springs under tension can release violently if mishandled. Work gloves and safety glasses are strongly recommended before starting . Ensure the reformer is unloaded—no one on the carriage, no accessories adding weight—and move the carriage to its closed position against the stopper so the springs are under minimal tension . Have the correct replacement springs on hand, matched to your reformer’s model, color code, and length. Using generic or mismatched springs can alter the resistance curve and compromise safety.
Step-by-Step Replacement
The exact procedure varies by manufacturer, so consult your reformer’s manual first. The general sequence is consistent: unhook the old spring while holding it firmly at both ends, guiding it until all tension is released rather than letting it snap back . Before attaching the new spring, inspect the hook, clip, and anchor point on both the carriage and the frame. These components bear the same load as the spring and fatigue at a similar rate; a worn clip can fail and cause the new spring to recoil dangerously . Attach the new spring to the fixed anchor point first, then to the carriage or gearbar, confirming the hook is fully seated. Replace one spring at a time to avoid mixing up attachment points.
Testing and Documentation
After installation, move the carriage slowly through a full range of motion while unloaded. Listen for metallic noises or catching, and feel for smooth, even resistance. Run a complete test before allowing clients or family members to use the machine. Record the replacement date—a sticker under the carriage or a maintenance log works well. For home users, plan the next replacement in 12 to 24 months depending on frequency of use. For studios, a shorter interval may be appropriate . A simple log prevents surprise failures and keeps resistance consistent for every user.